
Related Manuals for Weber 310 CLASSIC


Summarization of Contents
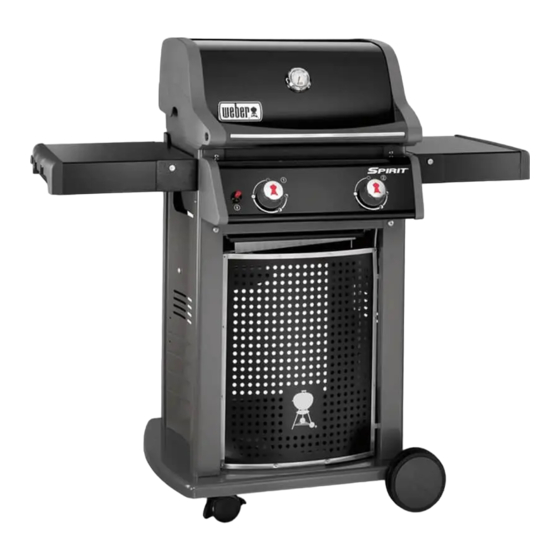
Spirit Gas Grill Assembly Guide
Tools Needed for Assembly
Lists the required tools for assembling the Spirit gas grill, including specific wrench sizes.
Assembly Steps
Step 1: Attaching Feet to 310 Model
Illustrates attaching specific feet (A) to the base of the Spirit 310 Classic gas grill.
Step 2: Attaching Wheels to 210 Model
Demonstrates the installation of wheels (N) onto the Spirit 210 Classic gas grill assembly.
Step 3: Attaching Side Panels
Details the process of attaching side panels to the grill's base structure using hardware B.
Step 4: Securing Side Panels
Shows how to fasten side panels to the grill's frame, likely reinforcing Step 3, using hardware B.
Step 5: Attaching Frame Supports
Illustrates attaching horizontal supports to the grill's side panels using hardware B.
Step 6: Securing Frame Supports
Details the attachment of additional frame supports or crossbars to the grill assembly using hardware B.
Step 7 & 8: Attaching Supports and Brackets
Illustrates installing drip pan supports and lower support bars using hardware B on the grill frame.
Step 9: Attaching Handles
Details the attachment of handles to the grill lid or side shelves for carrying or lifting.
Step 10 & 11: Gas Line Connection and Securing
Shows the critical steps of connecting and securing the gas hose and line to the grill assembly.
Step 12: Attaching Side Shelves
Illustrates the installation of the side shelves onto the grill body using various hardware.
Step 13: Installing Control Panel
Shows the process of mounting the control panel onto the front of the grill assembly.
Step 14: Attaching Warming Rack Supports
Demonstrates attaching supports for the warming rack, using hardware K and F.
Step 15: Installing Warming Rack Rods
Illustrates inserting rods or supports for the warming rack assembly using hardware F.
Step 16: Securing Warming Rack Supports
Details securing the warming rack supports, likely with hardware F, to the main grill body.
Step 17: Attaching Side Panels to Grill Body
Shows the connection of side panels to the main grill body, likely the vertical side panels, using hardware.
Step 18: Installing Warming Shelf
Demonstrates the installation of a warming shelf or bracket onto the grill assembly.
Step 19: Placing Cooking Grates and Warming Rack
Illustrates positioning the main cooking grates and the warming rack into the grill body.
Step 20: Attaching Front Panel/Door
Shows the installation of the front decorative panel or access door onto the grill's base.
Step 21: Attaching Lid Handles
Demonstrates attaching the handles to the grill lid, possibly for lifting and opening.
Step 22: Final Assembly Check
Shows a completed grill with a focus on the control panel and front features, implying a final check.
Step 23: Installing Warming Grates
Illustrates placing the warming grates into their designated positions within the grill.
Step 24: Placing Cooking Grates
Shows the final placement of the main cooking grates into the grill body.
Step 25: Attaching Warming Rack Chain
Demonstrates attaching a chain to the warming rack, likely for stability or support during opening/closing.
Need help?
Do you have a question about the 310 CLASSIC and is the answer not in the manual?
Questions and answers