Sign In
Upload
Download
Table of Contents
Contents
Add to my manuals
Delete from my manuals
Share
URL of this page:
HTML Link:
Bookmark this page
Add
Manual will be automatically added to "My Manuals"
Print this page
×
Bookmark added
×
Added to my manuals
Manuals
Brands
NETGEAR Manuals
Network Storage Server
MS2110-100NAS
User manual
NETGEAR MS2110-100NAS User Manual
Stora user manual
Hide thumbs
1
2
Table Of Contents
3
4
5
6
7
8
9
10
11
12
13
14
15
16
17
18
19
20
21
22
23
24
25
26
27
28
29
30
31
32
33
34
35
36
37
38
39
40
41
42
43
44
45
46
47
48
49
50
51
52
53
54
55
56
57
58
59
60
61
62
63
64
65
66
67
68
69
70
71
72
73
74
75
76
77
78
79
80
81
82
83
84
85
86
87
88
89
90
91
92
93
94
95
96
97
98
99
100
101
102
103
104
105
106
107
108
109
110
111
112
113
114
115
116
117
118
119
120
121
122
123
124
125
126
127
128
129
130
131
132
page
of
132
Go
/
132
Contents
Table of Contents
Bookmarks
Table of Contents
Technical Support
Table of Contents
Chapter 1 Getting Acquainted
About NETGEAR Stora
Standard Vs. Premium Features
File Types
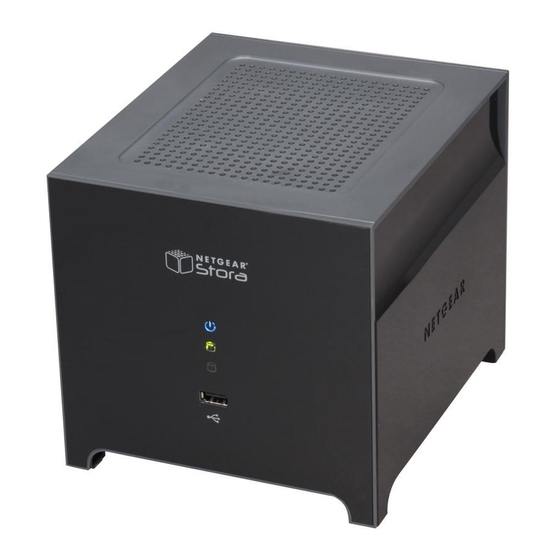
Stora Hardware Overview
Front Panel
Disks and Disk Bays
Rear Panel
LED and Connector Descriptions
Initial Setup
Check Package Contents
Connect Stora to Your Network
Configure Your Stora
Installing a Disk
Replacing a Failed Disk
Installing the Desktop Applications
Accessing Stora
Web Browser Access
Local Area Networking
Stora Agent
Mapped Drives
Remote Access
Resetting Your Stora
Documentation and Support
Register Your Stora
Technical Support
Chapter 2 Stora Agent
Using Stora Agent
Starting Stora Agent
Stora Agent Menu Options
Chapter 3 Stora Application
Starting Stora Application
Logging into Stora Application
Stora Application Home Page
Media Library
Accessing the Media Library
Media Sources
Albums
Working with Media Source Folders
Deleting a Folder
Uploading Files
Folder Options
Opening a Folder
Albums
Working with Albums
Working with Files
Working with Images
Setting up Contacts
Social Media
Preferences
Displaying the Preferences Page
User Preferences
Change Password
Server Preferences
Network Services
Lan Connection
Date and Time
Administration
Shut down
Software Updates
Disk Management
Power Timer
Chapter 4 Stora Desktop Mirror
Desktop Mirror Overview
Starting Desktop Mirror
Initial Configuration
File Menu
Adding Folders to the Backup
Viewing Files with Folders
Removing Folders from the Backup
Quit
View Menu
Viewing the Report
Tools Menu
Manual Backups
Restoring All Backed up Folders
Changing Account Settings
Help Menu
Index
Advertisement
Quick Links
1
Stora Hardware Overview
2
Disks and Disk Bays
3
Connect Stora to Your Network
4
Resetting Your Stora
Download this manual
350 East Plumeria Drive
San Jose, CA 95134
USA
April 2010
202-10540-03
v1.0
NETGEAR Stora
User M anua l
Table of
Contents
Previous
Page
Next
Page
1
2
3
4
5
Advertisement
Table of Contents
Need help?
Do you have a question about the MS2110-100NAS and is the answer not in the manual?
Ask a question
Questions and answers
Related Manuals for NETGEAR MS2110-100NAS
Network Hardware Netgear Stora User Manual
(157 pages)
Network Hardware Netgear MS2000-100NAS Installation Manual
Installation guide (2 pages)
Network Hardware Netgear MS2110 - Stora NAS Server Installation Manual
Stora install guide (2 pages)
Network Storage Server Netgear MS2000 - Stora Media Center User Manual
Stora user manual (132 pages)
Network Storage Server Netgear RNDP6620-100NAS - ReadyNAS Pro RNDP6620 Business Edition Software Manual
Readynas for business raidiator 4.2.17 (135 pages)
Network Storage Server NETGEAR ReadyNAS 4200 Hardware Manual
(39 pages)
NETGEAR ReadyNAS NV+ - Network Storage Server Installation Guide
(article)
Network Storage Server Netgear RNDX400E - ReadyNAS NVX Pioneer Edition NAS Server User Manual
Readynas nvx user manual (122 pages)
Network Storage Server Netgear RNDP600E - ReadyNAS Pro Pioneer Edition NAS Server Installation Manual
Readynas pro/pioneer installation guide (2 pages)
Network Storage Server Netgear RND2110 - ReadyNAS Duo NAS Server Setup Manual
Rnd2110 setup manual (32 pages)
Network Storage Server Netgear ReadyNAS RN312 Specification
Readynas 300/500/700 series network attached storage (nas) (5 pages)
Network Storage Server NETGEAR ReadyNAS Pro Business Edition User Manual
Business edition (120 pages)
Network Storage Server Netgear RNDU4000 Hardware Manual
Readynas ultra, ultra plus, nvx, and pro series (48 pages)
Network Storage Server NETGEAR ReadyNAS 102 Hardware Manual
Readynas os 6 desktop storage systems (213 pages)
Network Storage Server Netgear RND4000 - ReadyNAS NV+ NAS Server User Manual
Rnd4000 user manual (120 pages)
Network Storage Server Netgear ReadyNAS RN312 Datasheet
Readynas 300/500 series network attached storage (nas) (5 pages)
This manual is also suitable for:
Ms2120 - stora media center
Ms2000 - stora media center
Ms2120-100nas
Stora
Table of Contents
Print
Rename the bookmark
Delete bookmark?
Delete from my manuals?
Login
Sign In
OR
Sign in with Facebook
Sign in with Google
Upload manual
Upload from disk
Upload from URL


Need help?
Do you have a question about the MS2110-100NAS and is the answer not in the manual?
Questions and answers