
Related Manuals for Avantco FF518


Summary of Contents for Avantco FF518
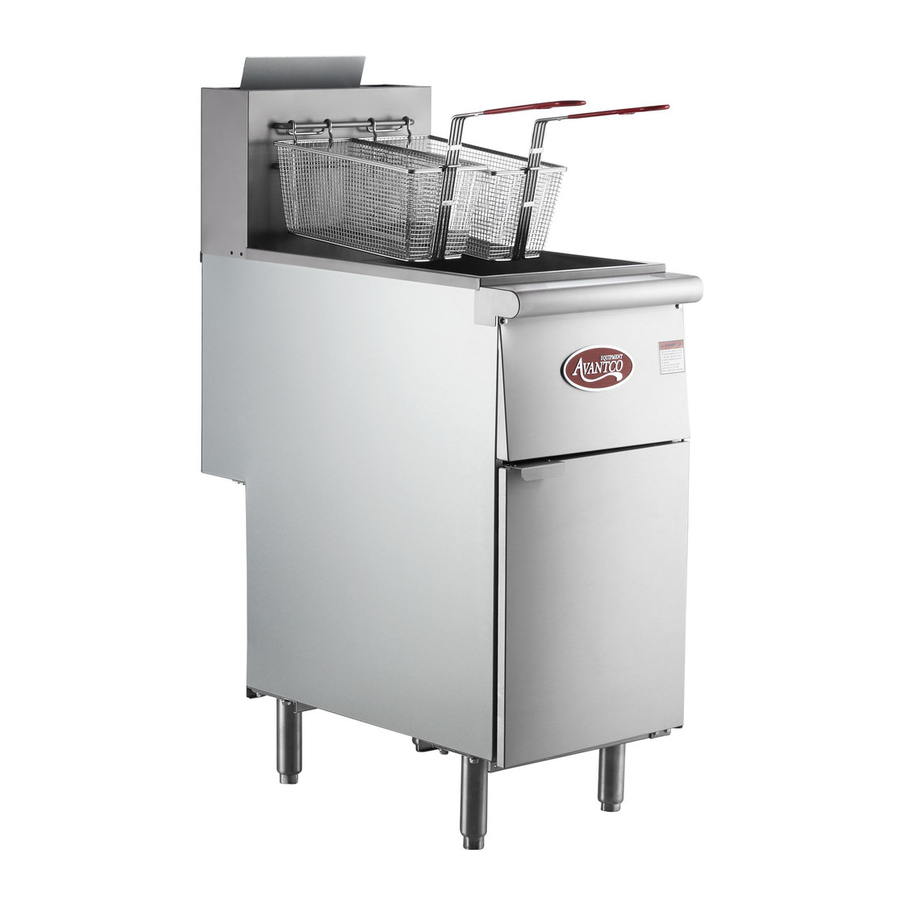
- Page 1 User Manual User Manual Floor Fryers 7/16/2013 Models: FF300, FF400, FF518 Please read and keep these instructions. Indoor use only. www.AvantcoEquipment.com...
-
Page 2: Safety Precautions
NOTICE Avantco Floor Fryers are intended for commercial use only. Not for household use. Warranty will be void if service work is performed by other than a qualified technician, or if other than genuine Avantco replacement parts are installed. -
Page 3: Table Of Contents
Congratulations! You have purchased one of the finest pieces of commercial cooking equipment on the market. You will find that your new equipment, like all Avantco equipments, has been designed and manufactured to meet the toughest standards in the industry. Each piece of Avantco equipment is carefully engineered and designs are verified through laboratory tests and field installations. -
Page 4: Specifications
Width (in) Depth (in) Height (in) Gas Connection (in) Total Crated Model BTU/hr Weight (lbs) 15.5 14.0 30.3 14.0 47.2 36.2 90,000 FF300 15.5 14.0 30.3 14.0 47.2 36.2 120, , 000 FF400 FF518 21.0 18.0 30.3 18.0 47.2 36.2 150,000 GAS SUPPLY AND BURNER INFORMATION Supply pressure should be minimum of 4"... -
Page 5: Installation
User Manual INSTALLATION NOTICE Installation must conform with local codes, or in the absence of local codes, with the National Fuel Gas Code, ANSI Z223.1, Natural Gas Code, CAN/CGA-B149.1, or the Propane Installation Code, CAN/CGA-B149.2, as applicable. NOTICE These installation procedures must be followed by qualified personnel or warranty will be void. Local codes regarding installation vary greatly from one area to another. - Page 6 User Manual Step 2: Install the Legs (or optional casters) and Restraints. A set of legs or casters is packed with the fryer. Mounting fasteners are pre-mounted on the baseplates. Raise fryer sufficiently to allow legs or casters to be screwed into the baseplate. For safety, “shore up” and support the fryer with an adequate blocking arrangement strong enough to support the load.
- Page 7 User Manual Step 3: Flue Installation 1. Unpack the flue box and flue wrap. 2. Slide the flue box over the flue and secure it with the two self-tapping screws using a 5/16" socket. 3. Slide the flue wrap over the flue. 4.
- Page 8 Sides Rear ALL AVANTCO FLOOR FRYERS SHALL BE INSTALLED WITH AT LEAST A 16 INCH SPACE BETWEEN THE FRYER AND SURFACE FLAMES FROM ADJACENT EQUIPMENT. No additional side and rear clearance is required for service as the fryer is serviceable from the front.
- Page 9 The fryer should be connected ONLY to the type of gas for which it is equipped. A circuit diagram is located inside the front door of the fryer. All Avantco equipment is adjusted at the factory; however, pilot height should be checked at installation and adjusted, if necessary.
-
Page 10: Operation
User Manual OPERATION LIGHTING CAUTION IF YOU SMELL GAS DURING THE LIGHTING PROCEDURE, IMMEDIATELY SHUT OFF THE GAS SUPPLY UNTIL THE LEAK HAS BEEN CORRECTED. Red Indicator Open the burner compartment door and do the following: Turn thermostat to “OFF” by aligning the "OFF" with the red indicator. Press down the knob of the combination gas valve, turn it counterclockwise to the "PILOT"... - Page 11 HIGH LIMIT CONTROL Avantco Floor Fryers are equipped with a secondary heat control that prevents the oil temperature from rising above 450°F. (Because of the accuracy tolerance of the sensor, the oil temperature may reach as high as 475°F.) In the event the fryer shuts down due to this condition, the oil must be cooled to below 400°F before the pilot...
-
Page 12: Cooking Hints
Poor oil cannot produce good food. CLEANING Avantco equipment is constructed with the best quality materials and is designed to provide durable service when properly maintained. To expect the best performance, your equipment must be maintained in good condition and cleaned daily. Naturally, the frequency and extent of cleaning depends on the amount and degree of usage. - Page 13 User Manual Replace the basket support frame (if applicable) Add oil or shortening to MIN oil level mark on rear of frypot. To resume cooking, turn the combination gas valve knob to “ON” position. Tough on grease. Tough on carbon. Tempest deep fat fryer cleaner powder offers thorough boil out of encrusted grease and grime.
-
Page 14: Service
Adjustments and service work may be performed only by a qualified technician who is experience in, and knowledgeable with, the operation of commercial gas cooking equipment. However, to ensure your confidence, contact your Avantco Service Representative for liable service, dependable advice or other assistance, and for genuine factory parts. - Page 15 User Manual CHECKING AND ADJUSTING PRESSURE REGULATOR The combination gas valve (includes pressure regulator) is factory set at 4" W.C. for natural gas and 10" W.C. for propane gas. To check the manifold pressure, do the following: Turn thermostat “OFF” and combination gas valve knob to the “PILOT” setting. Remove pressure tap plug from burner manifold located directly below the burners in the cabinet.
-
Page 16: Troubleshooting
User Manual User Manual ERVICE NTREE RYERS CHECKING AND ADJUSTING AUTO SAFETY PILOT CHECKING AND ADJUSTING AUTO SAFETY PILOT The pilot flame should surround the thermopile for 1/2". It must be large and sharp enough to cause the The pilot flame should surround the thermopile for 1/2". It must be large and sharp enough to cause the thermopile thermopile to glow a dull red, or sufficient to hold the safety valve open. - Page 17 User Manual WIRING DIAGRAM www.AvantcoEquipment.com...
-
Page 18: Parts
PARTS NOTICE INSTALLATION OF OTHER THAN GENUINE AVANTCO PARTS WILL VOID THE WARRANTY ON THIS EQUIPMENT The serial plate is located inside the front door on the left side. Replacement parts may be ordered either through a Entree Authorized Parts Distributor or a Entree Authorized Service Agency. - Page 19 User Manual Gas Parts for Fryer (3 tube shown) Part Number Description 400045 Knob, thermostat 400044 Thermostat Fryer, regulating 200-400 400042 Combination Valve (Nat) 400146 Combination valve (LP) 400070 Tubing, ¼” fryer pilot 300031 Burner, Fryer 400043 Safety thermopile 18” 300034 Orifice # 39 (Nat) (as part of kit 266003) 300035...
- Page 20 User Manual Tank Parts (3 tube shown) Part Number Description 400037 Screen, crumb, 3 and 4 tube fryer 400058 Screen, crumb, 5 tube fryer 400036 Valve, Ball C200016 Tank, 3 tube fryer (excluding flue) C200017 Tank, 4 tube fryer (excluding flue) C400056 Tank, 5 tube fryer (excluding flue) 400071...
- Page 21 User Manual User Manual NTREE RYERS Leg Parts Caster Parts 400106 400107 ...
-
Page 22: Fryer Warranty
50 miles of an authorized service agent. Overtime, premium labor charges and travel charges in excess of 100 miles round trip will not be covered by Avantco and will be the responsibility of the person or firm requesting the service. -
Page 23: Fryer Warranty
** This Warranty does not apply to, and Avantco is not responsible for, any warranty claims made on products sold or used outside of the United States or Canada.
Need help?
Do you have a question about the FF518 and is the answer not in the manual?
Questions and answers