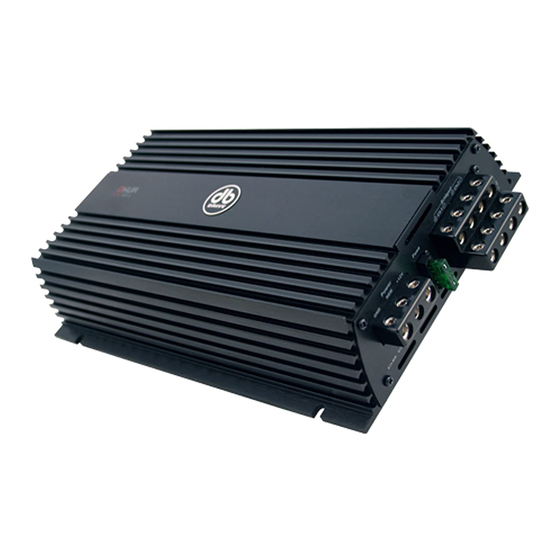
Summarization of Contents
INTRODUCTION
KEEP YOUR SALES RECEIPT
Attach your sales receipt to the manual for warranty service. Keep it in a safe place.
RECOMMENDATION
Proper installation is recommended for optimal performance. Read the manual carefully.
CRITICAL SAFETY WARNING
High power sound systems can cause hearing loss. Listen responsibly to avoid traffic hazards.
SAFETY PRECAUTIONS
Wiring and Installation Safety
Follow guidelines for fusing power wires, using connectors, routing wires, mounting, and grounding.
FEATURES AND BENEFITS
DC Offset Protection
Protects speakers from DC voltage by shutting down the amplifier.
Short Circuit Protection
Protects the amplifier from speaker/wiring shorts by shutting down.
Thermal Protection
Shuts down the amplifier to cool if it overheats, then automatically restarts.
Power Indicator
Diagnostic LED illuminates when the amplifier is powered.
Built-in Crossover
Variable crossover for precise filtering, with independent HPF/LPF for A7M 100.4.
Power and Speaker Distribution Blocks
Heavy gauge blocks for maximum power and signal transfer with minimal resistance.
Bass Boost
Selectable 6dB-12dB bass boost at 45Hz for enhanced low frequency performance.
AMPLIFIER OPERATIONAL FEATURES
Line Out
Full range line outputs for connecting additional amplifiers, buffered to reduce signal loss.
Power Fusing
Protects the amplifier against short circuits and excessive current.
Remote Turn-on
Automatically turns the amplifier on/off with the head unit.
Adjustable Input Sensitivity
Fine-tunes the level matching between your audio source and the power amplifier.
Low Impedance Stability
Details the stable impedance ratings for different amplifier models.
POWER CONNECTIONS
IMPORTANT CONNECTION NOTE
Disconnect the car's battery before making connections to avoid electrical system damage.
Connect to Car's Battery
Use appropriate gauge wire and an in-line fuse near the battery for protection.
Connect to Car's Chassis (Ground)
Use a short, clean ground wire connected directly to the car's chassis.
Connect to Remote Turn-on Source
Connect to the head unit's remote output or power antenna wire for automatic turn-on.
SIGNAL CONNECTIONS
Mono Signal Connection
Connect RCA output from head unit to amplifier's RCA input terminals.
4 Channel Signal Connection
Uses two pairs of RCA inputs for a 4-channel amplifier setup.
SPEAKER CONNECTIONS
Speaker Connection Overview
Use at least 16 gauge wire, ensure proper phasing (+ to +, - to -) for best bass.
SPEAKER CONNECTIONS (A7M 100.4)
Bridged Mode Impedance Caution
Must see a 4 Ohm load or higher in bridged mode to avoid overheating and damage.
REMOTE BASS CONTROL MODULE
Module Installation and Wiring
Find accessible mounting location and run control wire away from car's electrical wiring.
ADJUSTMENTS AND SETTINGS
A7M 100.4 Crossover Adjustments
Select crossover mode (LP/HP/Full) and frequency point for desired speaker filtering.
FINE TUNE THE SYSTEM
Input Sensitivity (Gain Control)
Adjust gain to match head unit output, avoid distortion by setting gain correctly.
TROUBLE SHOOTING THE SYSTEM
No Output Troubleshooting
Check fuses, RCA cables, power, remote, and head unit settings for no output issues.
Low Output Troubleshooting
Verify level adjustments, RCA cables, and input matching for low output.
Engine Noise Troubleshooting
Ensure clean grounding points, use shielded cables, and check vehicle charging system.
Red Protection LED Illuminated
Check speaker shorts, low impedance, or overheating as causes for protection activation.


Need help?
Do you have a question about the Okur A7M 750.1 and is the answer not in the manual?
Questions and answers