Table of Contents

Subscribe to Our Youtube Channel
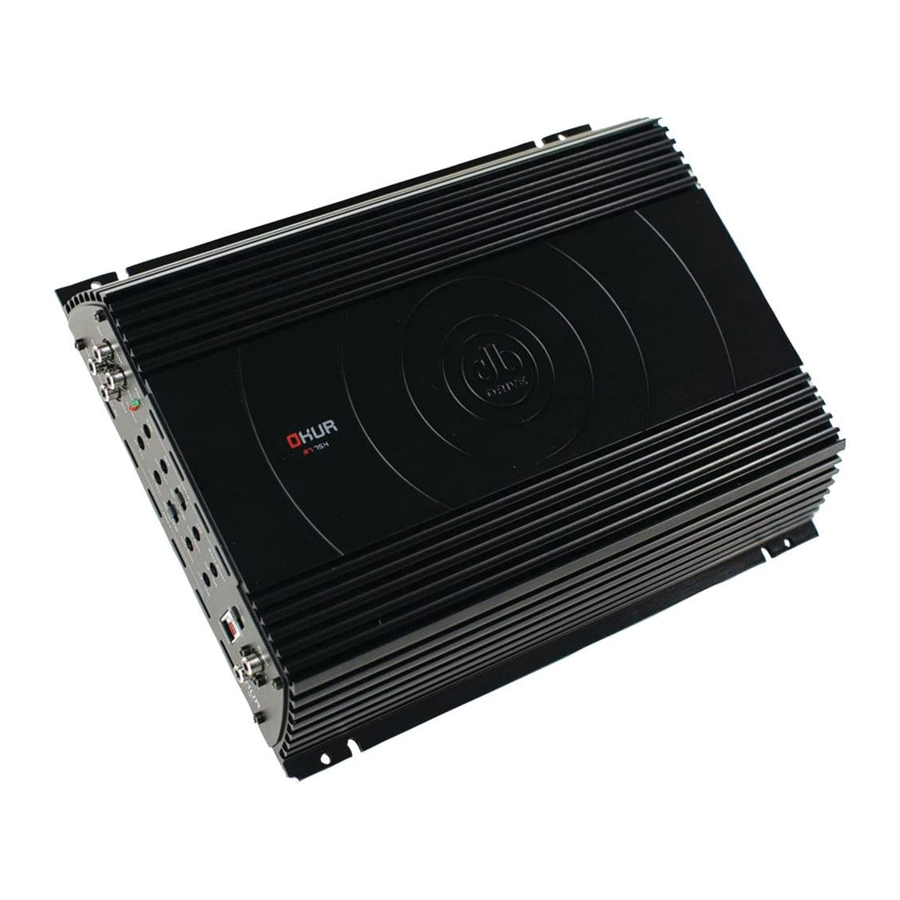
Summary of Contents for DB Drive OKUR A775.4
- Page 1 OKUR A775.4 A7125.4 A7300.2 A7750.1 A71100.1 A71500.1 A72000.1 A72500.1 User Manual • Instalation Instructions / Owners Manual • Due to continuous improvement of the product the Specifications are subject to change without notice.
-
Page 2: Specification
OKUR 1. OKUR AMPLIFIER’S SPECIFICATION 1-1. OKUR digital monoblock amplifiers Load Voltage & THD A7 750.1 A71100.1 A7 1500.1 A7 2000.1 A7 2500.1 4ohm 14.4 volts & 1% 1 X 175 1 X 225 1 X 375 1 X 740 1 X 1300 2ohm 14.4 volts &... - Page 3 2. OKUR AMPLIFIER’S CONTROL & CONNECTION. 2-1. OKUR digital monoblock amplifiers PHASE ( 0 ~ 180 degree ) INPUT It control phase from 0 ~ 180 degree Connect RCA ourput cables from the headunit to OKUR digital amplifiers’ RCA Input. OUTPUT MASTER / INPUT SLAVE OUTPUT MASTER / INPUT SLAVE connection makes OUTPUT...
-
Page 4: Installation
In case you install the OKUR amplifiers by yourself, please read owner's manual very carefully. Before you start your installation, please take all steps into consideration. or, you can have DB Drive or DB Reseach’s authorized dealer to check installation and set your car audio systems. - Page 5 3-1. MOUNTING PREPARATION Disconnect the negative ( ) battery cable before mounting your OKUR amplifier or making any connections. Check the battery and alternator ground ( ) connections. Make sure they are properly connected and Free of corrosion before selecting a mounting location. Please take some concerns into consideration with cooling efficiency and safety.
-
Page 6: Speaker Connection
Ground BATTERY 3-4. SPEAKER CONNECTION DB Drive recommendes to use minimum 12 gauge speaker connecting cables. Run 12 gauge speaker connecting cables from your speakers to OKUR amplifier's mounting location Keep speaker cables away from power cables and OKUR amplifier's input cables. - Page 7 OKUR AMPLIFIERS’ SPEAKER CONNECTION DIAGRAM 2. 8~ 2 ohms 8~ 2 ohms OKUR 4CHANNEL AMPLIFIERS’ SPEAKER CONNECTION DIAGRAM 1. 8 ~ 2 ohms 8 ~ 2 ohms 8 ~ 2 ohms 8 ~ 2 ohms CAUTION !! A7300.2, A775.4 & A7125.4 Amplifiers’ minimum impedance is 2 ohms stereo or 4 ohm mono...
- Page 8 OKUR 4CHANNEL AMPLIFIERS’ SPEAKER CONNECTION DIAGRAM 2. 8 ~ 2 ohms 8 ~ 2 ohms 8~ 4 ohms OKUR 4CHANNEL AMPLIFIERS’ SPEAKER CONNECTION DIAGRAM 3. 8 ~ 2 ohms 8 ~ 2 ohms 8 ~ 2 ohms 8 ~ 2 ohms 8~ 4 ohms...
- Page 9 3-5. OKUR DIGITAL AMPLIFIER’S MULTI-LINKING CONNECTION Multi-linking connection allows linking of 2 digital amplifiers to work as 1. Please read the following connection diagram cautiosly to ensure the correct connection. Step 1. Connect the master amplifier to the head-unit and set its output master and input slave switch to output master position.
- Page 10 Remote turn on MASTER AMPLIFIER Ground 8 ~ 2 ohms BATTERY SLAVE AMPLIFIER Ground CAUTION !! A7750.1, A71100.1, A71500.1, A72000.1, & A72500.1 Amplifiers’ Linked minimum impedance is 2 ohms.
-
Page 11: Troubleshooting
4. TROUBLE SHOOTING NO SOUND ( NO OUTPUT ) 1) Please check all connections, cables' rounting, short and voltage at OKUR amplifiers and headunit 2) Please check built-in or external fuses ,If it is brlown, pls replace with new one. 3) Please check whether speakers work well, you can test speakers by connecting to another amplifier PROTECTION 1) Please check overload, overheat ( thermal ), short, voltage and DC offset. -
Page 12: Limited Warranty
This limited warranty does not extend to units that have been subjected to misuse, abuse, neglect, or accident. Products that in DB DRIVE’s judgment shows evidence of having been altered, modi ed, abused or serviced without DB DRIVE’s authorization, will be ineligible under this warranty.


Need help?
Do you have a question about the OKUR A775.4 and is the answer not in the manual?
Questions and answers