Table of Contents
Advertisement
Advertisement
Table of Contents

Related Manuals for Denon DN-720R


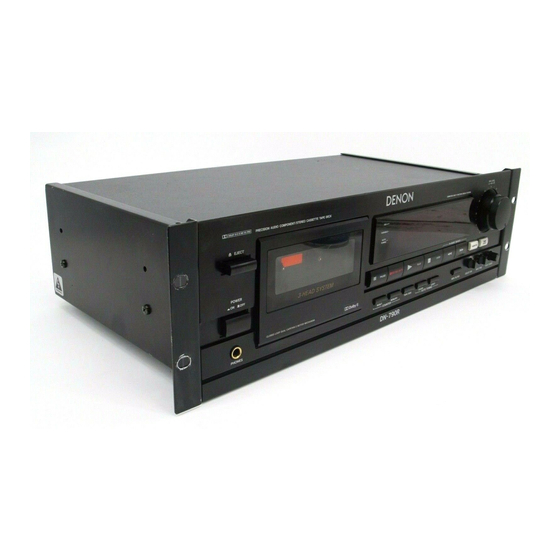
Summary of Contents for Denon DN-720R
-
Page 1: Operating Instructions
STEREO CASSETTE TAPE DECK DN-720R OPERATING INSTRUCTIONS... -
Page 2: Connection Cords
2. Do not open the top cover In order to prevent electric shock, do not open the top cover. If problems occur, contact your DENON DEALER. 3. Do not place anything inside Do not place metal objects or spill liquid inside the cassette tape deck. -
Page 3: Safety Instructions
Read Instructions – All the safety and operating instructions should be read before the applicance is operated. Retain Instructions – The safety and operating instructions should be retained for future reference. Heed Warning – All warnings on the applicance and in the operating instructions should be adhered to. -
Page 4: Note On Use
Avoid high temperatures Allow for sufficient heat dispersion when installed on a rack. Handle the power cord carefully. Hold the plug when unplugging the cord. Keep the set free from moisture, water, and dust. Unplug the power cord when not using the set for long periods of time. -
Page 5: Table Of Contents
Thank you very much for purchasing the DENON component stereo cassette tape deck. DENON proudly presents this advanced tape deck to audiophiles and , music lovers as a further proof of DENON's non compromising pursuit of the ultimate in sound quality. The high quality performance and easy operation are certain to provide you with many hours of outstanding listening pleasure. -
Page 6: Names And Functions Of Parts
NAMES AND FUNCTIONS OF PARTS Power (POWER) Switch Controls the supply of AC power to the deck. One push turns the deck on, a second push turns it off. The deck remains in a stand-by (non-operative) mode for approximately 2 seconds after it is switched on. PHONES jack For private music enjoyment without disturbing others, or for monitoring a recording, a set of headphones may be plugged in. -
Page 7: Cassette Tapes
Tape transport controls ► PLAY button PLAY STOP STOP button << REW button >> FF button • REC/REC MUTE RECORD/MUTE button ll PAUSE PAUSE button CASSETTE TAPES • Handling Precautions • C-120 Cassettes C-120 cassette tapes are not recommended as they use a very thin tape base which may become tangled around the capstan or pinchroller. -
Page 8: Playback
PLAYBACK • Switch on your amplifier or receiver. • Set the TAPE MONITOR switch on your amplifier or receiver to the TAPE position. • Operate the deck in numerical order as illustrated below: PHONES Playback sound is fed into the headphones set. POWER Push the switch to turn "ON"... -
Page 9: Proper Recording Level
POWER Push the switch to turn "ON" the power. EJECT Press the EJECT button to open the cassette compartment. Cassette Compartment Cover (Make sure the erasure prevention tab has not been removed from the cassette shell half.) DOLBY NR Set, in accordance with the recording to be made. For recordings without Dolby NR, set to "OFF". -
Page 10: Rec/Rec Mute Button
REC/REC MUTE BUTTON REC/REC MUTE is the DENON's unique and convenient function. By using this button, it is easily possible to insert a suitable space (the non-recorded part) between two melodies. 1. When you want to make about 5 seconds of non-recorded part after the recording state: Press the REC/REC MUTE button. -
Page 11: Dolby B & C Noise Reduction System
1) Operation of the Real Time Tape Counter and the Linear Tape Counter • Real Time Tape Counter The time of the tape traveling at a constant speed is indicated in "M" (minutes) and "S" (seconds). A microcomputer measures and displays the time with high precision. Display example: 32m10s 32 minutes, 10 seconds. -
Page 12: Maintenance
MAINTENANCE • Removing the cassette compartment cover It will be more convenient if the cassette compartment cover is removed during the cleaning of the pinchroller and heads, or during demagnetizing of heads. Follow these procedures: Press the EJECT button to open the cassette compartment. Hold only the cover of the cassette compartment and pull it up. -
Page 13: Troubleshooting
Are the speakers and amplifiers functioning correctly? If the tape deck still does not function properly, check it again, using the check list below. If the symptom does not correspond to the check list, please contact your DENON dealer. Problem Tape does not run.
Need help?
Do you have a question about the DN-720R and is the answer not in the manual?
Questions and answers