Table of Contents
Advertisement
ATTENTION INSTALLING PERSONNEL
As a professional installer you have an obligation to know the product better than the customer. This includes all
Prior to actual installation, thoroughly familiarize yourself with this Instruction Manual. Pay special attention to all
safety warnings. Often during installation or repair it is possible to place yourself in a position which is more
Remember, it is your responsibility to install the product safely and to know it well enough to be able to instruct a
Safety is a matter of common sense...a matter of thinking before acting. Most dealers have a list of specific good
The precautions listed in this Installation Manual are intended as supplemental to existing practices.
there is a direct conflict between existing practices and the content of this manual, the precautions listed here take
IO-370A
May 2010
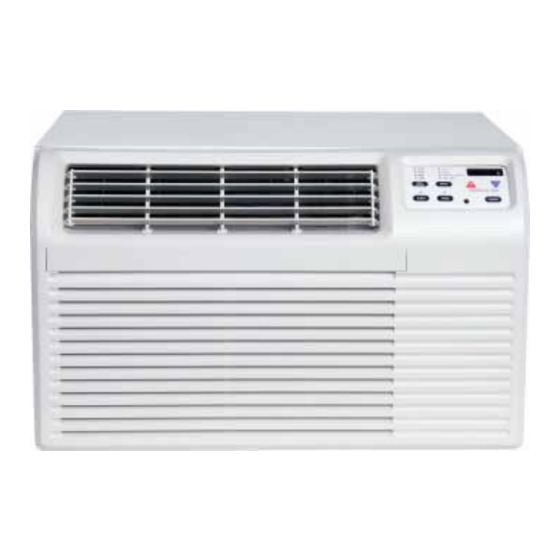
THROUGH THE WALL
ROOM AIR CONDITIONER
WITH OPTIONAL ELECTRIC HEAT
I
NSTALLATION
RECOGNIZE THIS SYMBOL AS A SAFETY PRECAUTION.
safety precautions and related items.
hazardous than when the unit is in operation.
customer in its safe use.
safety practices...follow them.
is a registered trademark of Maytag Corporation or its related companies and is used under
license to Goodman Company, L.P., Houston, TX. All rights reserved.
www.amana-ptac.com
© 2010 Goodman Company, L.P.
I
NSTRUCTIONS
precedence.
However, if
Advertisement
Table of Contents

Related Manuals for Amana PBH073G35CC


Summarization of Contents
Installation Safety Precautions
Installer Responsibility and Safety
Professional installers must understand and follow all safety warnings and precautions.
Unit Features and Electrical Setup
Unit Features Overview
Key features of the unit, including LCDI/AFCI power cords and plug types.
Electrical Requirements and Voltage Checks
Verify voltage/current ratings and measure supply voltage before unit connection.
Installation Procedures
General Installation Guidelines
Follow manual instructions and codes for safe, efficient operation.
Wall Sleeve Installation
Properly install wall sleeve for drainage, ensuring level and correct pitch.
Rear Louver Panel Installation
Install rear louver kit for airflow and protection of outdoor coil.
Chassis Installation Steps
Remove front grille, secure chassis, and attach grounding wire as instructed.
Chassis Installation and Grounding
Chassis Installation Steps
Slide chassis into sleeve, ensuring ground wire is clear and securing locking plate.
Power Cord Routing
Route power cord properly and secure with clamp if necessary.
Vent Control and Airflow Management
Vent Control Operation
Adjust vent control for circulation or exhaust; access via front grille removal.
Air Direction Adjustment
Control horizontal louvers to direct airflow left or right.
Airflow Obstruction Warnings
Avoid airflow obstructions to prevent rapid cycling and compressor damage.
Wiring Safety and Electrical Warnings
General Wiring Precautions
Use copper conductors, avoid extension cords, ensure proper polarization and cord strain.
Unattended Operation Risk
Warning about unattended operation and the risk of extreme heat or death.
High Voltage Safety Procedures
Disconnect power before servicing; ensure all disconnects are open or cord is unplugged.
Electronic Control Panel and Remote
Control Panel Functions
Overview of control panel buttons and indicators for unit operation.
Remote Control Usage
How to use the remote control to operate all unit functions.
Basic Operation Modes and Settings
Turning Unit On and Off
Instructions for powering the unit on and off using the power button.
Adjusting Temperature Settings
How to change the desired temperature using the control panel.
Selecting Fan Speeds
Steps to select fan speed modes: High, Med, Low, Fan Only, and Auto Fan.
Advanced Operating Modes
Fan Only Mode
Utilize Fan Only mode for air circulation; displays actual room temperature.
Energy Saver Mode
Engage Energy Saver for efficiency, noting potential temperature variations.
Timer-Delay Operation
Configure timer for delayed start or stop, with adjustable time increments.
Heating, Sleep, and Fault Codes
Heating Feature Operation
Using the heating mode to maintain temperature automatically.
Sleep Feature Functionality
Setting the sleep mode for gradual temperature adjustments over time.
Understanding Fault Codes
Interpreting fault codes indicating sensor failures (F1, F2, F4, FJ).
Additional Information and Maintenance
Compressor Specifications
Compressor is sealed, lubricated, and requires no additional oil.
Cleaning Front Panel and Grille
Clean with mild soap; avoid harsh chemicals and excessive moisture.
Scheduled Maintenance Guidelines
Perform regular cleaning and inspections for optimal performance and efficiency.
Normal Operating Sounds
Descriptions of common sounds like popping, gurgling, and trickling water.
Obtaining Service Support
Contact an authorized service organization for repairs or assistance.
Limited Consumer Warranty
Consumer Warranty Coverage
Covers first-year unit and five-year sealed system defects in materials/workmanship.
Consumer Warranty Limitations
Details exclusions for faulty installation, misuse, or lack of maintenance.
Warranty for Commercial Customers
Commercial Warranty Terms
Warranty terms for commercial use, including coverage and limitations.
Commercial Warranty Exclusions
Specific items not covered by the commercial warranty.
Need help?
Do you have a question about the PBH073G35CC and is the answer not in the manual?
Questions and answers