
Related Manuals for Polaroid CGA-02540


Summary of Contents for Polaroid CGA-02540
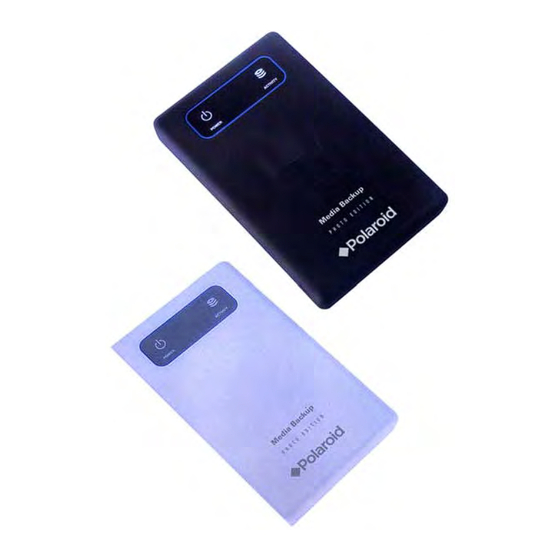
- Page 1 Media Backup Storage Device CGA-02540 - Black CGA-02541 - White Operation Manual 20061201 Page 1 of 23...
-
Page 2: Table Of Contents
ONGRATULATIONS on your purchase of a Polaroid media backup storage device. Please read carefully and follow all instructions in the manual and those marked on the product before first use. Failing to follow these warnings could result in personal injury or damage to the device. Also, remember to keep this User’s Manual in a convenient location for future reference. -
Page 3: Product Specifications
Product Specifications Unit: o Dimensions: 5” x 3” x 5/8” o Weight: 7 oz o Hard drive: 40G 5V AC adapter o Nominal Capacity: o Nominal Voltage o Operating Temperature o Weight: 2.5 oz USB cable o Type A to mini-B Getting Started Main Features ClickFree™... -
Page 4: How To Make A Backup Of Your Photos
How to make a backup of your photos Overview The media backup storage device is an easy-to-use digital photo backup appliance. No hardware configuration or software installation is required. The backup procedure begins once the device has been attached to your computer using the supplied USB cable and power supply. - Page 5 4. The Countdown screen will automatically appear on your computer. Once the Countdown screen appears on your computer, the backup countdown timer will begin. When the countdown timer reaches zero, the backup will automatically start. There may be a slight delay between connecting the media backup storage device and when the Countdown screen appears.
- Page 6 6. When backup completes, you’re done! Disconnect the USB Cable and unplug the supplied 5V AC adapter from the media backup storage device and wall outlet. Store your media backup storage device in a safe place. Page 6 of 23...
-
Page 7: Restoring (Copying) Photos
Restoring (copying) photos Overview The restore (copy) function allows you to restore photos backed up on your media backup storage device to your computer. Restoring photos will not delete them from the media backup storage device. When restoring your photos, there are two possible scenarios: 1. -
Page 8: When Restoring (Copying) Images To A Computer The Media Backup Storage Device Currently Holds A Backup For
When restoring (copying) images to a computer the media backup storage device currently holds a backup for To restore selected photos only: 1. Connect the media backup storage device to your computer. Click on the Setup Options button before the countdown timer reaches zero. 2. -
Page 9: When Moving Images From The Media Backup Storage Device To Another Computer Or Restoring (Copying) To The Same Computer With A Reinstalled Operating System
To restore all of your photos: 1. Connect the media backup storage device to your computer. Click on the Setup Options button before the countdown timer reaches zero. 2. Click on the Restore tab. 3. Click on the Restore All button. This will bring up the Restore All window. 4. - Page 10 To restore all photos: 1. Connect the media backup storage device to your computer. When the New Computer screen appears, click on the Restore Photos button. 2. Click on the Restore All button. This will bring up the Restore All window. 3.
-
Page 11: Overview
Note: The drive you select must have enough space to hold all of your photos. 4. Click Start Restore to restore your photos. The media backup storage device will begin to restore your photos. Depending on the number of photos being restored and the speed of your computer, the restore process may take several minutes. -
Page 12: Change The Drives And Folders The Media Backup Storage Device Will Search For Photos In
Change the drives and folders the media backup storage device will search for photos in: You can choose the locations on your computer where the media backup storage device searches for photos. The media backup storage device can either: automatically search your entire computer (default setting) only search selected folders To have the media backup storage device automatically search your entire computer:... -
Page 13: To Have The Media Backup Storage Device Search Only Selected Folders
Skip Windows: Selecting this box will tell the media backup storage device to skip the Windows folder and all subfolders. The default setting is to skip the Windows folder (checked). Skip Program Files: Selecting this box will tell the media backup storage device to skip the Program Files folder and all subfolders. -
Page 14: Change The Way The Media Backup Storage Device Handles Files Found In E-Mails And Zip Files
6. Click the Save button. When the media backup storage device starts its next backup, it will only back up the file types that you have specified. To change the file sizes that the media backup storage device backs up: 1. -
Page 15: Advanced Configuration Options
Advanced configuration options Overview The media backup storage device also contains several advanced options and tools, such as a photo viewer, the ability to reset the media backup storage device, and general usage statistics. Viewer: The Viewer allows you to view photos that are backed up on the media backup storage device. - Page 16 The media backup storage device is designed to backup a single computer at a time. If the media backup storage device already holds a backup for a computer but you would like to use it to backup a different computer, you must first reset it. Resetting will delete the photos and movies backed up on the media backup storage device itself, but will not affect any photos on your computer.
-
Page 17: Statistics
Statistics: Statistics will provide you with information about the media backup storage device’s usage and available space. To view the Statistics page: 1. Connect the media backup storage device to your computer. Click on the Setup Options button before the countdown timer reaches zero. 2. -
Page 18: To Print Your Photos On Your Home Printer
Use a photo as your desktop wallpaper Burn your photos to a CD Print your photos using an online service Delete photos from the media backup storage device (photos on the computer are not affected) To use these features, you must have at least one backed up photo on the media backup storage device. -
Page 19: To Share Your Photos Using An Online Service
To share your photos using an online service: 1. Connect the media backup storage device to your computer and let the backup complete. If you have already backed up photos onto the media backup storage device, you should click on the View Images button on the Countdown page. 2. -
Page 20: To Set A Photo As Your Desktop Wallpaper
To set a photo as your desktop wallpaper: 1. Connect the media backup storage device to your computer and let the backup complete. If you have already backed up photos onto the media backup storage device, you should click on the View Images button on the Countdown page. 2. -
Page 21: To Delete Photos From The Media Backup Storage Device
selected and the speed of your Internet connection, this process may take several minutes. 8. Follow the instructions of your online service provider to print your photos. To delete photos from the media backup storage device: Deleting will allow you to remove backed up photos or directories (including their contents) from the media backup storage device. -
Page 22: Troubleshooting
Troubleshooting Problem Solution Nothing happens when the media backup storage Ensure USB cable is properly connected device is connected to computer. Connect power adapter Connect the media backup storage device to computer after computer has fully booted up (select a user, if required) Close full screen mode in Windows XP Media Center Edition. -
Page 23: Frequently Asked Questions
Windows operating system. For the latest information on using the media backup storage device with Windows Vista, visit www.polaroid.com "Polaroid" and “Polaroid and Pixel” are trademarks of Polaroid Corporation, Waltham, MA, USA. For service, support and warranty information, visit www.polaroid.com.
Need help?
Do you have a question about the CGA-02540 and is the answer not in the manual?
Questions and answers