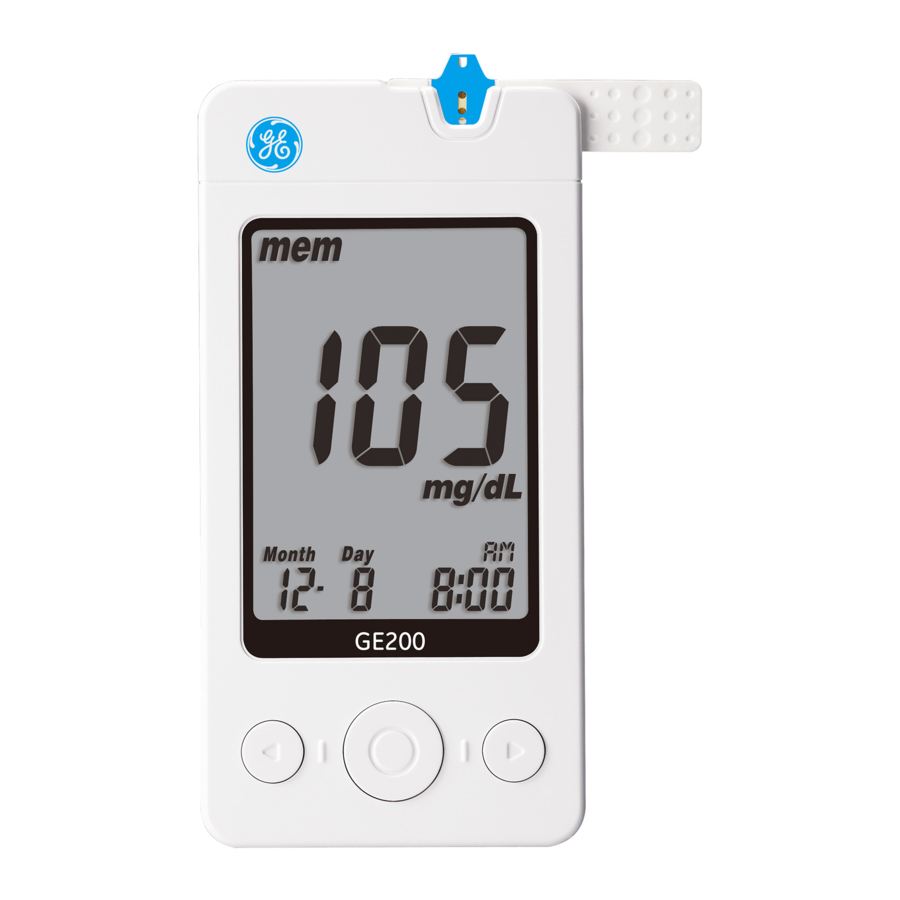
GE GE200 Manual
Also See for GE200:
- User manual (41 pages) ,
- Getting started manual (4 pages) ,
- Getting started manual (2 pages)
Advertisement
Table of Contents
Contents
GE GE200 Manual
Overview

Installation the Batteries
- Turn the meter over. Press the battery cover to open.
![]()
- Install the two CR2032 batteries. Be sure to insert the batteries in the correct direction.
![]()
- Put the battery cover back on until it snaps into place.
![]()


Setting Up Your Meter - Setting the Date, Time and Volume
- Press and release the Main button "
![]() " to turn on the meter.
" to turn on the meter. - Press and hold the Main button "
![]() " for 7 seconds to enter the Setting Mode. The year will flash. (Note: The meter will turn off while you are holding down the button. Continue holding down the Main button to reach the Setting Mode. You will then be asked to set the year.)
" for 7 seconds to enter the Setting Mode. The year will flash. (Note: The meter will turn off while you are holding down the button. Continue holding down the Main button to reach the Setting Mode. You will then be asked to set the year.) - Press the Left button "
![]() " or Right button "
" or Right button "![]() " to change the year.
" to change the year. - Press the Main button "
![]() " to confirm the year and move onto the month setting.
" to confirm the year and move onto the month setting.
![]()
- Repeat step 3 and 4 to change the date, time format, hour, minute and volume. After pressing the main button to confirm the volume setting, your set-up is complete.
![]()
![]()
 " to turn on the meter.
 " or Right button "
 " to change the year.


NOTE
- In order to ensure proper operation, do not use this meter close to strong sources electromagnetic radiation.
- Keep the meter free of dust and liquids, including water.
Preparing the Lancing Device
- Hold the depth adjustable cap in one hand and hold the hub in the other hand. Bend the cap towards the down side, until a gap appears between the cap and hub.
![]()
- Pull the cap and hub off in opposite directions, remove the cap.
![]()
- Insert a new disposable lancet firmly into the lancet carrier.
![]()
- Twist off and set aside the protective cover of the disposable lancet.
![]()
- Replace the adjustable depth cap.
![]()
- Choose a depth of penetration by rotating the top portion of the adjustable depth cap to the desired depth setting. Your setting should be based on your skin type:
"![]() " for soft or thin skin;
" for soft or thin skin;
"![]() " for average skin;
" for average skin;
"![]() " for thick or calloused skin.
" for thick or calloused skin.
![]()
- Hold the base in one hand and pull on the plunger with the other hand. Release the plunger and it will automatically move back to its original position near the base. The device will be cocked.
![]()


 " for soft or thin skin;
 " for average skin;
 " for thick or calloused skin.

Performing a Test
- Wash and dry your hands. Take one test strip from the vial. Close the vial cap immediately.

- Insert the strip into the strip port on the meter with the view window facing up. Push the strip in until you hear a click. The meter will automatically detect the code number.
![]()
- When you see the flashing blood drop icon on the display window, hold the lancing device to your fingertip and press the release button.
![]()
![]()
- A blood drop size between 0.75 µL and 3.0 µL is required for testing. See Sample Size Example Chart for drop sizes. Blood drop sizes greater than 3.0 µL may contaminate the meter. A minimum of a 0.75 µL drop is required for accurate results.
![]()
- Touch and hold the drop to the edge of sample port until you hear a " beep " and the view window is filled with blood. If the view window is not completely filled with blood, the test will not start. Discard the test strip and repeat the test with a new test strip.

- The countdown will begin on the display window. After 5 seconds, your test result will appear. For more information about your test results, please see your User's Manual.
![]()
- Remove the test strip from the meter. Please follow your local regulations to properly discard the used strip.
![]()
- Pull off the adjustable depth cap. Without touching the used disposable lancet, stick the lancet tip into the protective cover.
![]()
- Hold the release button in one hand and pull the plunger with the other hand. This will safely eject the used disposable lancet.
![]()
- Discard the used disposable lancet into an appropriate puncture-proof or biohazard container.
![]()
- Replace the adjustable depth cap after finishing the test.
![]()


Alternative site testing: palm or forearm blood sampling

- Choose the clear cap and follow step 1 and step 2 "Performing a Test".
- Massage the puncture area of your palm or forearm for a few seconds.
- Immediately after massaging the puncture area, press and hold the lancing device with the clear cap against your palm or forearm.
- Press the release button.
![]()
- Continue holding the lancing device against your palm or forearm. Gradually increase pressure for a few seconds until the blood sample size is sufficient.
![]()
- Follow step 9 to discard the used disposable lancet.
NOTE: DO NOT test on the palm or forearm if you are testing for hypoglycemia (low blood glucose).


NOTE
- The GE Lancing Device is intended for single person use only.
Documents / ResourcesDownload manual
Here you can download full pdf version of manual, it may contain additional safety instructions, warranty information, FCC rules, etc.
Advertisement


Need help?
Do you have a question about the GE200 and is the answer not in the manual?
Questions and answers