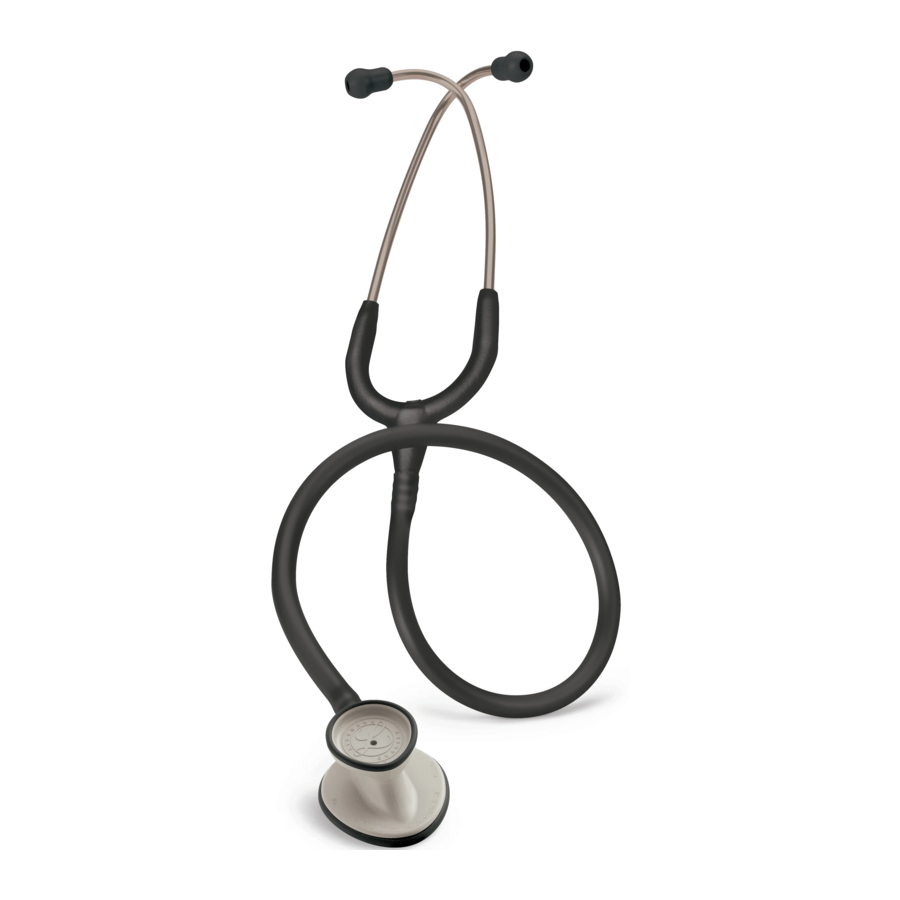
3M Littmann Lightweight II S.E. Manual
- Quick start manual (6 pages) ,
- Manual (28 pages)
Advertisement

Product Description
The Littmann Lightweight II S.E. is designed with a new ovoid shaped chestpiece and offset bell that allows easy access to auscultation areas difficult to probe with circular chestpieces. The new design also utilizes 3M's tunable style diaphragm, non-chill rim and diaphragm, patented 3M™ Littmann® Soft- Sealing Eartips and a comfortably angled, anatomically correct headset and comes in a variety of colors to meet individual preferences. Most of all, know that your Littmann Lightweight II S.E. stethoscope carries the Littmann brand name, the name known worldwide for unsurpassed quality. As a trusted leader in auscultation technology, the Littmann brand of stethoscopes is your assurance of acoustical superiority, innovative design and exceptional performance.
Intended Use
This product is intended for limited physical assessment and other general purpose uses such as blood pressure assessment. It can be used for auscultation of heart, lung and other body sounds. This product is not designed, sold or intended for use except as indicated.
Precautions
- Avoid extreme heat, cold, solvents, and oils.
- The entire stethoscope can be wiped clean with alcohol or soapy water.
- Eartips can be removed from the ear tubes for thorough cleaning. NOTE: Do not immerse your stethoscope in any liquid or subject it to steam sterilization. If disinfection is required, the stethoscope may be wiped with a 70% isopropyl alcohol solution.
Explanation of Symbols
 |
|
 |
|
Instructions for Use
Chestpiece:
On Littmann stethoscopes with traditional combination chestpiece, you select either the diaphragm or open bell side by holding the chestpiece stem in one hand and rotating the chestpiece with the other hand until a click is felt.
Changing Frequencies Using the Tunable Diaphragm:
Your Littmann Lightweight II S.E. Stethoscope is equipped with a 3M tunable style diaphragm that enables you to listen to both low and high frequency sounds without turning over the chestpiece.
Low frequencies:
To listen to low frequency sounds, (traditional bell mode) you can use either the open bell or tunable diaphragm using very light skin contact.
High frequencies:
To listen to higher frequency sounds, using the tunable diaphragm, press firmly on the chestpiece. To listen to low and high frequency sounds without removing and turning over the chestpiece, simply alternate between light and firm pressure on the tunable diaphragm.

Eartip Replacement
For maximum acoustic performance, comfortable patented 3M™ Littmann® Soft-sealing Eartips are provided with your stethoscope. This stethoscope utilizes a unique design for attaching the eartip to the eartube. The eartips are pushed on to the end of the eartube and snapped firmly into place. To remove, pull firmly on the eartip.

Headset Adjustment
Your Littmann stethoscope is designed to provide a comfortable, acoustically sealed ear fit. Notice that the ear tubes are set to accommodate the typical anatomy of the ear canal. The eartips should point in a forward direction as you insert them into your ear canals.

To reduce spring tension in the headset, hold each ear tube at the bend near the eartip and gradually pull apart until fully extended.

To increase spring tension, grasp the headset with one hand where the ear tubes enter the plastic tubing and squeeze until the plastic tubing on one ear tube touches the other. Repeat as necessary.

Removing the Diaphragm and Cleaning the Chestpiece
With the diaphragm side up, push the rim at one point with both thumbs and roll the rim off the edge of the chestpiece. Remove the diaphragm from the rim and clean parts in soapy water or wipe with alcohol. Wipe chestpiece surfaces with alcohol or soapy water. Dry all parts and surfaces thoroughly before reassembly.

Assembly and Replacement of the Diaphragm

Using your fingertip, apply a small amount of talcum powder to the inside surface of the flexible edge of the diaphragm then align the rim and diaphragm as a unit. This will facilitate assembly and maintain smooth and quiet low/high frequency alternation. Snap the diaphragm with your fingers to remove excess talcum powder. Insert the flexible edge of the diaphragm into the groove of the rim. This is best accomplished by starting with the rim positioned above the legible side of the diaphragm. Visually examine the ring to ensure that the flexible edge is smoothly engaged inside the rim. Refer to illustration for correct assembly of the non-chill rim and diaphragm. If necessary, flex the assembly by pinching the outer rim edge between the thumb and fingers. To attach the rim/diaphragm assembly to the chestpiece, engage the groove of the rim (with the diaphragm attached) around the chestpiece at one point and hold it in place with your thumbs. Slowly roll the rim around and over the chestpiece edge using both thumbs, moving in opposite directions around the chestpiece. Visually inspect the edge where the diaphragm engages the rim for uniform containment. Minor adjustments may be made by slightly pulling and rolling the rim away from the diaphragm, allowing the diaphragm to slip into position.

Documents / ResourcesDownload manual
Here you can download full pdf version of manual, it may contain additional safety instructions, warranty information, FCC rules, etc.
Advertisement


Need help?
Do you have a question about the Littmann Lightweight II S.E. and is the answer not in the manual?
Questions and answers