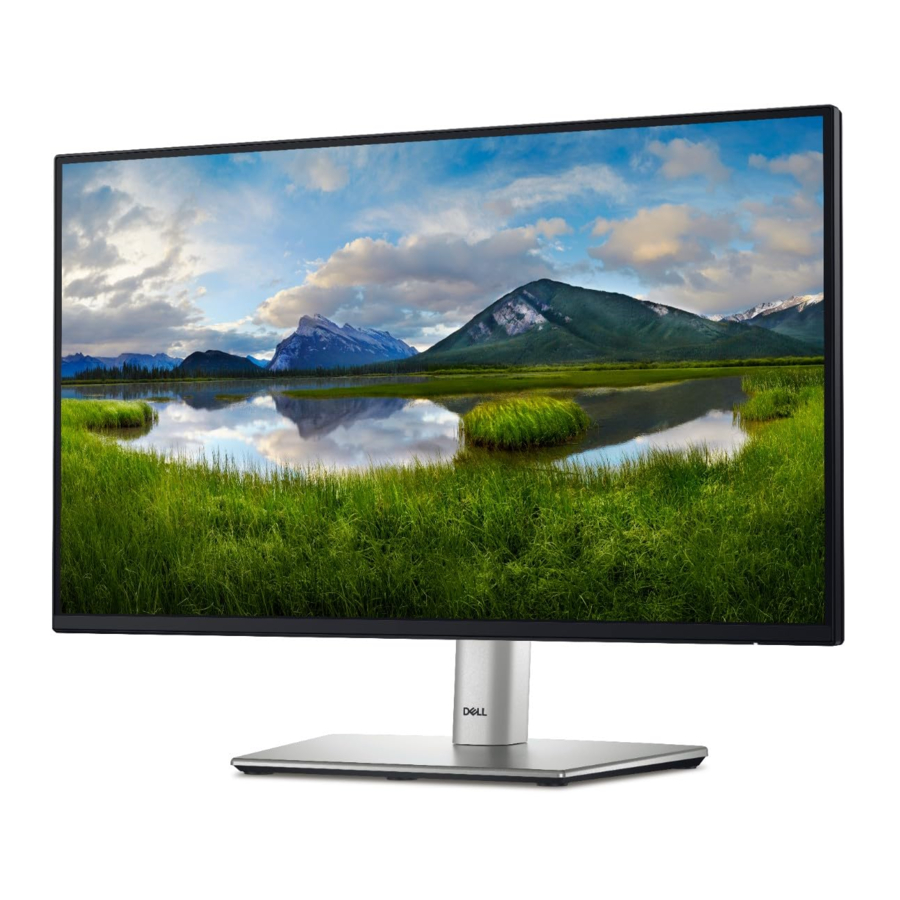
Dell P Series, P2725HE Service Manual
- User manual (106 pages) ,
- Service manual (26 pages) ,
- Firmware update instruction (10 pages)
Advertisement
Exploded view diagram with list of items

| Item | Description | Q'ty | Remark |
| 1 | Panel | 1 | ForEMEAOnly, notfor otherregions |
| 2 | Middle Frame | 1 | |
| 3 | USB BD | 1 | |
| 4 | Panel Mylar | 1 | |
| 5 | Power BD | 1 | |
| 6 | Interface BD | 1 | |
| 7 | Main Bracket | 1 | |
| 8 | IO Connector Cover | 1 | |
| 9 | Key BD | 1 | |
| 10 | Joystick button | 1 | |
| 11 | Back cover | 1 | |
| 12 | Riser ASSY | 1 | |
| 13 | Base ASSY | 1 | |
| 14 | Power cable | 1 | See "NOTE" |
| 15 | DisplayPort 1.4 cable(1.8 meter) | 1 | See "NOTE" |
| 16 | USB Type-C 3.2 Gen2 cable(1 meter) | 1 | See "NOTE" |
 NOTE:
NOTE:
For replacement of power cord, connectivity cable and external power supply (if applicable), contact Dell:
- Go to https://www.dell.com/support. ;
- Verify your country or region in the Choose A Country/Region drop-down menu at the bottom-right corner of the page.
- Click Contact Us next to the country dropdown.
- Select the appropriate service or support link based on your need.
- Choose the method of contacting Dell that is convenient for you.
Wiring Connectivity Diagram

How to connect and disconnect power cable/ connectivity cable

To change power cable/ connectivity cable, switch off power before unplugging the cable and replugging in required cable.


Disassembly and Assembly Procedures
NOTE:
This "Disassembly and Assembly Procedures" is for EMEA only, not for other regions. Please note that Dell will deem warranty void if any disassembly is done on the monitors.
Tool Required:
List the type and size of the tools that would typically can be used to disassemble the product to a point where components and materials requiring selective treatment can be removed.
Tool Description:
- Screwdriver(Phillip head) #1
- Screwdriver(Phillip head) #2
- Penknife
- Soldering iron and absorber
Disassembly Procedures

Remove the monitor stand base:
- Place the monitor on a soft cloth or cushion.
- Press and hold the stand-release button.
- Lift the stand up and away from the monitor.
![]()


Use a Philips-head screwdriver to remove four screws for unlocking mechanisms.
(No.1~4 screw size=M4x10; Torque=10


Wedge your fingers between the rear cover and the middle bezel on the corners of the top side of the monitor to release the rear cover, then use one hand to press the middle bezel, the other hand to pull up carefully the rear cover in order of arrow preference for unlocking mechanisms of rear cover..


Lift the rear cover up carefully. Disconnect the key cable and USB FFC cable from the connectors of the interface board, and then remove the rear cover.


Put the rear cover into a fixture jip, then release the key cable by tearing off the tapes. Use a Philipshead screwdriver to remove 1pcs screws for unlocking the joystick key board with the rear cover.
(No.1 screw size=M2x3.3,Torque=1±0.2kgfxcm)


Tear off 2pcs aluminum foil, then use a Philips-head screwdriver to remove 1pcs screw for unlocking the USB unit, then disconnect the USB cable away from the board and release the USB board unit.
(No.1 screw size=M3x6, Torque=4±1kgfxcm)


Use a Philips-head screwdriver to remove 13pcs screws for unlocking the middle frame with the panel.
(No.1~13 screw size=M3x4, Torque=5±1kgfxcm)


Release the IO cover from the hooks of the main bracket chassis and put it aside.


Disconnect the panel lamp cable from the connectors of the panel and interface board, then tear off the tapes and release the lamp cable from the hook of middle frame.


Lift up the middle frame away from the panel module and put it aside.


Use a Philips-head screwdriver to remove 2pcs screws for unlocking the bracket chassis with the panel.
(No.1~2 Screw size= M3x3, Torque=5±1kgfxcm)


Push the earing -locks and disconnect the LVDS cable from the connector of the panel module, then lift up and take away the bracket chassis module and then put it on a cushion for later disassembling.


Remove the black Mylar sheet from the hooks of the main bracket as the picture below shown.


Use a Philips-head screwdriver to remove 5pcs screws for unlocking the power board and interface board, and then release all the cables from the hooks.
(No.1~4 screw size=M3x6, Torque=5±1kgfxcm; No.5 screw size=M4x8, Torque=5±1kgfxcm)


Remove the interface board and power board from the bracket chassis module carefully, and disconnect all the cables.

Assembly Procedures

Place a bracket chassis base on a protective cushion, then paste 4pcs silicon sheet on the position as the picture below shown.


Turn over a power board and put the power board into the correct position of the bracket chassis base as the picture below shown.


Take a interface board, connect a LVDS cable to the connector of the interface board, then connect the cable of the power board to the connector of the interface board. Turn over the interface board and locate it into the bracket. Use a Philips-head screwdriver to tighten 7pcs screws for locking the power board and interface board.
(No.1 screw size=M4x8, Torque=5±1kgfxcm; No.2~7 screw size=M3x6, Torque=5±1kgfxcm)


Take a mylar to insert the hooks of the bracket to cover the power board.


Panel preparation: Take out 1pcs panel from the carton and then examine the panel surface according to inspection criteria. Tear off the protective film of the panel screen, and then turn over the panel to place screen faced down for later assembling.


Put the bracket chassis module on the back of LCD module, then push the earing-locks and connect LVDS cable and panel lamp cable to the connectors of the panel module.


Use a Philips-head screwdriver to tighten 2pcs screws for locking the bracket with panel module.
(No.1~2 screw size=M3x4, Torque=5 ± 1kgfxcm)


Take 1pcs middle frame to assemble the panel module, then adjust the middle bezel for two parts firmly attachment.


Take 1pcs panel lamp cable to connect the panel and interface board, then locate the panel lamp cable to the hook of the middle frame and fix the lamp cable on the back of panel by the tapes on the back of the cable.


Take 1pcs IO cover to locate the hooks of the bracket chassis module as the picture below shown.


Use a Philips-head screwdriver to tighten 13pcs screws for locking the middle frame with the panel.
(No.1~13 screw size=M3x4, Torque=5±1kgfxcm)


Take 1pcs USB board and 1pcs connect cable. Connect the cable to the USB board, then locate the USB board into the hook of the middle frame. Use a Philips-head screwdriver to tighten one screw for locking the USB unit with middle frame, then connect the USB cable to the connector of interface board, then fix the cable by tape on the back of the cable. Paste 2pcs AL foil on the correct position to fix the cables.
(No.1 screw size=M3x6, Torque=4±1kgfxcm)


Take 1pcs joystick key, 1pcs joystick board and 1pcs joystick cable, then assemble the joystick key with board, and then connect the cable to the connector of the joystick board.


Locate the joystick board to the correct position of the rear cover, then use a Philips-head screwdriver to tighten 1pcs screw for locking the joystick board with rear cover, then fix the key cable with 2pcs tapes.
(No.1 screw size=M2x3.3,Torque=1±0.2kgfxcm)


Move the assembled rear cover close to the panel, then connect the joystick cable to the connector of interface board. Put down the rear cover and push the rear cover on the positions marked as the picture below shown for mechanisms engagement.


Use a Philips-head screwdriver to tighten 4pcs screws for locking rear cover with the assembled unit. Paste 2pcs labels and insert 1pcs DP cap on the specific positions as the picture below shown.
(No.1~4 screw size=M4x10; Torque=10±1kgfxcm)


Take 1pcs assembled stand base, then fit the two tabs on the upper part of the stand into the grooves on the back of the monitor, and then press the stand so that the monitor mounting area snaps onto the stand.


Lift up the monitor, then provide power supply and a video signal to the monitor, then turn on the monitor for functionality check.

Troubleshooting
Before you begin any of the procedures in this section, follow the Safety instructions.
Self-test
Your monitor provides a self-test feature that allows you to check whether your monitor is functioning properly. If your monitor and computer are properly connected but the monitor screen remains dark, run the monitor self-test by performing the following steps:
- Turn off both your computer and the monitor.
- Unplug the video cable from the computer.
- Turn on the monitor.
If the monitor cannot sense a video signal and is working correctly, the following message will appear:

or

NOTE: The message may be slightly different according to the connected input signal.
NOTE: While in self-test mode, the power LED remains white.
- This box also appears during normal system operation, if the video cable becomes disconnected or damaged.
- Turn off your monitor and reconnect the video cable; then turn on both your computer and the monitor.
If your monitor screen remains blank after you use the previous procedure, check your video controller and computer, becaus e your monitor is functioning properly.
Built-in diagnostics
Your monitor has a built-in diagnostic tool that helps you determine if the screen abnormality you are experiencing is an inherent problem with your monitor, or with your computer and video card.

To run the built-in diagnostics:
- Ensure that the screen is clean (no dust particles on the surface of the screen).
- Move or press the joystick to launch the Menu Launcher.
- Move the joystick up to select
![]() and open the Main Menu.
and open the Main Menu. - Move the joystick to navigate and select Others and then Self-Diagnostic.
- Press the joystick to initiate the built-in diagnostics. A gray screen is displayed.
- Observe if the screen has any defects or abnormalities.
- Toggle the joystick once again until a red screen is displayed.
- Observe if the screen has any defects or abnormalities.
- Repeat steps 7 and 8 until the screen displays green, blue, black, and white colors. Note any abnormalities or defects.
The test is complete when a text screen is displayed. To exit, toggle the joystick control again.
If you do not detect any screen abnormalities upon using the built-in diagnostic tool, the monitor is functioning properly. Check the video card and computer.
Common problems
The following table contains general information about common monitor problems you might encounter and the possible solutions:
| Common symptoms | What you experience | Possible solutions |
| No video/power LED off | No picture |
|
| No video/power LED on | No picture or no brightness |
|
| Poor focus | Picture is fuzzy, blurry, or ghosting |
|
| Shaky/jittery video | Wavy picture or ne movement |
|
| Missing pixels | LCD screen has spot |
|
| Stuck-on pixels | LCD screen has bright spots |
|
| Brightness problems | Picture too dim or too bright |
|
| Geometric distortion | Screen not centered correctly | Reset the monitor to factory settings. |
| Horizontal/ vertical lines | Screen has one or more lines |
|
| Synchronization problems | Screen is scrambled or appears torn |
|
| Safety related issues | Visible signs of smoke or sparks |
|
| Intermittent problems | Monitor malfunctions on and off |
|
| Missing color | Picture missing color |
|
| Wrong color | Picture color not good |
|
| Image retention from a static image left on the monitor for a long period of time | Faint shadow from the static image displayed appears on the screen |
|
| Video ghosting or overshooting | Video ghosting, shadows or color smear while scrolling | Change the Response Time in the Display menu OSD to Normal or Fast, depending on your application and usage. |
| Picture quality (Refresh rate of native resolution changes from 60 Hz to 30 Hz; or color depth drops to 18 bits) | Issues of incorrect refresh rate or missing colors |
|
Product specific problems
| Specific symptoms | What you experience | Possible solutions |
| Screen image is too small | Image is centered on screen, but does not fll the entire viewing area |
|
| Cannot adjust the monitor with the joystick | OSD does not appear on the screen |
|
| No input signal when you press the power button or toggle the joystick | No picture, the LED light is white |
|
| The picture does not fill the entire screen | The picture cannot ll the height or width of the screen |
|
| No video at HDMI/DisplayPort/USB Type-C port | When connected to some dongle/ docking device at the port, there is no video when unplugging/plugging the cable from the notebook | Unplug the HDMI/DisplayPort/USB Type-C cable from dongle/docking device, then plug the docking HDMI/DisplayPort/USB Type-C cable into the notebook. |
| No network connection | Network dropped or intermittent |
|
| The LAN port is not functioning | OS setting or cable connection issue |
|
| When a PS console is connected, the monitor is not compatible with the 1080i (interlaced) video timing | A message appears to notify you that the monitor does not support the current input timing. | Change the resolution of the PS console in Safe Mode. For the information about setting up the resolution, go to the o cial website of PlayStation. |
| When the rst monitor is connected to your PC or laptop using the USB-C connection, you might not be able to select the optimal resolution* for the 3rd (or more) monitor in Daisy chain mode in DP1.4 (DSC Disabled) | When MST is On and USB-C Prioritization is set to High Data Speed, the displayed pictures on the 3rd (or more) daisy chained monitor are not at the optimal resolution* | Switch USB-C Prioritization from High Data Speed to High Resolution (USB speed reduced to 2.0). |
*The optimal resolution for P2425HE/P2425HE WOST/P2725HE is 1920 x 1080 at 60 Hz; the optimal resolution for P2425E is 1920 x 1200 at 60 Hz.
Universal Serial Bus (USB) specific problems
| Specific symptoms | What you experience | Possible solutions |
| USB interface is not working | USB peripherals are not working |
|
| USB Type-C port does not supply power | USB peripherals can not be charged |
|
| Super speed USB 5 Gbps (USB 3.2 Gen1) interface is slow | Super speed USB 5 Gbps (USB 3.2 Gen1) peripherals working slowly or not working at all |
|
| Wireless USB peripherals stop working when a USB 3.2 device is plugged in | Wireless USB peripherals responding slowly or only working as the distance between itself and its receiver decreases |
|
| Wireless USB mouse does not work properly | When plugged into one of the USB ports on the rear side of the monitor, the Wireless USB mouse lags or freezes during use | Unplug the Wireless USB Mouse receiver and re-plug it into one of the Quick Access USB ports at the bottom of the monitor. |
 icon supports USB 3.2 Gen1 and an output of 90 W.
Important Safety Notice
Product Announcement:
This product is certificated to meet RoHS Directive and Lead-Free produced definition. Using approved critical components only is recommended when the situation to replace defective parts. Vender assumes no liability express or implied, arising out of any unauthorized modification of design or replacing non-RoHS parts. Service providers assume all liability.
Qualified Repairability:
Proper service and repair is important to the safe, reliable operation of all series products. The service providers recommended by vender should be aware of notices listed in this service manual in order to minimize the risk of personal injury when perform service procedures. Furthermore, the possible existed improper repairing method may damage equipment or products. It is recommended that service engineers should have repairing knowledge, experience, as well as appropriate product training per new model before performing the service procedures.
NOTICE:
! To avoid electrical shocks, the products should be connected to an authorized power cord, and turn off the master power switch each time before removing the AC power cord.
! To prevent the product away from water or expose in extremely high humility environment.
! To ensure the continued reliability of this product, use only original manufacturer's specified parts.
! To ensure following safety repairing behavior, put the replaced part on the components side of PWBA, not solder side.
! To ensure using a proper screwdriver, follow the torque and force listed in assembly and disassembly procedures to unscrew screws.
! Using Lead-Free solder to well mounted the parts.
! The fusion point of Lead-Free solder requested in the degree of 220°C.
Documents / ResourcesDownload manual
Here you can download full pdf version of manual, it may contain additional safety instructions, warranty information, FCC rules, etc.
Advertisement


Need help?
Do you have a question about the P Series and is the answer not in the manual?
Questions and answers