Table of Contents
Advertisement
The E-MSM430, E-MSM460, and E-MSM466 are Wi-Fi Alliance
authorized Wi-Fi CERTIFIED 802.11n/a/b/g products. The Wi-Fi
CERTIFIED Logo is a certification mark of the Wi-Fi Alliance.
E-MSM430, E-MSM460, and E-MSM466 802.11n Access Points Quickstart
This Quickstart shows you how to install and get started using the E-MSM430, E-MSM460, and E-MSM466 Dual Radio 802.11n Access Points, hereafter referred
to as the AP except for where specific model references are made. (See Products list on page 8 for part numbers.)
Please visit www.hp.com/networking/support for the latest documentation including the MSM3xx / MSM4xx Access Points Management and Configuration Guide
and the MSM7xx Controllers Management and Configuration Guide.
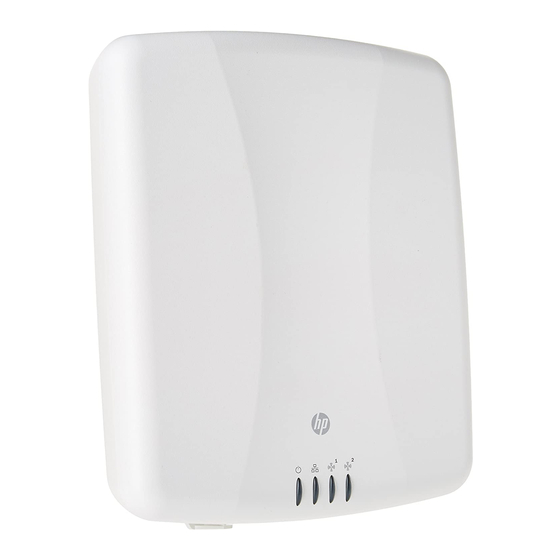
Hardware overview
Front view
1: Status Lights (Left to right) Power, Ethernet, Radio 1, Radio 2
2: Cable lock hole
3: Retention screw hole
➀
➁
➂
In
➃
➆
➆
➇
Back view
4: Antenna connectors (E-MSM466 only),
Radio 1 right, Radio 2 left
5: Reset button
6: Cable channel
7: AP Bracket tab slot
8: Console port
9: Ethernet port
➃
➄
➅
➆
➆
➈
Advertisement
Table of Contents

Related Manuals for HP J9650A


Summary of Contents for HP J9650A
-
Page 1: Hardware Overview
The E-MSM430, E-MSM460, and E-MSM466 are Wi-Fi Alliance authorized Wi-Fi CERTIFIED 802.11n/a/b/g products. The Wi-Fi CERTIFIED Logo is a certification mark of the Wi-Fi Alliance. E-MSM430, E-MSM460, and E-MSM466 802.11n Access Points Quickstart This Quickstart shows you how to install and get started using the E-MSM430, E-MSM460, and E-MSM466 Dual Radio 802.11n Access Points, hereafter referred to as the AP except for where specific model references are made. -
Page 2: Package Contents
HP E-MSM430, E-MSM460, E-MSM466 Dual Radio 802.11n Access Points Quickstart Important information to read before installing Package contents Surge protection and grounding: When connecting antennas installed outdoors to the E-MSM466, make sure that proper lightning surge protection The AP, AP Bracket, Padlock Bracket, two sets of AP Bracket T-bar clips with and grounding precautions are taken according to local electrical code. -
Page 3: Installation
HP E-MSM430, E-MSM460, E-MSM466 Dual Radio 802.11n Access Points Quickstart Installation If the AP will be powered by a user-supplied PoE power injector, Caution: If necessary, drill a hole for the Ethernet cable in the marked cutout area use only a gigabit-compatible power injector. Although 10/100 PoE-enabled of the AP Bracket. -
Page 4: Secure The Ap
HP E-MSM430, E-MSM460, E-MSM466 Dual Radio 802.11n Access Points Quickstart Installation Slide one of the T-bar clips into the AP Bracket T-bar slot. Screw it into While firmly holding the AP against the AP Bracket, slide the AP toward the place using two of the four provided self-tapping screws. -
Page 5: About Controlled Mode And Autonomous Mode
HP E-MSM430, E-MSM460, E-MSM466 Dual Radio 802.11n Access Points Quickstart About controlled mode and autonomous mode Connect the antennas (E-MSM466 only) About controlled mode and autonomous mode Connect the antenna cables to the E-MSM466, respecting the color-coding and The AP can operate in one of two modes: controlled (the default) or autonomous. radio designation. -
Page 6: Initial Configuration (Autonomous Mode)
HP E-MSM430, E-MSM460, E-MSM466 Dual Radio 802.11n Access Points Quickstart Initial configuration (autonomous mode) After the discovery process is complete, and the AP has established a secure A. Configure your computer management tunnel to a controller, the Power light remains on and the Disconnect your computer LAN port and configure it to use a static IP Ethernet and Radio lights blink to indicate the presence of traffic. -
Page 7: Configure Basic Wireless Protection
HP E-MSM430, E-MSM460, E-MSM466 Dual Radio 802.11n Access Points Quickstart Initial configuration (autonomous mode) D. Log in • Let the DHCP server automatically assign an IP address . By default, the DHCP server will assign an IP address after the AP connects to the Wait until the Power light stops blinking and remains on. -
Page 8: Before Performing Additional Configuration
2.4/5GHz 8/10.7dBi Outdoor requires the user to be notified that any changes or modifications made to the Sector device that are not expressly approved by the Hewlett-Packard Company may void the user's authority to operate the equipment. J9170A Directional 2.4/5GHz 10.9/13.5dBi Outdoor...
Need help?
Do you have a question about the J9650A and is the answer not in the manual?
Questions and answers