Advertisement

Install Your Cartridge
Shure cartridges can be used in DJ or Hi-Fi applications.

- Carefully remove the stylus from the cartridge. See Figure 1.
![Shure - 25 Series - Install Your Cartridge - Step 1 Install Your Cartridge - Step 1]()
Fig.1 - Use needle-nose pliers to connect the colored wires from the tonearm headshell to the corresponding pins on the cartridge. See Table 1 and Figure 2.
![]()
Fig.2
Table 1. Cartridge Wiring
| HEADSHELL WIRE | COLOR | PIN |
| RIGHT "HOT" | RED | R |
| RIGHT GROUND | GREEN | RG |
| LEFT "HOT" | WHITE | L |
| LEFT GROUND | BLUE | LG |
- Attach the cartridge to the headshell using the screws supplied. See Figure 3.
![Shure - 25 Series - Install Your Cartridge - Step 2 Install Your Cartridge - Step 2]()
Fig.3
Tighten the screws after positioning the cartridge (and headshell weight, if desired) according to one of the methods described below.
- Carefully insert the stylus into the cartridge.
Choose a Method for Cartridge Positioning
Hi-Fi Setup:
For maximum fidelity and minimal record wear, position the cartridge using an alignment protractor or the overhang gauge supplied with your turntable. Level your tonearm.

Standard DJ Setup:
Mount cartridge at rear of headshell. Set tonearm height to 4-5. Set tracking force to 3 grams. Set anti-skate control to 0.

Unorthodox DJ Setup:
Reverse the counterweight and mount it flush with the end of the tonearm. Mount cartridge (with headshell weight) flush with the front edge of the headshell. Set anti-skate control to 0.

Extra Skip-Resistance for DJs:
Mount cartridge at a 23 degree angle as shown, so that the cartridge points to the tonearm pivot. Set anti-skate to 0.

Level Your Tonearm

Setting a Precise Tracking Force
- After mounting the cartridge on the tonearm, rotate the circular weight at the back of the tonearm until the needle floats evenly above the record.
- Hold the circular weight in place and rotate the calibration ring to read zero. The tonearm should still float evenly above the record.
- Rotate the weight until the calibration ring indicates the desired tracking force.
Care and cleaning
- DJs: Don't use more tracking force than necessary to prevent skipping. Excess force will burn records, damage needles, and reduce sound quality.
- Clean the stylus with the supplied cleaning brush. Important: brush from the back to the front only, as shown:
![Shure - 25 Series - Care and cleaning Care and cleaning]()
Cartridge Specifications
Table 2. Cartridge Specifications
| Cartridge | Replacement Stylus | Stylus Color | Stereo Output (1 KHz at 5 cm/sec peak recorded velocity) | Frequency Response in Hz | Tracking force range (grams) | Typical Tracking Force (grams) |
| M44-7 | N44-7 | White | 9.5 mV | 20 to 20,000 | 1–3 | 3 |
| M44G | N44G | Gray | 6.2 mV | 20 to 20,000 | .75–1.5 | 1.5 |
| M35S | N35S | Chartreuse | 5.0 mV | 20 to 20,000 | 3–5 | 4 |
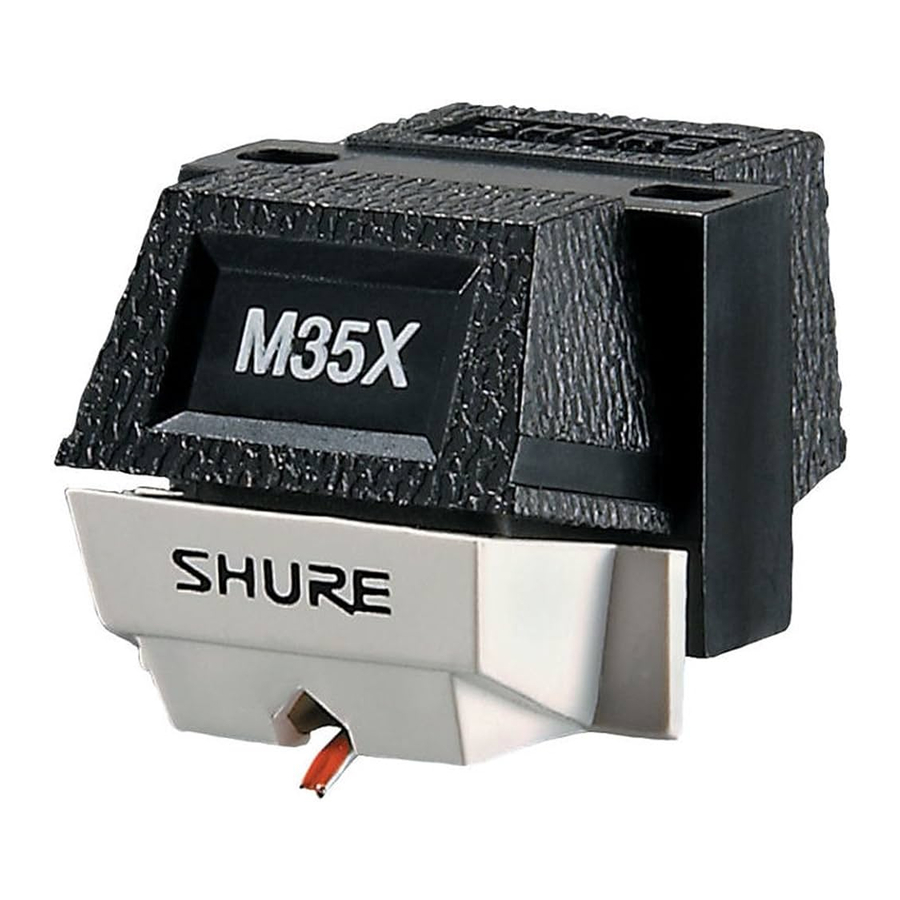
| M35X | N35X | White | 6.0 mV | 20 to 20,000 | 1.5–3 | 3 |
| M70BX | N70BX | Beige | 5.0 mV | 20 to 18,000 | 1.5–3 | 3 |
| SC35C | SS35S | Light Blue | 5.0 mV | 20 to 20,000 | 4–5 | 4.5 |
All Cartridges and Styli
- Standard 1/2 Inch mount for DJ turntables
- Wide diameter styli for reduced record wear
Optimum Load:
47 K Ohms, M44: 400-500 pF
M35, M70BX, SC35C: 200-300 pF
Inductance: M44: 720 mH
M35, SC35C: 425 mH
M70BX: 600 mH
Channel Separation: 20 dB at 1KHz
Documents / ResourcesDownload manual
Here you can download full pdf version of manual, it may contain additional safety instructions, warranty information, FCC rules, etc.
Advertisement


Need help?
Do you have a question about the 25 Series and is the answer not in the manual?
Questions and answers