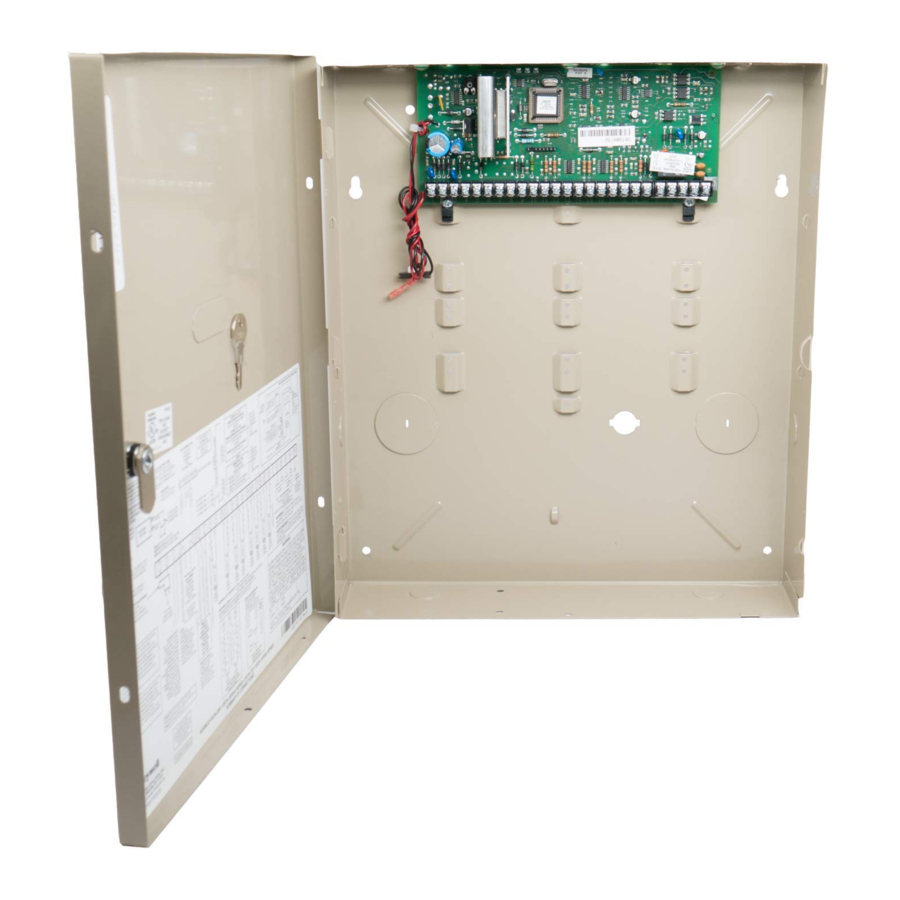
ADEMCO VISTA Manual
- User manual (61 pages) ,
- Manual (9 pages) ,
- User manual (28 pages)
Advertisement
Configuring Your AlarmDecoder (AD2USB)
 http://www.alarmdecoder.com/wiki/index.php/Panel_Configuration
 - Step 1")
To figure out which Com port to use on your PC plug in AD2USB while having device manager open on PC and see which port (COM) is added.
You may need to set the AD2 devices mode and address. By default the AD2 device is factory configured for Ademco mode at address 18. If you already have a device at 18 or need to change to DSC mode you will need to change the AD2 settings.
 - Step 2") T
T
o do this just press! in your terminal program to configure the AD2. You can press ENTER on any configuration options you a don't want to change and it will keep the current setting.
If you press * into your terminal program your panel should respond as if you hit the same key on your alarms keypad. You will see a message from the AD2 such as this "!Sending.done" if you see "!Sending.....done" and it appears to take a long time for the send operation this probably means that the alarm panel is not recognizing the AD2 or a device conflict exists. Confirm that the AD2 address for Ademco and Partition for DSC is configured on the alarm panel. Also on Ademco make sure no other devices exist at the same address on as the AD2.
The AD2 should display all messages from the alarm panel regardless of programming of the panel provided the mode is set to the correct panel type. If you are not seeing messages after connecting the AD2 to your panel you either have a wiring issue, the AD2 is in the wrong mode for your panel type or you have an SE panel and you have not set your AD2 to address 31. Example Message from DSC panel in programming mode.
[01111001000000000D--],064,[000200000000000000011000000000],"Enter Section ---
 - Step 3")
 - Step 4")
 - Step 5")
The AD2USB Plugin installs two devices above. I renamed them (shortened Ademco) since Vera Plus UI7 truncates names (UI5 didn't care).
 - Step 6")
This is the device for the panel
The other is the device for the partition which is most used.
No special settings here.
Make note of device number (red circle) for Luup step later.
 - Step 7")
 - Step 8")
 - Step 9")
Documents / ResourcesDownload manual
Here you can download full pdf version of manual, it may contain additional safety instructions, warranty information, FCC rules, etc.
Advertisement


Need help?
Do you have a question about the VISTA and is the answer not in the manual?
Questions and answers