
Related Manuals for Oreck Graphite


Summary of Contents for Oreck Graphite
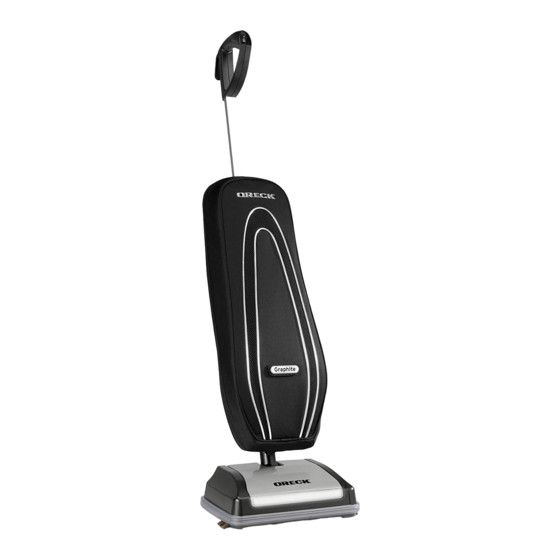
- Page 1 Graphite ™ User’s Guide U4305H2BS Important! Read all instructions carefully, and keep for future reference.
-
Page 2: Safety
• Do not use appliance in an enclosed space where flammable, explosive or toxic vapours are given off by oil based paint, paint thinner, some mothproofing substances, or in an area where flammable dust is present. • Do not pick up toxic material such as chlorine bleach, drain cleaner, petrol, etc. with this appliance. • Use caution when vacuuming over area rug edges and fringe. SAVE THESE INSTRUCTIONS Household Use Only Enjoy Thank you for purchasing the Oreck U4305H2BS Graphite series upright vacuum cleaner. The U4305H2BS Graphite features a 6-year limited warranty and the HEPA Filtration Odour Fighting Bag captures dust & dirt that stays in the bag and doesn’t blow back into the air. Call 0845 603 0153 Click On the web, point and click at: www.oreck.co.uk... -
Page 3: Table Of Contents
Contents Safety ................2 General Warnings . -
Page 4: Assembling The Handle Tube
Operation Assembling the Handle Tube Before assembling appliance, remove two screws from the Connector Assembly. Remove cardboard insert by pulling upward. Slide upper handle section over the matching section of the Connector Assembly. Hold tab of Cord Strain Relief flush with TOP hole in Connector Assembly. Insert screw through hole in tab of Cord Strain Relief and firmly tighten to Connector Assembly. Insert remaining screw in bottom hole of Connector Assembly and tighten firmly. Loop the Power Cord through the Strain Relief Kit as illustrated Take hold of the Harness (21 on parts list pg 3) - and push it into the clip located on the left side of the Conector Deflector Assembly (10 on parts list). Connector Assembly Operating the Vacuum... -
Page 5: Simple Operation Tips And Vacuum Care
Operation Simple Operation Tips and Vacuum Care This new ORECK Upright is one of the finest, fastest, and strongest units in its class. You’ll love the way it cleans, gets under things, and it’s SO lightweight and easy to use. The following are a few simple suggestions regarding its operation: 1. When inserting a new HEPA Filtration Odour Fighting Bag -FIRST PUFF OUT and OPEN THE BAG. 2. When the HEPA Filtration Odour Fighting Bag is full, REPLACE IT. 3. If at any time the machine does not pick up properly or makes an unusual noise, STOP OPERATION and service. 4. Although your upright will pick up pins, paper clips, and other small objects, it is recommended that these be removed from the floor before you vacuum. Failure to do so may result in permanent damage to the motor suction fan and its housing. 5. WARNING: Do not use your vacuum cleaner on damp or wet surfaces. This will cause damage to the vacuum cleaner and is dangerous to the user. Damage caused by use on wet or damp surfaces is not covered under warranty. 6. For optimal performance, replace the belt every 6 months. 7. Check the disposable filter dust bag at least once a month. 8. DO NOT run the vacuum cleaner over the cord. The revolving brush could damage the cord. 9. Use caution when vacuuming over area rug edges and fringe. General The performance of your new cleaner greatly depends upon care and maintenance. The instructions in this manual will guide you in performing basic care and maintenance. To obtain the most satisfying years of service read the Information instructions and keep them handy for future reference. -
Page 6: Lubrication
General Lubrication The vacuum cleaner motor bearings are factory lubricated and sealed. Further lubrication is not required. Information CAUTION Wood Floors, Soft (Vinyl, Asphalt Tile, etc.) Floor Surfaces and Polished Floor Finishes Use floor and floor finish manufacturer’s recommended methods of cleaning. The roller brush may also scuff very soft finishes. Do not operate the unit while in the upright and locked position. Do not let the unit run while in any one stationary posi- tion for any period of time. Keep the unit moving while in operation. Note: At least once a month, check for and remove excessive lint, string or hair from revolving brush. Wipe the outside of the cleaner with a damp cloth. Also clean the connector deflector assembly area, base of cleaner and fan housing area. If there is dust in the outer bag, vacuum it or shake it out. -
Page 7: Adjusting Or Replacing Brushroll
Adjusting or Replacing Brushroll WARNING:Unplug cord from electrical outlet before servicing. To determine if the brushroll is worn, place a firm straight edge across the nozzle opening. If brushroll bristles do not extend beyond baseplate, brushroll should be adjusted. Remove the baseplate by removing 5 screws. Then, remove the belt and brushroll from the housing. Rotate both bearing assemblies at ends or brushroll to show “OLD” and replace in the holding channels in the housing. Note:The bearing assembly setting market “OLD” has no ribs on the top of the assembly. The one marked “NEW” has several ribs. When rotating bearings, make sure both bearing assembly settings arethe same and face up when replacing the brushroll. Reassemble the belt. Reassemble the baseplate. If a previous adjustment has already been made and bristle height does not extend above the baseplate, a new brush assembly should be ordered. IMPORTANT: Unless the brush is worn as indicated above, both bearings must be in the “NEW” position. When rotating, both bearings must be in the “OLD” position. Unmatched settings can cause damage to the unit. Replacing Edge Brush WARNING: Unplug cord from electrical outlet before servicing. -
Page 8: Stuffing Or Blockage
Insert tube and push down until the tube is seated. Make sure O-ring is in place against fan housing opening. Replace and tighten collar until collar locking tabs are locked in place. Reattach bag spring. Many times blockage occurs due to a full dust bag causing dirt to back down the air flow system. When that happens, the blockage will be at the top of the system, starting in the area where the dust bag connects to the connector assembly. Note: If the above actions do not correct the problem, contact an Oreck Approved Service Centre or call the Customer Care on 0845 603 0153 Trouble- Problem Check What to do shooting Cleaner will not run. -
Page 9: Parts
Parts All accessories and replacement parts are sold separately. To order, call our customer service group or visit our website. Please have your model number from the data label on the bottom of the unit. Accessories Item Part Number Natural Crystal Carpet & Room Refresher CRYSTAL Oreck Dry Carpet Cleaning System CARPETCSYS ® Replacement Parts Item Part Number 8 Pack, HEPA Filtration Odour Fighting Bags CCPK8OH 8 Pack, Green Hypo-allergenic Self Sealing Bags PK20008DW Belts, 3 Pack 3BELTS Customer Care 0845 603 0153 website: www.oreck.co.uk Warranty ORECK MANUFACTURING COMPANY: (Oreck Manufacturing Company gives you the following limited warranty for this product only if it was originally purchased for residential use, not resale, from Oreck or an Oreck Approved Retailer). Oreck will repair or replace, free of charge, to the original purchaser, any part that is found to be defective in material or workmanship within six (6) years of the date of purchase. This limited warranty applies to normal domestic use. Any commercial use of this product will void this limited warranty. This limited warranty covers the revolving roller brush for one (1) year for residential use only. - Page 10 ©2011 Oreck Holdings, LLC. All rights reserved. All word marks, logos product configurations and registered trademarks are owned and used under the authority of Oreck Holdings, LLC. 76140-01 REV A 06/15 ECN # R-10492 UK Edition...
Need help?
Do you have a question about the Graphite and is the answer not in the manual?
Questions and answers