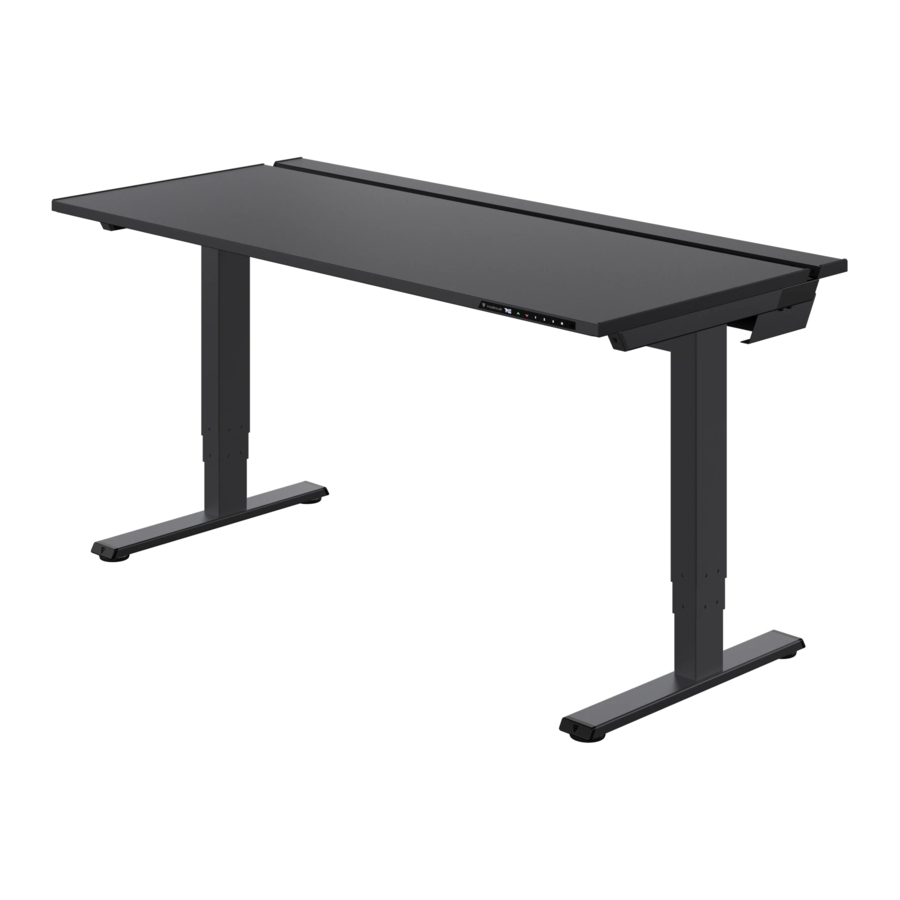
Secret Lab MAGNUS Pro Manual
- Troubleshooting manual (10 pages) ,
- Assembly manual (81 pages) ,
- Assembly manual and user manual (198 pages)
Advertisement
- 1 Introduction
- 2 Preparing for Assembly
- 3 Preparing for Power Supply Column Swap
- 4 Preparing for Power Supply Column Swap
- 5 Swapping the Motorized Leg Columns
- 6 Assembling the Motorized Leg Columns
- 7 Assembling the Mounting Blocks for Cable Tray
- 8 Assembling the Cable Tray
- 9 Assembling the Table Feet
- 10 Flipping the Desk Upright
- 11 Assembling the Hinged Rear Cover
- 12 Installing the Finishing Caps
- 13 Connecting the Power Cord
- 14 Calibrating your Desk
- 15 Documents / Resources

Introduction
This guide is for users who have wall sockets closer to right side of the desk and wish to swap the Integrated Power Supply Column (IPSC) from the left leg to the right. This allows for neater cabling and stops the power supply cable from trailing below your desk. Please note that the switch power socket will face front when installed on the right.
Preparing for Assembly

With at least two people, lift the Metal Desk Top and place it upside down onto a debris-free area to protect the Metal Desk Top surface. Remove the Service Hatch using the Screwdriver Handle and small end of the Double-End Bit provided.

Preparing for Power Supply Column Swap

Remove the Red Cable Connector from the Control Box and push it into the Desk Frame as shown in the diagram. Plug the Blue Cable Connector into the Control Box as shown in the diagram.
Preparing for Power Supply Column Swap

Install the Service Hatch back onto the Desk Frame using the Screwdriver Handle and small end of the Double-End Bit provided. Remove the cardboard covers.

Swapping the Motorized Leg Columns

Swap the Motorized Leg Columns to the opposite sides. Plug the cables on the Motorized Leg Columns to the corresponding cables shown in the diagram to connect them to the Control Box.
Assembling the Motorized Leg Columns

Push the cables into the Desk Frame. Slot the Motorized Leg Columns into the Desk Frame in the manner shown below. Make sure the Motorized Leg Columns are slotted in completely and screw in the fasteners.
Assembling the Mounting Blocks for Cable Tray

Slot the Mounting Blocks into the Side Frame and screw in the fasteners.

Assembling the Cable Tray
Place the Cable Tray over the Mounting Blocks. Align the screw holes on the Cable Tray to the holes on the Desk Frame and screw in the fasteners. Fasten the screws on both sides of the Cable Tray.


Assembling the Table Feet

Place the Left and Right Table Feet onto the Motorized Leg Columns with the help of the alignment pins. Make sure the long end of the feet is facing towards the front of the desk as indicated by the arrows. Hold onto the Table Feet as you screw in the fasteners.
Flipping the Desk Upright
Do not use the Secretlab MAGNUS Pro until all steps and calibration have been completed.
Danger of injury. Keep hands and feet clear when moving and flipping the desk.

With at least two people, grab the Metal Desk Top with the Side Channel in one hand and a Motorized Leg Column in another. Tilt it gently rotating it 90 degrees back, so that the Control Panel is facing down.

Grab the Metal Desk Top with the Side Channel and tilt it gently rotating it 90 degrees back, so that the desk is upright.

Do not use the Secretlab MAGNUS Pro until all steps and calibration have been completed.
Hint: If your power strip is large, you can place it in the Cable Tray now and drop the power strip cable down into the Cable Tray opening before the next step of assembling the Hinged Rear Cover.
Route your power strip cable from the underside to plug it into the socket located at the front of the Motorized Leg Column. If you plan to install the Secretlab Premium PC Mount on the same side, route your power strip cable from the side of the Motorized Leg Column instead.
Pro Tip: Your power strip cable can be managed using the Secretlab Magnetic Cable Anchors.


Assembling the Hinged Rear Cover

Pull both hinges down and align the Hinged Rear Cover onto the Metal Desk Top. Screw in the fasteners.

Installing the Finishing Caps

Insert the Finishing Caps into the front of the Side Channels of your Metal Desk Top.
Connecting the Power Cord
Do not use the Secretlab MAGNUS Pro until all steps and calibration have been completed.

Plug the Power Cord into the socket located at the bottom of the Left Motorized Leg Column. Plug your desk into a 100V - 240V outlet.
Calibrating your Desk
Note: Your Motorized Leg Columns have been lubricated to maintain smooth operation. Some residue is expected to be seen on the Leg Columns after a few cycles.
Slide the Standby Switch to the right to turn the Control Panel on. Press and hold the  button. The display will show "
 ". Do not release the button until a beep is heard. The calibration process is completed.

Documents / ResourcesDownload manual
Here you can download full pdf version of manual, it may contain additional safety instructions, warranty information, FCC rules, etc.
Advertisement


Need help?
Do you have a question about the MAGNUS Pro and is the answer not in the manual?
Questions and answers