Teltonika RUT240, UWP 3.0 installation Manual
- User manual (152 pages) ,
- Installation manual (19 pages) ,
- Manual (16 pages)
Advertisement
Introduction
This guideline describes how to configure the Teltonika RUT240:
- in Client mode (wireless station mode), which allows you to connect the Teltonika RUT240 to a Wi-Fi network.
Note: all the devices connected to its LAN ports can be connected to the same network and also to the Internet. - in 4G Mobile mode, which allows to connect the Teltonika RUT240 to a 4G network.
Note: all the devices connected to its LAN ports can be also connected to the Internet. - for connecting to a UWP3.0 controller.
Web Server access - How to connect
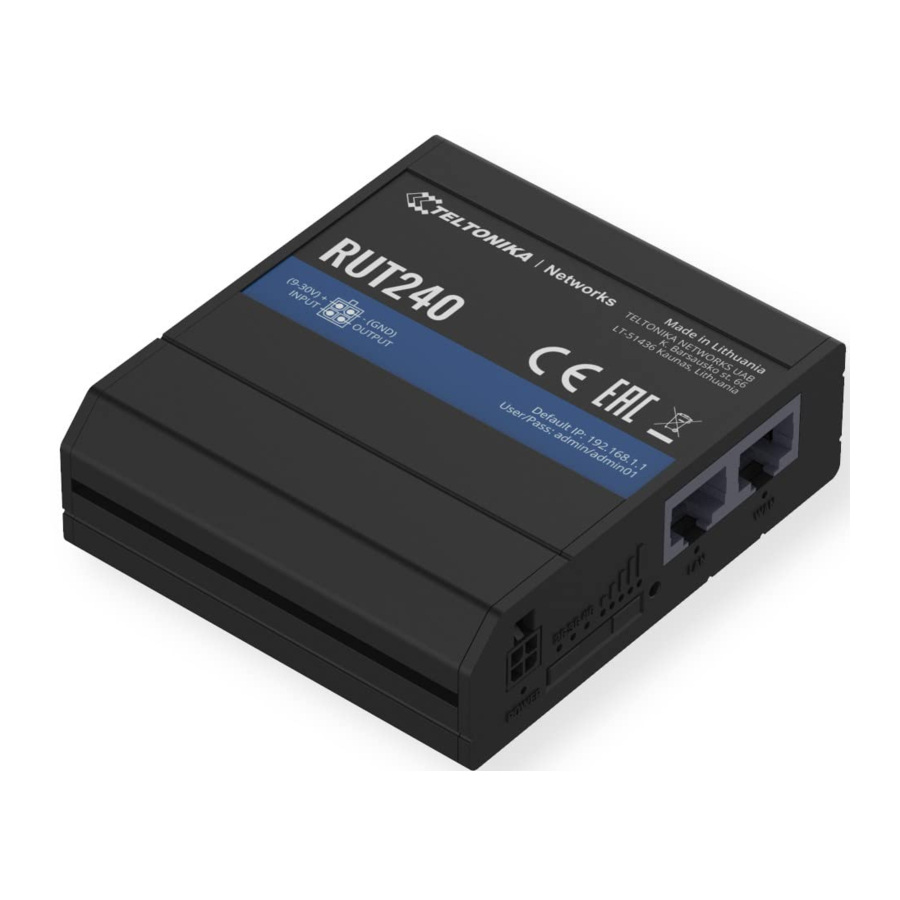
The Teltonika RUT240 has a static network setting coming from factory, that is:
- IP address: 192.168.1.1
- Username: admin
- Password: admin01
There two ways to access the web server:
- Connect a point-to-point Ethernet cable between the computer and the device, using the LAN Ethernet port, and set the PC network adapter to DHCP.
- Connect to the wireless network that the router provides as default
Note: the Wi-Fi SSID and password are on the bottom side of the router.
After that, open a browser and type the address 192.168.1.1 to connect to the device web interface. Note: the system forces the default password change after the first login.
How to enable the Client mode
For this setting, you have to be point-to-point connected on the LAN port.
How to define the operation mode
- From the main bar, select theNetwork > WAN to open the relevant configuration area.
- From theMain WAN column, select
![]() (Wi-Fi) as interface.
(Wi-Fi) as interface. - ClickSave.
Note: after the change, if you are connected through the Wi-Fi, you could be asked to reconnect.
 (Wi-Fi) as interface.
How to enable the wireless station mode
- From the main bar, select theNetwork > Wireless to open the relevant configuration area.
- ClickAdd.
- From the list of all the available Wi-Fi networks, select the one to which the RUT240 must connect
- Set the proper connection parameters.
Once saved, the router will connect to the network and will get an IP address.
Note: If you go to Status > Overview, you can check the status of the connection from the WAN tile.
How to enable the 4G Mobile mode
How to define the operation mode
- From the main bar, select theNetwork > WAN to open the relevant configuration area.
- From theMain WAN column, select
![]() (mobile 4G) as interface.
(mobile 4G) as interface. - ClickSave.
How to enable the 4G Mobile mode
- From the main bar, select theNetwork > Mobile to open the relevant configuration area.
- For the first setting, you can keep the optionAuto APN enabled.
- Check if the router is able to register on the network.
-
Note: If you go to Status > Overview, you can check the status of the connection from Mobile and WAN tiles.If... Then... the ISP provider (SIM provider) suggests the use of a specific APN set it manually the registration on the network also requires an authentication enter the credentials provided by the ISP the SIM card is protected by a PIN code enter it
How to connect to UWP 3.0
Regardless of the connectivity mode (Client or 4G Mobile), UWP 3.0 will be connected to the Internet and will be able to navigate.
To connect to UWP remotely, you should activate the MAIA Cloud VPN service.
Documents / ResourcesDownload manual
Here you can download full pdf version of manual, it may contain additional safety instructions, warranty information, FCC rules, etc.
Advertisement


Need help?
Do you have a question about the RUT240 and is the answer not in the manual?
Questions and answers