Advertisement
Quick Links
Explosion diagram specification
1
FL(CTP+LCM)
3
F HSG ASM
5
F CAM RUBBER
7
MAIN SHIELD MYLAR
9
CAM AI
11
REC COP FOIL
13
CAM FF 8M
15
MAIN RADIATING FILM
17
R CAM PD FRAME ASM
19
MID HSG ASM
21
MC SCREW M1.4*L2.5*D2.5
23
BAT COVER ASM
25
R CAM LENS 2M
27
SPK FRAME ASM
29
USB RUBBER
31
BAT
33
PCBA SUB
35
FPC MAIN
37
NFC ANT FPC
39
DISTANCE SENSOR RUBBER
2
REC DECO
4
R CAM CON FOAMS
6
PCBA MB
8
REC
10
CAM AF 50M
12
FPC SIDE KEY
14
FM
16
MAIN WR FRAME ASM
18
MAIN WR FRAME MYLAR
20
CARD HOLDER ASM
22
MC SCREW M1.4*L3.5*D2.5
24
R CAM LENS 50M
26
MC SCREW M1.4*L2.0*D3.0
28
EARPHONE RUBBER
30
MOTOR
32
COAXIAL CABLE
34
SPK
36
MOTOR CON FB
38
R CAM RUBBER 2M
Advertisement

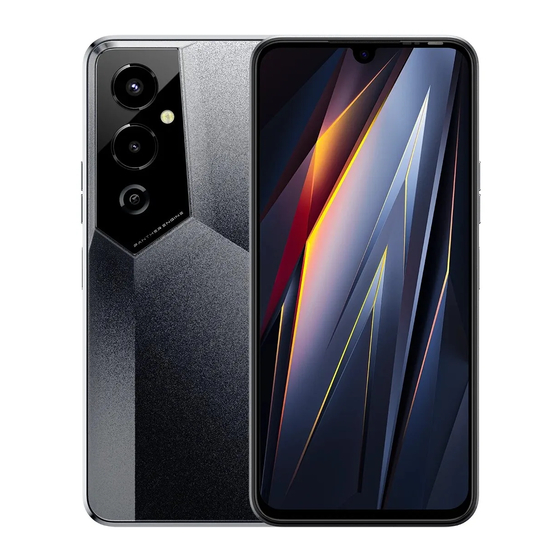
Summary of Contents for Tecno Pova 4 Pro
- Page 1 Explosion diagram specification FL(CTP+LCM) REC DECO F HSG ASM R CAM CON FOAMS F CAM RUBBER PCBA MB MAIN SHIELD MYLAR CAM AI CAM AF 50M REC COP FOIL FPC SIDE KEY CAM FF 8M MAIN RADIATING FILM MAIN WR FRAME ASM R CAM PD FRAME ASM MAIN WR FRAME MYLAR MID HSG ASM...
-
Page 2: Know Your Phone
Know your phone 1. Front camera 2. Volume + key 3. Volume - key 4. Power key & side fingerprint sensor 5. NFC... -
Page 3: Sim/Sd Card Installation
SIM/SD card installation 1. Power off mobile. 2. Refer to the following picture for SIM / SD card installation. -
Page 4: Charging The Phone
You can charge your device using a charger or by connecting it to the computer using a USB cable (comes with the phone). Use only TECNO charger and cables. Other chargers or cables may damage the device. This will invalidate your phone warranty. - Page 5 FCC Statement 1. This device complies with Part 15 of the FCC Rules. Operation is subject to the following two conditions: (1) This device may not cause harmful interference. (2) This device must accept any interference received, including interference that may cause undesired operation. 2.
- Page 6 Connect the equipment into an outlet on a circuit different from that to which the receiver is connected. Consult the dealer or an experienced radio/TV technician for help. SAR Information Statement Your wireless phone is a radio transmitter and receiver. It is designed and manufactured not to exceed the emission limits for exposure to radiofrequency (RF) energy set by the Federal Communications Commission of the U.S.
- Page 7 phone model is available for sale to the public, it must be tested and certified to the FCC that it does not exceed the limit established by the government adopted requirement for safe exposure. The tests are performed in positions and locations (e.g., at the ear and worn on the body) as required by the FCC for each model.
- Page 8 Body-worn Operation This device was tested for typical body-worn operations. To comply with RF exposure requirements, a minimum separation distance of 10mm must be maintained between the user’s body and the handset, including the antenna. Third-party belt-clips, holsters, and similar accessories used by this device should not contain any metallic components.
- Page 9 HiOS runs on Android Android is a trademark of Google LLC.


Need help?
Do you have a question about the Pova 4 Pro and is the answer not in the manual?
Questions and answers