Advertisement
About This Guide
This guide provides a brief introduction to BE9300 Whole Home Mesh Wi-Fi 7 System and regulatory information.
Features available in Deco may vary by model and software version. Deco availability may also vary by region or ISP. All images, steps, and descriptions in this guide are only examples and may not reflect your actual Deco experience.
Conventions
In this guide, the following conventions are used:
| Convention | Description |
| Deco | Stands for Deco Whole Home Mesh Wi-Fi System/Unit. |
| Underline | Hyperlinks are in bold and underlined. You can click to redirect to a website. |
| Bold | Key information appears in bold, including management page text such as menus, items, buttons and so on. |
 Note: Note: | Ignoring this type of note might result in a malfunction or damage to the device. |
| Tips: | Indicates important information that helps you make better use of your device. |
More Info
- Specific product information can be found on the product page at https://www.tp-link.com.
- A Technical Community is provided for you to discuss our products at https://community.tp-link.com.
- Our Technical Support contact information can be found at the Help center of the Deco app and the Contact Technical Support page at https://www.tp-link.com/support.
Speed/Coverage/Device Quantity Disclaimer
Maximum wireless signal rates are the physical rates derived from IEEE Standard 802.11 specifications. Actual wireless data throughput and wireless coverage, and quantity of connected devices are not guaranteed and will vary as a result of network conditions, client limitations, and environmental factors, including building materials, obstacles, volume and density of traffic, and client location.
MU-MIMO Disclaimer
Use of MU-MIMO requires clients to also support MU-MIMO.
IoT Compatibility Disclaimer
IoT compatibility refers only to smart devices that can be controlled via the Deco app. Other wireless devices can still connect to Deco for normal Wi-Fi use.
Seamless Roaming Disclaimer
Clients need to support 802.11k/v/r and may require additional set up.
Performance may vary depending on the client device.
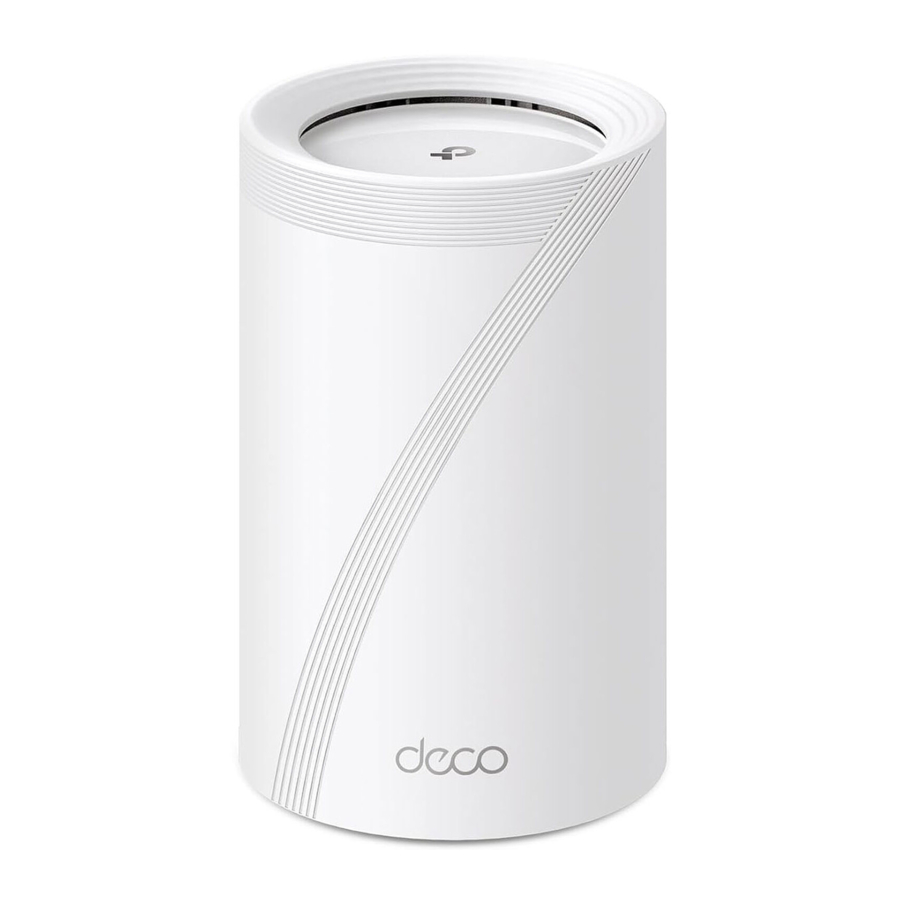
Appearance
Each Deco has an LED that changes color according to its status, a WPS button, four 2.5 Gbps WAN/LAN ports, a USB port, a power slot, and a Reset button.
See the explanation below:
Tip: The product label can be found at the bottom of the product.

Set Up Your Product
First let's start by setting up the Deco network. Get the TP-Link Deco app for iOS or Android, then follow the app to walk through the setup.
Note: Please remain online (Wi-Fi or mobile data) throughout the app download and login steps.
- Get the Deco app
Scan the QR code below or go to Google Play or the App Store to download the Deco app. Install the app on your Android or iOS smartphone or tablet.
![]()


- Log in or sign up with TP-Link ID
Open the app and log in with your TP-Link ID. If you don't have a TP-Link ID, create one first.
![information]() Note: If you forgot your login password, tap Forgot Password?.
Note: If you forgot your login password, tap Forgot Password?.
The app will help you reset your password.
![]()
- Create a Network
In the Deco app, tap the + button on the top right corner of the homepage, then select Create a Network.
![]()
- Plug in your Deco
Plug in your Deco and wait until your Deco's LED pulses blue, then your phone/tablet will connect to the Deco automatically.
![information]() Note: You can turn on Bluetooth and Wi-Fi on your phone/tablet in advance for a quicker setup.
Note: You can turn on Bluetooth and Wi-Fi on your phone/tablet in advance for a quicker setup.

- Connect your Deco
Power off your modem. Connect your Deco to the modem and power it on.
If you don't have a modem, connect your Deco directly to the Ethernet outlet.

- Specify your Deco's location
Select or custom a location for your Deco. The location will be used as the name of your Deco
![]()
- Connect your Deco to the internet
Select the internet connection type and enter the information. If you are not sure, contact your internet service provider.
![]()
- Create your Wi-Fi network
Set a network name and a password. These will be the name and password you use to connect your devices to Wi-Fi.
![]()
- Create your 6GHz Wi-Fi network
Set a network name and a password. These will be the name and password you use to connect your devices to the 6GHz Wi-Fi.
![]()
- Keep your Deco up-to-date
Set auto update time. This allows your Deco to automatically update to the latest firmware which provides better network experience.
![]()
- Setup complete
Your Deco network is now up. You can connect your devices to the Deco network for better connections.
![]()
- Plug in other Decos (if any)
Place the other included Decos in a suitable position and plug them on, and they will join the network automatically.
![]()


Troubleshooting
Solutions to common problems during setup or use are provided here for reference. Follow the steps and the provided link below to diagnose and solve problems you might experience with your Deco.
If problems still exist, contact us: https://www.tp-link.com/support
What should I do if I fail to configure the main Deco and get stuck on "We couldn't find Deco"?
Refer to the guide https://www.tp-link.com/support/faq/2239/ or follow the video https://youtu.be/2HYuEYS9XJM
What should I do if I fail to configure the satellite Deco and get stuck on "We couldn't find another Deco"?
Refer to the guide https://www.tp-link.com/support/faq/1447/ or follow the video https://youtu.be/iVgDzoo16T4
What should I do if I fail to configure the main Deco and get stuck on "Testing Internet Connection"?
Refer to the guide https://www.tp-link.com/support/faq/2239/
Refer to the video https://youtu.be/OSUrGdWH-i0
What should I do if my wireless devices cannot connect to Deco?
Refer to the guide https://www.tp-link.com/support/faq/2718/
What should I do if Deco suddenly lost internet access?
Refer to the guide https://www.tp-link.com/support/faq/2428/
How can I find a suitable spot for my Deco?
Refer to the guide https://www.tp-link.com//support/faq/1446/
What can I do if the Deco app isn't working properly?
Refer to the guide https://www.tp-link.com/support/faq/1456/
Explanation of the symbols on the product label
Symbols may vary from products.
Note: The product label can be found at the bottom of the product and its I.T.E. power supply.
| Symbol | Explanation |
 | Class II equipment |
 | Class II equipment with functional earthing |
 | Alternating current |
 | DC voltage |
 | Polarity of output terminals |
 | Indoor use only |
 | Dangerous voltage |
 | Caution, risk of electric shock |
 | Energy efficiency Marking |
 | Protective earth |
 | Earth |
 | Frame or chassis |
 | Functional earthing |
 | Caution, hot surface |
 | Caution |
 | Stand-by |
 | "ON"/"OFF" (push-push) |
 | Fuse |
 | Fuse is used in neutral N |
 | Caution, avoid listening at high volume levels for long periods |
 | Disconnection, all power plugs |
| m | Switch of mini-gap construction |
| µ | Switch of micro-gap construction (for US version) Switch of micro-gap / micro-disconnection construction (for other versions except US) |
| ε | Switch without contact gap (Semiconductor switching device) |
Safety Information
- Keep the device away from water, fire, humidity or hot environments.
- Do not attempt to disassemble, repair, or modify the device. If you need service, please contact us.
- Do not use damaged charger or USB cable to charge the device.
- Do not use any other chargers than those recommended.
- Do not use the device where wireless devices are not allowed.
- Adapter shall be installed near the equipment and shall be easily accessible.
- Use only power supplies which are provided by manufacturer and in the original packing of this product. If you have any questions, please don't hesitate to contact us.
- Operating Temperature: 0°C~40°C (32°F~104°F)
- This product uses radios and other components that emit electromagnetic fields. Electromagnetic fields and magnets may interfere with pacemakers and other implanted medical devices. Always keep the product and its power adapter more than 15 cm (6 inches) away from any pacemakers or other implanted medical devices. If you suspect your product is interfering with your pacemaker or any other implanted medical device, turn off your product and consult your physician for information specific to your medical device.
Please read and follow the above safety information when operating the device. We cannot guarantee that no accidents or damage will occur due to improper use of the device. Please use this product with care and operate at your own risk.
Documents / Resources
References
![www.tp-link.com]() TP-Link: Your Smart Home, Simplified
TP-Link: Your Smart Home, Simplifiedhttps://community.tp-link.com
TP-Link Product Support - Wireless Networking Equipment Support
Main Deco Failed to Complete Setup | TP-Link
![youtu.be]() What to do if I fail to configure the main Deco and get stuck on “We couldn't find Deco”? - YouTube
What to do if I fail to configure the main Deco and get stuck on “We couldn't find Deco”? - YouTubeEncountering an Error When Adding a Deco | TP-Link
![youtu.be]() What should I do if I fail to configure the satellite Deco, get stuck on the step Looking for Deco - YouTube
What should I do if I fail to configure the satellite Deco, get stuck on the step Looking for Deco - YouTube![youtu.be]() 【视频3】What to do if I fail to configure the main Deco and get stuck on “Testing Internet Connection” - YouTube
【视频3】What to do if I fail to configure the main Deco and get stuck on “Testing Internet Connection” - YouTubeCannot connect to Deco Wi-Fi | TP-Link
The internet connection is unstable or suddenly stops working when connected to the Deco network? | TP-Link
How can I find a suitable spot for my Deco? | TP-Link
What can I do if the Deco app isn't working properly | TP-Link
![play.google.com]() Google Play
Google Play![www.apple.com]() App Store - Apple
App Store - Apple
Download manual
Here you can download full pdf version of manual, it may contain additional safety instructions, warranty information, FCC rules, etc.
Advertisement


Need help?
Do you have a question about the Deco BE9300 and is the answer not in the manual?
Questions and answers