AudioEngine A2+ Manual
- Setup manual (30 pages) ,
- Quick start manual (19 pages) ,
- Setup manual (11 pages)
Advertisement
- 1 WHAT'S IN THE BOX
- 2 LEFT SPEAKER
- 3 RIGHT SPEAKER
- 4 QUICK SETUP
- 5 POWER CONNECTION
- 6 WIRELESS CONNECTION
- 7 RCA INPUT / WIRED CONNECTION
- 8 USB-C AUDIO CONNECTION
- 9 RCA OUTPUT / WIRED CONNECTION
- 10 3.5mm WIRED CONNECTION
- 11 TROUBLESHOOTING TIPS
- 12 SERVICE
- 13 FOR THE MOST UP-TO-DATE INFORMATION
- 14 SAFETY INFORMATION
- 15 Documents / Resources
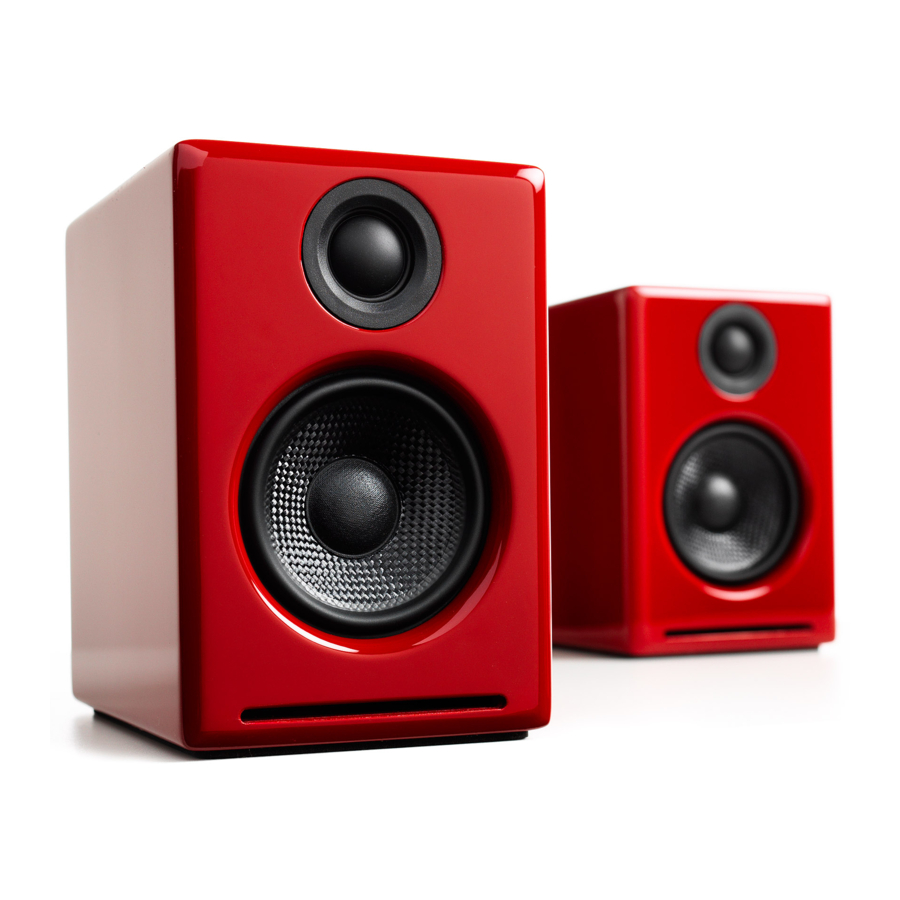
WHAT'S IN THE BOX

A2+ powered (left)speaker
A2+ passive (right) speaker
Microfiber speaker bag x2
Microfiber accessory bag
Quickstart guide
- USB-C cable
- Mini-jack audio cable, 1.5 meters (~5 feet)
- Speaker wire (16AWG), 2 meters (~6.5 feet)
- Detachable AC power cable
- Power supply
LEFT SPEAKER
(active)

RIGHT SPEAKER
(passive)

QUICK SETUP
- Verify that the volume/power knob on the rear panel of the left (powered) speaker is in theOFF position by rotating the knob to the left until it clicks off.
- Connect the included speaker wire to the A2+ left (powered) speaker terminal and to the right (passive) speaker terminal.


POWER CONNECTION
- Connect the cable from the external power supply to the power supply connection on the A2+ left (powered) speaker rear panel.

- Connect the AC power cord to the other end of the power supply and plug the cord into a functioning power outlet. A light on the power supply should be illuminated.

WIRELESS CONNECTION
STEP 1
- Turn power on via rear panel volume/power knob.
A2+ will automatically go into Bluetooth "pair mode" and the pair button on the rear panel will start flashing.


STEP 2
On your device turn on Bluetooth and go to Bluetooth preferences.

Select "Audioengine A2+" to pair and connect. The Pair indicator light on the A2+ rear panel should now be solid.
Play your music and adjust the volume on both your speakers and your device to your desired listening levels.
*If connecting a turntable via Bluetooth, ensure the preamp switch is in the 'on' position, then follow the connection steps previously outlined.
STEP 3
To add additional devices put A2+ back into pair mode by disconnecting A2+ from your device or by pressing the Pair button on the A2+ rear panel for about 3 seconds until the pair indicator light starts flashing. Repeat step 2 to connect another device.

A2+ can wirelessly connect to only one device at a time, however it will pair and remember up to six different devices.
RCA INPUT / WIRED CONNECTION
STEP 1
- Connect a stereo RCA cable to the stereo RCA input on the active left A2+ rear panel and then to the stereo RCA output on your device.
- Play your music and adjust the volume on both your speakers and your device to your desired listening levels.


USB-C AUDIO CONNECTION
- Connect the included USB-C cable to the USB-C input on the active left A2+ rear panel and then to the USB-C output on your device.
- If using Windows, the A2+ should be recognized automatically. For MacOS, under System Preferences/Sound/Output, select "Audioengine A2+".


RCA OUTPUT / WIRED CONNECTION
- Connect a stereo RCA cable to the stereo RCA output on the active left A2+ rear panel and then to the stereo RCA input on your device.
- Play your music and adjust the volume on both your speakers and your device to your desired listening levels.


3.5mm WIRED CONNECTION
- Connect the included 3.5mm mini-jack audio cable to the stereo mini-jack input on the active left A2+ rear panel and then to the stereo mini-jack output on your device.
- Play your music and adjust the volume on both your speakers and your device to your desired listening levels.


TROUBLESHOOTING TIPS
A2+ is plugged in but the power indicator is not illuminated.
Ensure the AC power cord is connected to the power supply unit and a functioning AC power outlet.
Check that the cable at the other end of the power supply is correctly connected to the rear panel of the left speaker.
If the power supply light is on but you are experiencing an audio-related issue with a wired connection.
Verify that the volume/power control on the rear panel is not turned all the way down or powered off.
Check that the volume level of your audio source components or devices is not set to minimum volume or powered off. Check speaker wire connections from the left (powered) speaker to the right (passive) speaker. Confirm this by removing the speaker wire from each speaker and reconnecting. Also, check the speaker wire polarity by verifying that the wires are going to the same terminals on both speakers.
Check that the cables from your audio sources to the speakers are properly connected. Confirm this by unplugging the audio cables and then reconnecting.
Try using different audio input sources and/or devices to see if the same problem arises.
Try swapping your left and right speaker via the RCA left and right inputs to see if the issue remains on the same channel or follows the speaker.
If you are using a computer with your A2+, make sure the volume is up and the balance control is centered.
A2+ troubleshooting tips – Bluetooth.
Verify that the A2+ is connected to power and that the front volume knob is turned clockwise past the detent position (you should feel a click).
If your A2+ is already connected to a device via Bluetooth, the Bluetooth pair light on the back panel of the left speaker will be on and solid (note that if your A2+ has been idle and not connected to a device for more than 2 minutes, the Pair light will automatically turn off). Tap the Pair button and it should begin blinking. Try playing audio from more than one application on your phone/tablet, or computer.
Check to make sure your source device (computer, tablet, phone, etc.) is running the most up-to-date version of software available. For Mac OS users, be sure to check the App Store to see if there's a newer version of Mac OS you could be running.
Try disconnecting from and forgetting the A2+ through your device's Bluetooth settings, and re-pairing to the A2+. Try using a different source device with your A2+ to see if the issue follows. Also, be sure to test your A2+ using the analog input as well.
If possible, try your A2+ in a different location to see if something is causing an issue in the current setup. Something as simple as a wireless internet router, cordless or mobile phone, or halogen lamp near the speakers may be causing interference in your setup.
SERVICE
HOW TO OBTAIN AUDIOENGINE WARRANTY SERVICE
If you have any question or feel you may need service, contact the reseller where you purchased your product. You can also visit our support portal: audioengine.com/support-inquiry
And if you don't find an answer to your question you can easily contact us by opening a support ticket
FOR THE MOST UP-TO-DATE INFORMATION
- FAQs
- Setup videos
- Technical specifications
- Support information
- Troubleshooting tips
- Step-by-Step guide
- Customer support
- Warranty/Return information
SCAN ME:

SAFETY INFORMATION
- Please read these instructions before using this product.
- Keep these instructions for future reference.
- Heed all warnings on the product and in this guide.
- Follow all instructions.
- Do not use this apparatus near water or moisture.
- Clean only with a dry cloth and as directed by the manufacturer.
- Do not block any ventilation openings. Install in accordance with the manufacturer's instructions.
- Do not install near any heat sources, such as radiators, heat registers, stoves, or other apparatus that produce heat.
- Do not defeat the safety purpose of the polarized or grounding-type plug. A polarized plug has two blades with one wider than the other. A grounding-type plug has two blades and a third grounding prong. The wider blade or third prong is provided for your safety.
- Protect the power cord from being walked on or pinched, particularly at plugs, convenience receptacles, and the point where they exit from the apparatus.
- Use only attachments or accessories specified by the manufacturer.
- Use only with the cart, stand, tripod, bracket, or table specified by the manufacturer or sold with the apparatus. When a cart is used, use caution when moving the cart/apparatus combination to avoid injury from tip-over.
- Unplug this apparatus during lightning storms or when unused for long periods of time to prevent damage to this product.
- Refer all servicing to qualified service personnel. Servicing is required when the apparatus has been damaged in any way such as power supply cord or plug is damaged, liquid has been spilled or objects have fallen into the apparatus, the apparatus has been exposed to rain or moisture, does not operate normally, or has been dropped.
![]()

Documents / Resources
References
Download manual
Here you can download full pdf version of manual, it may contain additional safety instructions, warranty information, FCC rules, etc.
Advertisement


Need help?
Do you have a question about the A2+ and is the answer not in the manual?
Questions and answers