Quooker Scale Control Manual
- Installation manual (9 pages) ,
- Installation manual (12 pages)
Advertisement
Introduction
How the Quooker Scale Control works
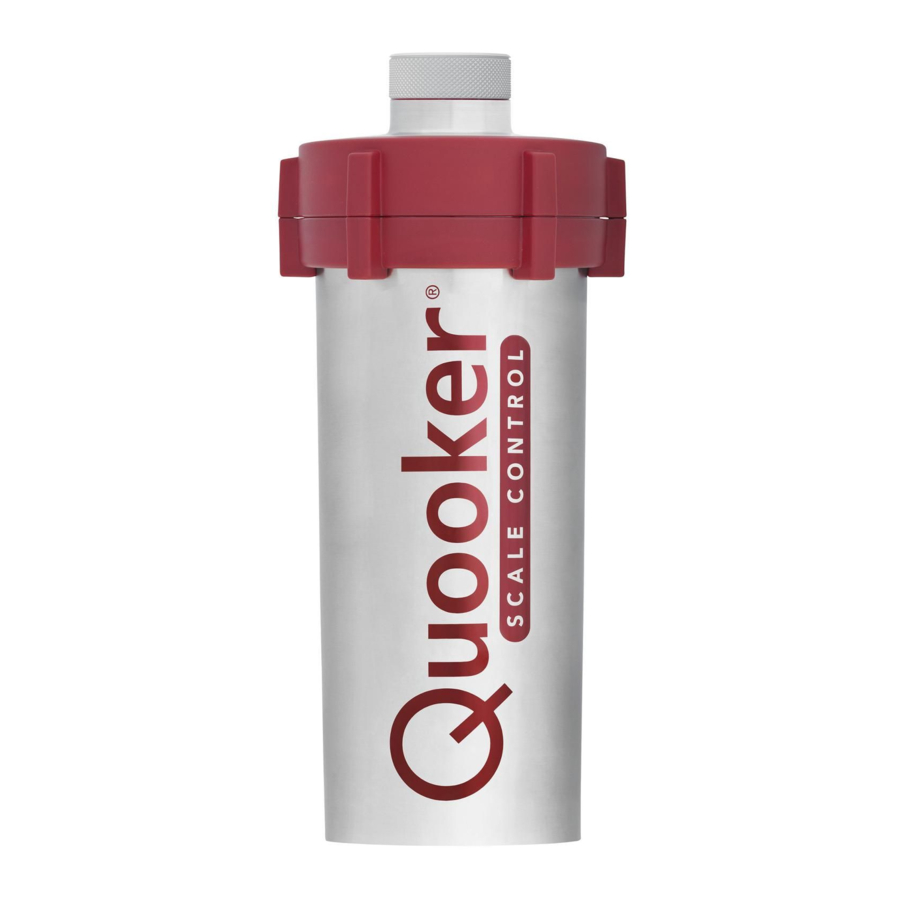
The Scale Control reduces the hardness of the water, preventing limescale from building up within the Quooker tank. The Scale Control considerably lengthens the lifespan of your Quooker and improves the taste of Quooker water. The Scale Control consists of a cartridge within a pressure resistant container. As water flows through the cartridge, water hardness is reduced by an ionexchange resin. The cartridge must be replaced after a certain period. This period depends upon the volume of water passing through the Quooker and the hardness of that water. For continuous optimum performance, replace the cartridge at the end of the lifespan.
If no Quooker has previously been installed
First, we recommend you install your Quooker tank and tap using the Quooker tank installation guide. Once this is installed, proceed with the installation of the Scale Control using this guide.
Lifespan of the cartridge
The Scale Control cartridge must be replaced periodically, depending on the hardness of your water and the volume of water used. Replacing your cartridge on time prevents limescale build-up within up your Quooker system. The included Scale Control meter sounds an alarm when the Scale Control cartridge replacement is due. To set-up the meter, first determine your water hardness with the total hardness test kit provided. Once this is done, setup the included Scale Control meter and connect it to your Quooker tank.
Technical specifications
| Height | 420 mm |
| Base diameter | 130 mm |
| Hand grip diameter | 180 mm |
| Maximum pressure | 10 bar |
| Mounting bracket optional | yes |
Contents of the pack

- Scale Control
- Scale Control meter, metal washer, screw and sticker
- Total hardness test kit
- Reducing coupler and fibre washers
Installing with PRO3
- Follow the steps below for installing the Scale Control with a Quooker PRO3or PRO7 tank.
- The 'Q' on top of the tank is the on/off switch.
- Disconnecting
Switch off the tank, but do not unplug it. Open the boiling-water tap until the water runs cold. Close the stop valve on the inlet combination valve. Close the tap. Disconnect the tank's inlet hose from the inlet combination valve.
![]()
- Connecting
Disconnect the head by unscrewing the grooved knob on top of the Scale Control. Connect the reducing coupler to the inlet combination valve with the fibre washer provided. Connect the Scale Control inlet hose (long) to the reducing coupler. Connect the Scale Control outlet hose (short) to the tank's inlet hose with the fibre washer.
![]()
- Positioning
Position the Scale Control into the kitchen cupboard. Ensure that the grips of the lid and the container are aligned. Screw the head firmly into the lid of the Scale Control.
![]()
- Flushing
Open the stop valve and the boilingwater tap until the water runs clear. Switch on the tank. The Quooker is ready for use once the water has heated up.
![]()


Installing with COMBI
- Follow the steps below for installing the Scale Control with a QuookerCOMBI tank.
- The 'Q' on top of the tank is the on/off switch.
- Disconnecting
Switch off the tank, but do not unplug it. Open the boiling-water tap until the water runs cold. Close the stop valve on the inlet combination valve. Close the tap. Disconnect the tank's inlet hose from the mixing valve.
![]()
- Connecting
Disconnect the head by unscrewing the grooved knob on top of the Scale Control. Connect the Scale Control inlet hose (long) to the mixing valve.
Connect the Scale Control outlet hose (short) to the tank's inlet hose with the reducing coupler and the fibre washer provided.
![]()
- Positioning
Position the Scale Control into the kitchen cupboard. Ensure that the grips of the lid and the container are aligned. Screw the head firmly into the lid of the Scale Control.
![]()
- Flushing
Open the stop valve and the boilingwater tap until the water runs clear. Switch on the tank. The Quooker is ready for use once the water has heated up.
![]()


Installing with COMBI+
- Follow the steps below for installing the Scale Control with a QuookerCOMBI+ tank.
- The 'Q' on top of the tank is the on/off switch.
- Disconnecting
Switch off the tank, but do not unplug it. Open the boiling-water tap until the water runs cold. Close the stop valve on the inlet combination valve. Close the tap. Disconnect the tank's inlet hose from the inlet combination valve.
![]()
- Connecting
Disconnect the head by unscrewing the grooved knob on top of the Scale Control. Connect the Scale Control inlet hose (long) to the reducing socket on the inlet combination valve.
Connect the Scale Control outlet hose (short) to the tank's inlet hose with the reducing c oupler and the fibre washer provided.
![]()
- Positioning
Position the Scale Control into the kitchen cupboard. Ensure that the grips of the lid and the container are aligned. Screw the head firmly into the lid of the Scale Control.
![]()
- Flushing
Open the stop valve and the boilingwater tap until the water runs clear. Switch on the tank. The Quooker is ready for use once the water has heated up.
![]()


Installing Scale Control meter
- When you have a tank that is from before 2018, please continue first with the installation manual of the flow meter. If you didn't receive the flow meter yet, please contact Quooker at 0207 9233355.
- Connecting tap
Take the jack plug of the tap out of the tank and insert it into the Scale Control meter's jack plug.
![]()
- Connecting Scale Control meter
Insert the jack plug of the Scale Control meter into either one of the sockets provided at the top of the back of the tank.
![]()
- Mounting metal washer
Mount the included washer inside your kitchen's cupboard, using the supplied screw.
![]()
- Mounting Scale Control meter
Using the integrated magnet, attach Scale Control meter onto the mounted metal washer. Fix the provided sticker to the inside of the cupboard next to the Scale Control meter.
![]()


Determining cartridge lifespan
- Test your water hardness with the total hardness test kit, as described below, to determine the expected cartridge lifespan.
- Ensure the Scale Control is working optimally by comparing the water hardness of the cold mains to the water hardness from the Quooker tank. The second value should be lower.
- Filling test tube
Take the test tube out of its box. Take a sample of water from the cold water feed. Rinse out the test bottle with this sample water then fill to the 5 ml mark.
![]()
- Adding reagent
Slowly add the reagent drop by drop, all the while swirling gently to mix the water. Count the number of drops it takes to turn the red colour of the solution to green.
![]()
- Determining water hardness
One drop of the reagent is the equivalent to 1.0°dH (degree of hardness) – For example, if it takes 9 drops for the sample to turn to green, this means your water has a water hardness of 9°dH.
![]()


Setting up Scale Control meter
- Initially activate the Scale Control meter by pressing the wheel until the screen lights up.
- Activating Scale Control meter
Initially activate the Scale Control meter by pressing the wheel until the screen lights up.
![]()
- Setting water hardness
Turn and press the wheel to input the water hardness (found using the steps in part C). Press the wheel again to confirm.
![]()
- Setting tank type
Turn the wheel again to set the power (in kW) in correspondence with the type of tank you have (see table below). Press the wheel when the correct value is highlighted. Press again to confirm.
![]()


| PRO3 | 1.6 kW |
| PRO7 | 2.9 kW |
| COMBI | 2.2 kW |
Replacing the cartridge
- The cartridge must be replaced before it becomes saturated.
- If the alarm sounds and you are not yet ready to replace the Scale Controlcartridge, press the wheel on the Scale Control meter once to snooze the alarm for 72 hours.
- The Q-shaped button on top of the tank is the on/off switch.
- Disconnecting
Switch off the tank, but do not unplug it. Open the boiling-water tap until the water runs cold. Close the stop valve on the inlet combination valve. Close the tap. Disconnect the head by unscrewing the grooved knob on top of the Scale Control. Remove the Scale Control from the kitchen cupboard.
![]()
- Replacing
Unscrew the lid and replace the old cartridge with a new one. Screw the lid onto the container until it clicks into place. Please note: Ensure that the red grips of the lid and the container are aligned.
![]()
- Positioning
Position the Scale Control into the kitchen cupboard. Screw the head firmly into the lid of the Scale Control.
![]()
- Flushing
Open the stop valve and the boilingwater tap until the water runs clear. Switch on the tank. The Quooker is ready for use once the water has heated up.
![]()
- Resetting Scale Control meter
Switch on the Scale Control meter by pressing the wheel once. The display now shows the remaining capacity. Turn the wheel to select 'reset' and press to confirm.
![]()


www.quooker.co.uk
Telephone +44 (0)161 768 5900
E-mail info@quooker.co.uk
Internet quooker.co.uk
Documents / Resources
References
Download manual
Here you can download full pdf version of manual, it may contain additional safety instructions, warranty information, FCC rules, etc.
Advertisement


Need help?
Do you have a question about the Scale Control and is the answer not in the manual?
Questions and answers