Advertisement
Quick Links
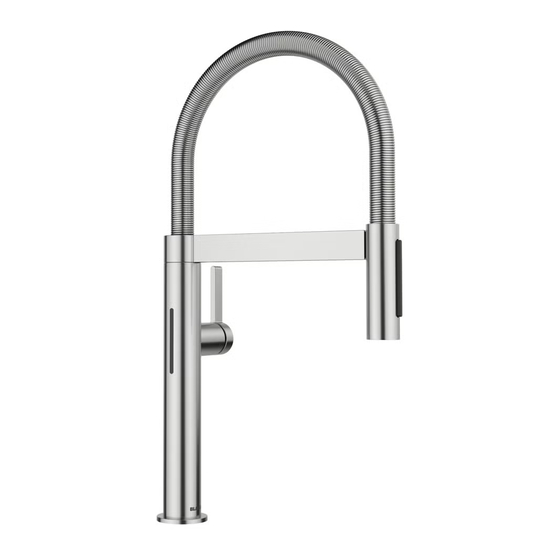
BLANCOCULINA II Mini Sensor
max.
70°C
158°F
temperature
5 - 71 °C
(40 - 160 °F)
pressure
After installation, please
1.4 - 8.6 bar
pass these instructions
(20 - 125 psi)
on to the end customer.
WARNING
Magnetic Field.
Can be harmful to
pacemaker wearers.
Pacemaker wearers
stay back 25 cm (10 in).
EN
Advertisement

Related Manuals for Blanco BLANCOCULINA II Mini Sensor 527477


Summary of Contents for Blanco BLANCOCULINA II Mini Sensor 527477
- Page 1 BLANCOCULINA II Mini Sensor max. WARNING 70°C Magnetic Field. 158°F Can be harmful to temperature pressure pacemaker wearers. After installation, please 5 - 71 °C 1.4 - 8.6 bar Pacemaker wearers pass these instructions (40 - 160 °F) (20 - 125 psi) on to the end customer.
- Page 2 BLANCOCULINA II Mini Sensor Tools needed: - Adjustable wrench - Channel lock pliers...
-
Page 3: Installation
INSTALLATION Place faucet through 1 3/8" hole. Make sure that the sealing ring on the upper sink/countertop side is in its correct position. 1 3/8" Ø Secure faucet to sink/countertop using mounting hardware (8). The proper sequence of hardware is: - triangular reinforcement base (9), - rubber washer, - metal washer,... - Page 4 COLD Connect three lines to the control box: - LEFT (HOT): red supply line for hot water - MIDDLE (OUT): faucet line - RIGHT (COLD): blue supply line for cold water Connect red supply line to hot water valve and blue supply line to cold water valve. Hold line while tightening nut to prevent line from twisting.
- Page 5 Option A Alcohol III. Option B III. 60 mm Mounting the control box: Option A (adhesive attachment): To attach the battery box and control box using the included adhesive velcro tapes: Clean the surfaces to which the adhesive tapes are to be attached (e.g. with alcohol). The surfaces must be free of dust and grease for a good adhesive bond.
- Page 6 Option A Option B Mounting the battery box: Option A (magnetic attachment): Hang the battery box on the front of the control box. Thanks to the integrated magnets, the battery box sticks itself to the control box. Option B (adhesive attachment): Stick the included velcro tapes on the back of the battery box.
- Page 7 Open water valves slowly. Remove aerator (6) using the aerator key (7). Turn the faucet on and let the water run for at least 20 seconds to ensure the lines and the faucet are flushed. min. 20 sec. Double check all connections for leaks.
- Page 8 Turn the water off. Reinstall the aerator. Write down the serial number located on the cold water hose. Pass on to the user: - this instruction manual, - the user manual - and the aerator key...
- Page 9 • Limited 10 Year Warranty with all BLANCO faucets used in interior multi-residential and rental housing installations; and • Limited 5 Year Warranty with all BLANCO faucets used for commercial purposes in interior installations. BLANCO warrants its faucets to be free from all proven manufacturing defects in material and workmanship.
- Page 10 This warranty applies only to the products sold and installed in Canada and the U.S.A. Blanco Canada Inc. will be responsible for this warranty for products sold and installed in Canada and Blanco America, Inc. will be responsible for this warranty for products sold and installed in the U.S.A.
- Page 11 BLANCOCULINA II Mini Sensor 2 3/8"...
- Page 12 BLANCOCULINA II Mini Sensor 9 7/16" 4 3/16" 90° 2 3/4" 2 9/16" 8 1/16" 3 1/4" Ø 1 7/8" 3/16" Rotates 140° 140° 7 5/16" 7 5/16"...
Need help?
Do you have a question about the BLANCOCULINA II Mini Sensor 527477 and is the answer not in the manual?
Questions and answers