Sign In
Upload
Download
Table of Contents
Contents
Add to my manuals
Delete from my manuals
Share
URL of this page:
HTML Link:
Bookmark this page
Add
Manual will be automatically added to "My Manuals"
Print this page
×
Bookmark added
×
Added to my manuals
Manuals
Brands
Minolta Manuals
Digital Camera
DYNAX 303 SI
Instruction manual
Minolta DYNAX 303 SI Instruction Manual
Hide thumbs
Also See for DYNAX 303 SI
:
Manual
(34 pages)
1
2
Table Of Contents
3
4
5
6
7
8
9
10
11
12
13
14
15
16
17
18
19
20
21
22
23
24
25
26
27
28
29
30
31
32
33
page
of
33
Go
/
33
Contents
Table of Contents
Troubleshooting
Bookmarks
Table of Contents
Table of Contents
Names of Parts
Quick Operation
Basic Operation
Attaching the Strap
Batteries
Lens
Loading Film
Handling the Camera
Taking Pictures in Full-Auto
Focus
Focus Signals
Special Focus Situations
Focus Focus Signals
Focus Hold
Using the Built-In Flash Flash Signals
Flash Range
Changing the Flash Mode
Auto Flash
Auto Flash with Red-Eye Reduction
Fill Flash
Fill Flash with Red-Eye Reduction
Flash Cancel
Lens Shadowing
Rewinding the Film
Automatic
Manual
Subject Program Selection
Portrait Mode
Landscape Mode
Subject Program Selection Page
Close-Up Mode
Sports Mode
Night Portrait Mode
Photographing Night Scenes
Self-Timer
Self Timer
Continuous Advance
For Owners of the Date Model
Exposing the Date/Time
Setting the Date/Time
Replacing the Battery
Additional Features
Manual Focus
AF Illuminator
Wireless/Remote Flash
Wireless/Remote Flash
Appendix
Accessory Information
Trouble Shooting
Care and Storage
Specifications
Advertisement
Quick Links
1
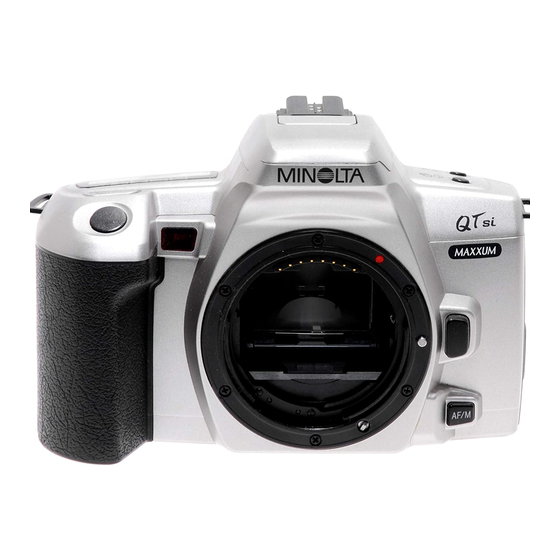
Names of Parts
2
Batteries
3
Loading Film
Download this manual
See also:
Manual
Enlarged version
QUICK
E
OPERATION
INSTRUCTION MANUAL
BASIC
OPERATION
SUBJECT
PROGRAM
SELECTION
ADDITIONAL
FEATURES
APPENDIX
Table of
Contents
Previous
Page
Next
Page
1
2
3
4
5
Advertisement
Table of Contents
Need help?
Do you have a question about the DYNAX 303 SI and is the answer not in the manual?
Ask a question
Questions and answers
Related Manuals for Minolta DYNAX 303 SI
Digital Camera MINOLTA DYNAX 303SI - PART 2 Manual
(34 pages)
Digital Camera Minolta DYNAX 505si SUPER Instruction Manual
Minolta instruction manual camera 505si (25 pages)
Digital Camera Minolta DYNAX 3 Instruction Manual
Konica minolta af slr camera dynax 4 instruction manual (65 pages)
Digital Camera Minolta DYNAX 4 Instruction Manual
(18 pages)
Digital Camera MINOLTA DYNAX 505 SI SUPER - PART 2 Manual
(25 pages)
Digital Camera Minolta Maxxum 5 Technical Specifications
Konica minolta digital camera technical specifications (8 pages)
Digital Camera MINOLTA DYNAX 5 Instruction Manual
(65 pages)
Digital Camera Minolta DYNAX 5 Instruction Manual
(25 pages)
Digital Camera MINOLTA DYNAX 7 User Manual
(102 pages)
Digital Camera Minolta Maxxum Dynax 7 User Manual
(66 pages)
Digital Camera Minolta Dynax 7 Instruction Manual
Minolta digital camera instruction manual (103 pages)
Digital Camera Minolta Dynax 7xi Instruction Manual
(103 pages)
Digital Camera Minolta Maxxum 9 Instruction Manual
Konica minolta af slr camera dynax 9 instruction manual (59 pages)
Digital Camera MINOLTA DYNAX 404SI MAXXUM STSI Instruction Manual
(45 pages)
Digital Camera MINOLTA DYNAX 404SI - PART 2 Manual
(45 pages)
Digital Camera MINOLTA Maxxum 500 si super Manual
(88 pages)
This manual is also suitable for:
Maxxum qt si
Table of Contents
Save PDF
Print
Rename the bookmark
Delete bookmark?
Delete from my manuals?
Login
Sign In
OR
Sign in with Facebook
Sign in with Google
Upload manual
Upload from disk
Upload from URL


Need help?
Do you have a question about the DYNAX 303 SI and is the answer not in the manual?
Questions and answers