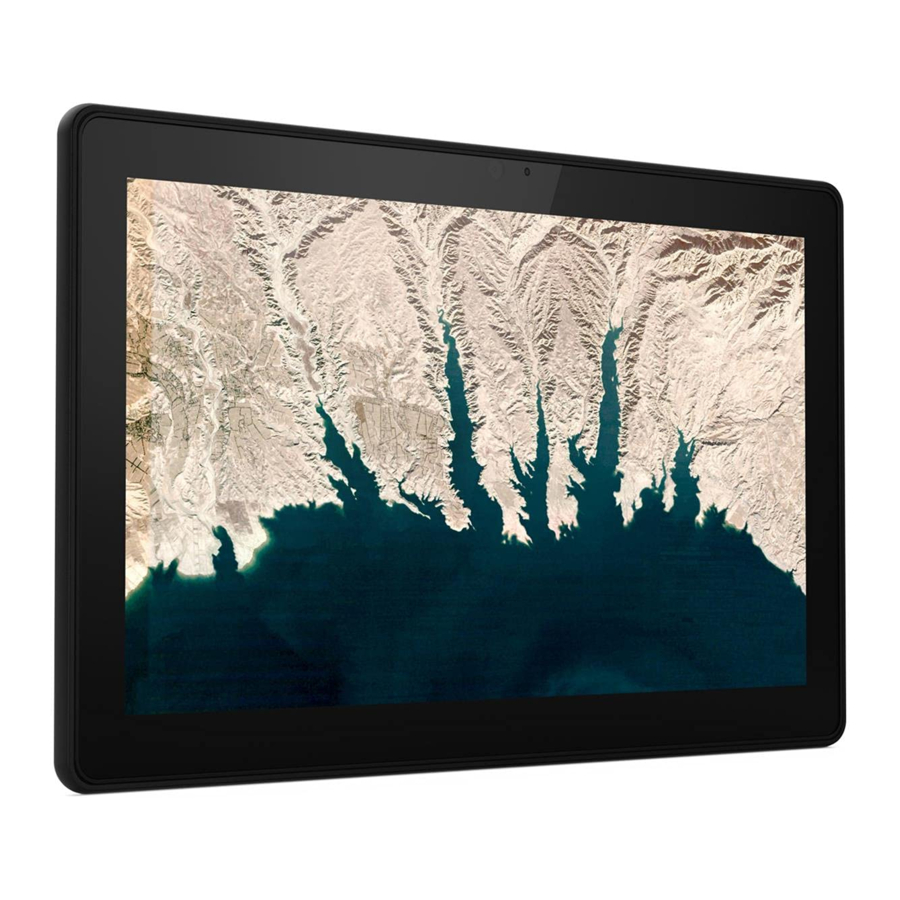
Lenovo 10e, 82AM000EUS, 82AM0009US Manual
- Hardware maintenance manual (61 pages) ,
- Setup manual (7 pages) ,
- User manual (58 pages)
Advertisement
- 1 About this documentation
- 2 Meet your Chromebook
- 3 Explore your Chromebook
- 4 Help and support
- 5 Documents / Resources
About this documentation
- Illustrations in this documentation might look different from your product.
- Depending on the model, some optional accessories, features, and software programs might not be available on your Chromebook™.
- Depending on the version of operating systems and programs, some user interface instructions might not be applicable to your Chromebook.
- Documentation content is subject to change without notice. Lenovo makes constant improvements on the documentation of your Chromebook, including this User Guide. To get the latest documentation, go to https://pcsupport.lenovo.com.
Meet your Chromebook
Connectors and indicators

| 1 | Speakers | Enable you to experience high-quality sound. |
| 2 | Microphones | Capture or record sound. |
| 3 | Front camera | Take pictures or record videos by tapping Camera from the app Laucher. The indicator next to the camera is on when the camera is in use. If you use other apps that support photographing, video chatting, and video conference, the camera starts automatically when you enable the camera- required feature from the app. |
| 4 | Power button | Press the power button to turn on your Chromebook. The power button also can be used to put the Chromebook to sleep mode or wake it up. |
| 5 | Volume button | Increase / decrease the volume. |
| 6 | Audio connector |
 Note: The audio connector does not support standalone external microphones. Note: The audio connector does not support standalone external microphones. |
| 7 | Power status indicator | This indicator shows whether the ac power is connected to the Chromebook and the battery power status of the Chromebook.
|
| 8 | Power connector / USB-C™ connector |
Note: When the battery power is below 10%, the connected USB-C accessories might not work correctly. |
| 9 | Pogo interface connector | Attach to the Lenovo 10e Chromebook Tablet Keyboard Folio. |
| 10 | Multi-touch screen | Enable you to use your Chromebook with simple touch gestures. See "Use the multi-touch screen" |

| 1 | Rear camera | Take photos and make videos. |
Features and specifications
| Dimensions |
|
| Maximum heat output (depending on the model) |
|
| Power source (ac power adapter) | Input rating of the ac power adapter: 100 V to 240 V ac, 50 Hz to 60 Hz |
| Memory | Low Power Double data rate (LPDDR) 4 eXtra, on-board memory |
| Storage device | Embedded MultiMediaCard (eMMC) |
| Display |
|
| Connectors and slots |
|
| Security features |
|
| Wireless features |
|
| Others |
|
Statement on USB transfer rate
Depending on many factors such as the processing capability of the host and peripheral devices, file attributes, and other factors related to system configuration and operating environments, the actual transfer rate using the various USB connectors on this device will vary and will be slower than the data rate listed below for each corresponding device.
| USB device | Data rate (Mbps) |
| 2.0 | 480 |
Explore your Chromebook
Charge your Chromebook

All plugs must be firmly and securely inserted into receptacles.
For models with a 10 W ac power adapter:

For models with a 45 W ac power adapter:

Navigate your user interface

| 1 | Search box and the app Launcher |
|
| 2 | Launcher button | Open the search box and the app Launcher. |
| 3 | Shelf | Pin your frequently used apps or Web pages to the shelf for easy access. |
| 4 | System tray | Manage network connections, updates, and settings. By default, network connection status, battery status, and the time are displayed. |
Connect to Wi-Fi networks
- Tap the network icon in the system tray. A list of available wireless networks is displayed.
- Select a network available for connection. Provide required information, if needed.
Connect to a Bluetooth-enabled device
You can connect all types of Bluetooth-enabled devices to your Chromebook, such as a keyboard, a mouse, a smartphone, or speakers. To ensure the connection is successful, place the devices 10 meters (33 feet), at most, from the Chromebook.
- Tap the Bluetooth icon in the system tray. A list of available Bluetooth devices is displayed.
- Select a Bluetooth device, and then follow the on-screen instructions.
Your Bluetooth-enabled device and Chromebook will automatically connect the next time if the two devices are in range of each other with Bluetooth turned on. You can use Bluetooth for data transfer or remote control and communication.
Change the display language
When starting your Chromebook for the first time, you are prompted to select the display language. This setting can be changed if you need to use a different language.
- Tap the setting icon in the system tray, and then select Advanced ➙ Languages and input.
- In the Languages section, tap
![]() next to the language that you want to use, and then tap Move to the top.
next to the language that you want to use, and then tap Move to the top.
Notes:
- If the language you want to use is not shown in the list, tap Add languages.
- You need to sign out and then sign in for the changes to take effect.
- Each signed-in user can set their own display language.
Change input methods
You might need to add an input method to type text in a particular language and switch between input methods.
Add an input method
- Tap the setting icon in the system tray, and then select Advanced ➙ Languages and input.
- In the Input method section, tap Manage input methods, and then select input methods as you prefer.
Switch between input methods
- Tap the setting icon in the system tray, and then select Advanced ➙ Languages and input.
- In the Input method section, tap the name of the input method to enable it.
Interact with your Chromebook
This section introduces various ways to interact with your Chromebook.
Use the multi-touch screen
Your Chromebook display supports the multi-touch function, and you can navigate the screen with simple touch gestures.
Note: Some gestures might not be available depending on the app you use.
Tap once

Open an app or perform an action on an open app, such as Copy, Save, and Delete, depending on the app.
Tap and hold

Open a shortcut menu.
Slide

Scroll through items, such as lists, pages, and photos.
Drag an item to the location you want

Move an object.
Move two fingers closer together

Zoom out.
Move two fingers farther apart

Zoom in.
Swipe up from the bottom

Unfold the app Launcher.
Tap with two fingers

Open a shortcut menu.
 Tips
Tips
- Turn off the Chromebook before cleaning the multi-touch screen.
- Use a dry, soft, and lint-free cloth or a piece of absorbent cotton to remove fingerprints or dust from the multi-touch screen. Do not apply solvents to the cloth.
- The multi-touch screen is a glass panel covered with a plastic film. Do not apply pressure or place any metallic object on the screen, which might damage the touch panel or cause it to malfunction.
- Do not use fingernails, gloved fingers, or inanimate objects for input on the screen.
- Regularly calibrate the accuracy of the finger input to avoid a discrepancy.
Lenovo 10e Chromebook Tablet Keyboard Folio
Depending on the model, your Chromebook might come with a Lenovo 10e Chromebook Tablet Keyboard Folio (referred to as keyboard folio). Attach the keyboard folio to your Chromebook so that you can transform your Chromebook into a portable notebook computer.
Overview

- Pogo pins: Pogo pins enable you to attach the keyboard folio to your Chromebook magnetically.
- Special keys: The special keys help you work more easily and effectively.
 | Go to the previous page. |
 | Go to the next page. |
 | Refresh your current page. |
 | Make the current window full screen. |
 | Open the task view to see all your open windows. |
 | Darken the display. |
 | Brighten the display. |
 | Mute the speakers. |
 | Decrease the speaker volume. |
 | Increase the speaker volume. |
 | Lock the screen. |
Your keyboard folio also supports some key combinations.
Ctrl +  | Take a screenshot. |
Alt +  | Switch the letter case between the upper case and lower case. |
| L + | Lock the screen. |
| Ctrl + Alt +? | View all keyboard shortcuts. |
Use the keyboard folio
Install your Chromebook in the keyboard folio


Remove your Chromebook from the keyboard folio


Use multimedia
Use your Chromebook with the built-in components (camera, speakers, and audio features) or connected external devices (an external projector, monitor, and HDTV).
Use audio
To enhance your audio experience, connect speakers, headphones, or a headset with a 3.5-mm (0.14-inch), 4-pole plug to the audio connector.
To play a local audio or video file:
- Tap the Launcher button, and then tap
![]() to display the full app Launcher.
to display the full app Launcher. - Tap Files.
- Choose a local audio or video file, and then open it in the media player.
To adjust the speaker volume, tap the system tray, and then adjust the volume bar.
Connect to an external display
Connect your Chromebook to a projector or a monitor to give presentations or expand your workspace.
To connect to an external display:
- Connect the external display to the USB-C connector on your Chromebook through a compatible adapter.
- Connect the external display to an electrical outlet.
- Turn on the external display.
Supported resolution
The following table lists the supported maximum resolution of the external display.
| Connect the external display to | Supported resolution |
| USB-C connector | Up to 1440 x 900 pixels / 60 Hz |
To change display settings:
- Tap the setting icon in the system tray, and then select Device ➙ Displays.
- Follow the on-screen instructions to change the display settings as you prefer.
Set the power plan
For ENERGY STAR® compliant Chromebooks, the following power plan takes effect when your Chromebooks have been idle for a specified duration:
Default power plan (when plugged into ac power):
- Turn off the display: After seven minutes 30 seconds
- Put the Chromebook into sleep: After eight minutes 30 seconds
To reset the power plan to achieve the best balance between performance and power saving:
- Tap the setting icon in the system tray, and then select Device ➙ Power.
- Follow the on-screen instructions to change the settings as you prefer.
Shut down your Chromebook
When you finish working with your Chromebook, shut it down to save power.
- Tap
![]() in the system tray.
in the system tray. - Press the power button.
Help and support
What are CRUs
Customer Replaceable Units (CRUs) are parts that can be upgraded or replaced by the customer. Your Chromebook contains the following types of CRUs:
- Self-service CRUs: Refer to parts that can be installed or replaced easily by customer themselves or by trained service technicians at an additional cost.
- Optional-service CRUs: Refer to parts that can be installed or replaced by customers with a greater skill level. Trained service technicians can also provide service to install or replace the parts under the type of warranty designated for the customer's machine.
If you intend on installing a CRU, Lenovo will ship the CRU to you. CRU information and replacement instructions are shipped with your product and are available from Lenovo at any time upon request. You might be required to return the defective part that is replaced by the CRU. When return is required: (1) return instructions, a prepaid shipping label, and a container will be included with the replacement CRU; and (2) you might be charged for the replacement CRU if Lenovo does not receive the defective CRU within thirty (30) days of your receipt of the replacement CRU. For full details, see the Lenovo Limited Warranty documentation at https://www.lenovo.com/warranty/llw_02.
Refer to the following CRU list for your Chromebook.
Self-service CRUs
- ac power adapter
- Lenovo 10e Chromebook Tablet Keyboard Folio *
- Power cord
* for selected models
Call Lenovo
If you have tried to correct the problem yourself and still need help, you can call Lenovo Customer Support Center.
Before you contact Lenovo
Prepare the following before you contact Lenovo:
- Record the problem symptoms and details:
- What is the problem? Is it continuous or intermittent?
- Any error message or error code?
- What operating system are you using? Which version?
- Which software applications were running at the time of the problem?
- Can the problem be reproduced? If so, how?
- Record the system information:
- Product name
- Machine type and serial number
The following illustration shows where to find the machine type and serial number of your Chromebook.
Note: Depending on the country or region of delivery, the location of the machine type and serial number of your Chromebook might look different from the following illustrations.

Lenovo Customer Support Center
During the warranty period, you can call Lenovo Customer Support Center for help.
Telephone numbers
For a list of the Lenovo Support phone numbers for your country or region, go to https://pcsupport.lenovo.com/supportphonelist for the latest phone numbers.
Note: Phone numbers are subject to change without notice. If the number for your country or region is not provided, contact your Lenovo reseller or Lenovo marketing representative.
For the terms and conditions of the Lenovo Limited Warranty that apply to your Lenovo hardware product, see "Warranty information" in the Safety and Warranty Guide that comes with your Chromebook.
Get help from Google
After signing in to your Chromebook, start Get Help from the app Launcher. The Get Help app provides comprehensive instructions on using your Chromebook.
In addition, if you are interested in visiting the Chromebook Help Center and Community, go to http://support.google.com/chromebook.
Documents / Resources
References
Official Lenovo Laptop, Accessories & PC Support - Lenovo Support US
![www.lenovo.com]() Lenovo Accessories & Software - Shop Now | Lenovo US
Lenovo Accessories & Software - Shop Now | Lenovo USSupportPhoneList - Lenovo Support US
Chromebook Help
Download manual
Here you can download full pdf version of manual, it may contain additional safety instructions, warranty information, FCC rules, etc.
Advertisement


Need help?
Do you have a question about the 10e and is the answer not in the manual?
Questions and answers