babymoov YOO Moov, A014417 Manual
- Instructions for use (2 pages) ,
- Instructions for use manual (64 pages)
Advertisement
WARNING
- The Yoo-Moov baby monitor should not be considered to be a medical device. In addition to using the Yoo-Moov baby monitor, it is strongly recommended to have an adult regularly check on your baby in person.
- Premature babies or children considered at risk must be supervised by your paediatrician or other medical staff.
- Never leave your child alone in the house, even for a short time.
- Keep out of reach of children.
- Do not use the Yoo-Moov baby monitor next to a source of water (bathwater, sink etc.).
- The appliance must not be exposed to drips or splashes, and no items containing liquids, such as vases, must be placed on top of the device.
- Always use the receiver battery supplied by the manufacturer: if the battery is damaged, contact our after-sales service department.
- For optimal use of your Yoo-Moov baby monitor and to limit any interference, we recommend not connecting any other electrical appliances to the same socket as your Yoo-Moov baby monitor (don't use a multi-socket adapter).
- Risk of explosion if the battery is not correctly replaced. Replace only with the same battery, or a type of battery equivalent to the one provided by the manufacturer
- The batteries (battery compartment or installed batteries) must not be exposed to excessive heat such as direct sunlight, fire or any other heat source
- The adapters or sockets (USB port) must be accessible and easy to disconnect in the event of any danger.
- This equipment should be installed and operated with a minimum distance of 20 cm between the radiator and your body.
- Keep these instructions in a safe place for future reference.
- This appliance must be installed by an adult only.
- This appliance is not a toy. Never allow children to play with it.
- Never place the camera or cables in the crib or within baby's reach.
- Keep the cables out of reach of children.
- Do not use the product if any components are broken or missing.
DO NOT EXPOSE THE BATTERY TO HEAT OR WATER, DO NOT PIERCE OR ATTEMPT TO DISMANTLE THE BATTERY:
RISK OF EXPLOSION.
PRECAUTIONS
- Only use the USB cable supplied. The use of other USB cable is liable to damage the baby monitor.
- When the baby monitor is not in use for an extended period, remove the battery from the receiver to avoid any damage associated with a battery leak.
- Unplug the power adapter from the wall socket if you are not using the baby monitor.
- The baby monitor works better in temperatures ranging between 0°C and 40°C
- Never expose the baby monitor to direct sunlight for long periods, and never place it next to a heat source or in a damp or very dusty room.
MAIN FUNCTIONS
- 2.4 GHz digital FHSS technology.
- Range of 300 m in an open space. The ranges stated on the pack are measured in free-field. It is therefore necessary to divide the range by 3 to obtain an estimated range in real-world conditions (presence of walls, etc.).
- 4,3" Colour screen.
- Motor-controlled camera: pan and tilt the camera remotely from your receiver
- Automatic night vision for better visibility in the dark.
- Remote control of the camera to see your baby as they sleep.
- Walkie-talkie function for talking to baby.
- Zoom function (x2).
- Out-of-range alarm.
- Battery level indicator.
- Direction adjustable camera.
- Night light and lullaby function (up to 5 melodies).
- VOX function
- The receiver is fitted with a rechargeable Lithium battery.
- Out-of-range and low battery alarms.
- On-screen display of the temperature in your baby's room
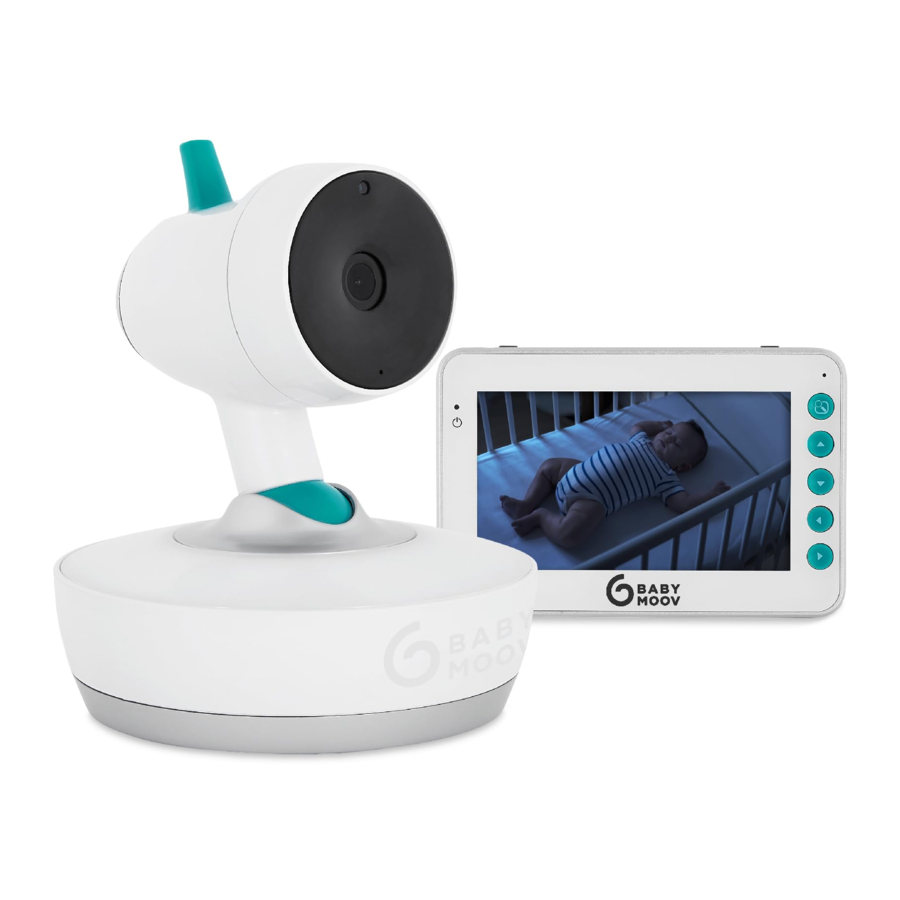
STANDARD ACCESSORIES

- Camera
- Receiver
- Wall mounting kit
- 1440 mAh rechargeable Lithium-Polymer battery
- USB cable
- Instruction manual
CONTROLS
CAMERA

- Microphone
- Nightlight
- ON/OFF and pairing button
- Jack port and power socket
- Light detector
- Motorized base
RECEIVER

- ON/OFF button
- Reply to baby' button
- Menu' button
- Arrow buttons to pan and tilt the camera
- LED: green when the receiver is switched on, red when the receiver is charging
- LCD touchscreen
- Speaker
- Lithium battery compartment
- Jack power port
- Base stabilizer
SETTING UP THE APPLIANCE

Place the camera on a flat surface between 1 m and 2.50 m from baby's head. Point the camera lens and microphone towards the baby.
STARTING THE APPLIANCE
Use either the USB cables supplied or a 5V DC/1000 mA power adapter.
- CAMERA
- Connect the output jack of the USB cable to the jack port (4) of the camera, making sure that the orientation is correct. Connect the USB cable to a USB plug (not supplied) and insert the plug into the wall socket.

- Connect the USB cable to a USB plug (not supplied) and insert the plug into the wall socket.
![]()
- Connect the output jack of the USB cable to the jack port (4) of the camera, making sure that the orientation is correct. Connect the USB cable to a USB plug (not supplied) and insert the plug into the wall socket.
- RECEIVER
The 1440 mAh rechargeable Li battery is already installed in the receiver.- Connect the output jack of the USB cable to the jack port (15) of the receiver, making sure that the orientation is correct. Connect the USB cable to a USB plug (not supplied) and insert the plug into the wall socket.

- To turn on your receiver, press the ON / OFF button on the receiver
![]()
- The power light will turn green.
![]()
- Connect the output jack of the USB cable to the jack port (15) of the receiver, making sure that the orientation is correct. Connect the USB cable to a USB plug (not supplied) and insert the plug into the wall socket.


N.B. before using the receiver for the first time, charge the battery for at least 3 hours.
Battery status and recharging

Changing the battery
If required or if you need to perform a reboot, unplug the USB cable.
N.B. Remember to disconnect the power adapter once the battery is completely recharged. To extend battery life and make it last longer, do not leave the battery fully flat for long periods of time.

ONLY USE THE ORIGINAL BATTERY OR ONE SUPPLIED BY THE DEALER. KEEP THE BATTERY OUT OF REACH OF CHILDREN.
USING THE INTERFACE AND MENU
- Access the main menu
![]()
![]()


The camera turns 360 degrees. It makes a complete revolution and then stops automatically (a safety stop protects the motorization system). To turn the camera in the other direction, use the arrows 

CONNECTING THE CAMERA TO THE RECEIVER
CONNECTION BETWEEN THE CAMERA AND THE RECEIVER
The connection process (pairing) links the receiver to the camera so that they can communicate without the risk of other appliances (even other Yoo-Moov cameras) interfering with the receiver or receiving your signal.
- Access the main menu
![]()
- Select 'Camera'. Use the arrow buttons
![]() on the receiver to navigate.
on the receiver to navigate.
![]()
- Select 'Add camera'. Use the arrow buttons on the receiver to navigate.
![]()
- Press the
![]() button to confirm.
button to confirm.
![]()
- Select
![]() . Press the
. Press the ![]() button to confirm.
button to confirm.
![]()
- Turn on the camera and press for 5 seconds
![]() . The button starts to flash and a 'beep' sound means the camera is connected to the receiver.
. The button starts to flash and a 'beep' sound means the camera is connected to the receiver.
![]()


 . Press the
 . The button starts to flash and a 'beep' sound means the camera is connected to the receiver.
Congratulations! Your camera is now connected!
N.B. You can only connect YOO-Moov cameras to the receiver. If connection fails, delete the camera and repeat steps 1 to 6
DISCONNECTING ONE OR MORE CAMERAS
- Select 'Delete camera'.
![]()
- Select the camera to be deleted.
![]()
- Press the
![]() button to confirm.
button to confirm.
![]()


EXIT THE MENU
For the following symbols

"Press  to quit the menu or wait until the appliance is inactive for 10 seconds.
About  : if you are adding or deleting a camera and want to quit the menu, press the
  arrows several times to return to.

Press to quit the menu or wait until the appliance is inactive for 10 seconds.
RECEIVER OPERATION


 | Nightlight. Select the night light colour or start kaleidoscope mode. |
 | Lullaby Select to play one of the lullabies from the camera. |
 | Sound volume Adjust the sound volume on the receiver. |
 | Brightness. Adjust the brightness of the receiver screen. |
 | Activating and adjusting the VOX sensitivity levels |
 | Low: The parent unit is activated when your baby makes the slightest noise. |
 | Medium: The parent unit is activated when your baby makes moderate noise. |
 | High: The parent unit is activated when your baby makes a loud noise. |
 | OFF: Switches off VOX mode and the parent unit is permanently switched on." |
  | Zoom |
 | Temperature in Celsius Temperature in Celsius |
WALL MOUNTING KIT
- Screw the wall mount to the camera base.
- Angle the wall mount by loosening the screw and then tightening it to set the preferred angle and secure the camera in place
![]()

TROUBLESHOOTING TABLE
| Problem | Possible causes | Solutions |
No sound and no image on the receiver |
|
|
Continuous transmission |
|
|
Out-of-range alarm permanently activated |
|
|
The image on the screen is breaking upThe signal loss image is displayed |
|
|
| The image on the screen freezes or appears in black and white |
|
|
Range too small |
|
|
- Frequency: 2406 MHz ~ 2475 MHz
- Maximum output power.
Camera: 18.83 dBm (EIRP)
Receiver: 19.44 dBm (EIRP) - Nominal input values: 100 – 240 V AC, 50/60 Hz, 0.2 A
- Nominal output values: 5.0 V DC - 1000 mA
- Battery: LI-ION Polymer 3,7 V / 1440 mAh
Manufacturer: E-TEK Electronics Manufactory Ltd.
Model: ZD5C050100EUDW
Device version: V02
Babymoov
Parc Industriel des Gravanches
16, rue Jacqueline Auriol 63051
Clermont-Ferrand 2 - France
www.babymoov.com
Babymoov UK Ltd
3rd Floor, East Reach House
East Reach
Taunton - TA1 3EN - England
www.babymoov.co.uk
Documents / Resources
References

Download manual
Here you can download full pdf version of manual, it may contain additional safety instructions, warranty information, FCC rules, etc.
Advertisement


Need help?
Do you have a question about the YOO Moov and is the answer not in the manual?
Questions and answers