
Subscribe to Our Youtube Channel
Related Manuals for Homebase Clever Cube


Summary of Contents for Homebase Clever Cube
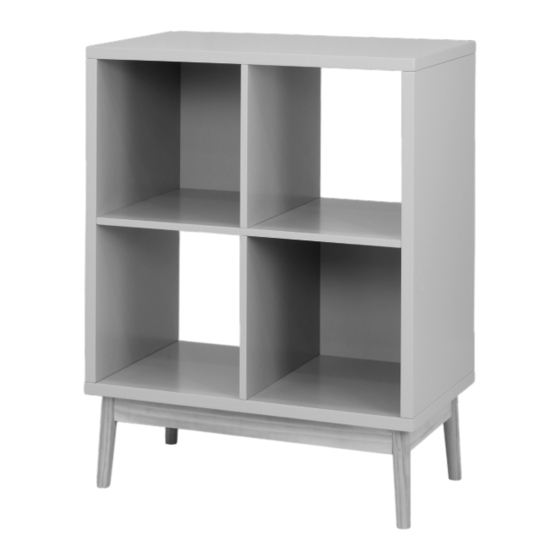
- Page 1 2 X 2 S TO R AG E C U B E W I T H L E G S G R E Y & N AT U R A L INSTRUCTION MANUAL IMPORTANT: Please read these instructions before using the product and retain for future use. HHGL Limited, MK9 1BA V1_2024 HHGL (ROI) Limited, D02 X576...
-
Page 2: Parts List
Please check you have all the components and fittings listed. If you find any missing or damaged parts, please contact our customer services team on 0333 003 7084 between 09:00 & 18:00, or use the contact form on our website www.homebase.co.uk... - Page 3 ASSEMBLY INSTRUCTIONS Step 1 Connect 2 x panels (5) to panel (4) using 2 x dowels (C). Step 2 Insert 12 x male camlocks (A) into panels (1, 2 & 3). Step 3 Connect 2 x side panels (2) to panel (4) using 4 x dowels (D). Secure with 4 x female camlocks (B).
- Page 4 Step 4 Attach top panel (1) and bottom panel (3) to the unit using 12 x dowels (D). Secure with 8 x female camlocks (B). Step 5 Attach 4 x legs (7) to the base of the unit using 8 x screws (E), spring washers (F) and washers (G).
-
Page 5: Installation Instructions
Step 6 H x 16 1. Attach 2 x back panels (6) to the unit using 16 x screws (H). 2. Stick 4 x foot pads (P) to the legs of the unit. INSTALLATION INSTRUCTIONS Step 1 1. Secure your unit to the wall using relevant wall plug (I or J), wall bracket (K) and screws (L &...
Need help?
Do you have a question about the Clever Cube and is the answer not in the manual?
Questions and answers