
Subscribe to Our Youtube Channel
Related Manuals for edishine HCFR01A


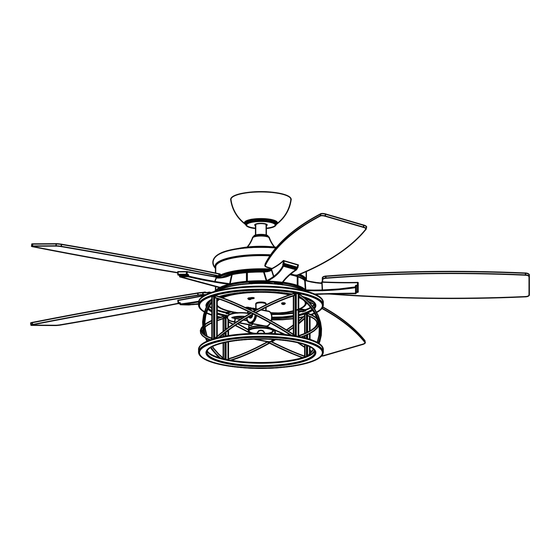
Summary of Contents for edishine HCFR01A
- Page 1 Ceiling Fan With Light SKU: HCFR01A [Instruction Manual] Please pay attention to the warning signs Read the instructions with caution before operating and keep it properly V40118...
- Page 2 READ THIS ENTIRE MANUAL CAREFULLY BEFORE BEGINNING INSTALLATION. SAVE THESE INSTRUCTIONS. Use only edishine replacement parts. 1. To reduce the risk of personal injury, attach the fan directly to the support structure of the building according to these instructions, and use only the hardware supplied.
- Page 3 Hardware Included Mounting bracket screws Spring washers Flat washers Plastic wire nut Balancing kit Blade screws Blade washers Cable screw Flat washer Package contents Canopy Mounting bracket Canopy cover Coupling cover 4'' Downrod 10'' Downrod Light kit Blade bracket Remote control Fan-motor assembly Blade...
- Page 4 MOUNTING BRACKET ASSEMBLING Outlet box Moun�ng Bracket Flat Washers Spring Washers Moun�ng Bracket Screws Warning:Failure to disconnect power supply prior to installa�on may result in serious injury.For safety and best opera�ng results,recommend you have a qualified electrician install this fan. Secure moun�ng bracket to outlet box by �ghtening moun�ng screws &...
- Page 5 ④ ⑦ ⑤ ⑥ ⑧ ⑨ “R” lock pin Canopy Coupling cover Bolt 2 set screws coupling motor...
- Page 6 Remove the ”R” lock pin,bolt and 2 set screws from the downrod and then take down the hanger ball. Slide the canopy onto the downrod,followed by the canopy cover and coupling cover. Feed the motor wire plugs up through the inside of the downrod,then tighten the 2 set screws for hanger ball firmly.
- Page 7 LIGHT KIT ASSEMBLING ① ② X2 70 % X1 100 % ③ Remove 1 screw and loosen 2 screws from the motor.Connect 2 connectors,and then Install the light kit to the motor with 3 screws.Install 2 X E26 MAX.25 watt bulbs(not included) inside the light kit. HANG THE FAN INTO MOUNTING BRACKET...
- Page 8 ball groove Ridge align ball groove on hanger ball with ridge on hanger bracket. Ensure hanger ball sitting into hanger bracket correctly. If fan doesnot sit properly,hold the downrod and twist it until fan has been secured into hanger bracket. WARNING: Failure to align ball groove with ridge may result in serious injury.
- Page 9 MAKE ELECTRICAL CONNECTIONS WARNING: To avoid possible electrical shock, be sure electricity is turned off at the main fuse box before wiring. Insert the receiver into the mounting bracket with the flat side of the receiver facing the ceiling. Make the wire connection between the Fan and power supply.Make sure all connections are secured.
- Page 11 A: Please press button 2 to turn on/off the light. Q: How to adjust the airflow of the fan? A: Please press button 3/4/5/6/7/8 respectively. Edishine provides you with 1-6 levels of wind speed gears, providing you with multi-level comfortable airflow options.
- Page 12 Q: How to realize the automatic cycle adjustment of wind speed? A: Please press button 15 , edishine provides you with fan 1-6 speeds of airflow automatic circulation adjustment, closer to the natural wind state, ensures more comfortable living environment.
- Page 13 Q: How to pair/unpair 1 remote control with multiple ceiling fan with light? A: Simultaneously power multiple ceiling fan with light, repeat the above steps to complete. Q: How to achieve the opening/closing of the buzzer sound? Turn On: Press and hold remote control button 2 for 3 seconds.
Need help?
Do you have a question about the HCFR01A and is the answer not in the manual?
Questions and answers