Sign In
Upload
Download
Add to my manuals
Delete from my manuals
Share
URL of this page:
HTML Link:
Bookmark this page
Add
Manual will be automatically added to "My Manuals"
Print this page
×
Bookmark added
×
Added to my manuals
Manuals
Brands
Prima Manuals
Oven
PRSO101
User manual
Prima PRSO101 User Manual
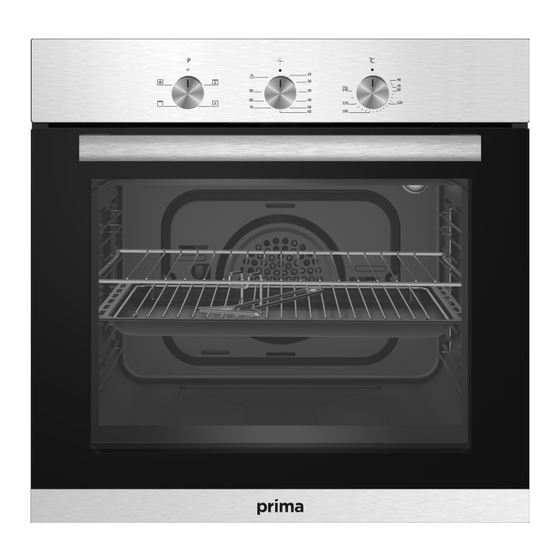
60cm built-in oven
Hide thumbs
1
2
3
4
5
6
7
8
9
10
11
12
13
14
15
16
17
18
19
20
21
22
23
24
25
26
27
28
29
30
31
32
33
34
35
36
37
38
39
page
of
39
Go
/
39
Bookmarks
Advertisement
Quick Links
Download this manual
60cm BUILT-IN OVEN
PRSO101
PRSO105
USER MANUAL
GB
Previous
Page
Next
Page
1
2
3
4
5
Advertisement
Need help?
Do you have a question about the PRSO101 and is the answer not in the manual?
Ask a question
Questions and answers
Related Manuals for Prima PRSO101
Oven PRIMA PRO100 User Manual
Vertical rotisserie oven (5 pages)
Oven Prima PRDO 202 Features List
(9 pages)
Oven Prima PRSO204 Features List
(8 pages)
Oven Prima PRSO202 Features List
(8 pages)
Oven Prima PRSO301 Technical Specifications
(12 pages)
Oven Prima PRSO110 Instruction Manual
Built-in pyrolitic oven (13 pages)
Oven Prima PRSO110 Instruction Manual
Built-in pyrolitic oven (14 pages)
Oven Prima PRDO302 Instruction Manual
(16 pages)
Oven Prima PRSO108 Instruction Manual
(13 pages)
Oven Prima PRSO106 Instruction Manual
Built-in electric oven (15 pages)
Oven Prima PRSO103 User Manual
60cm built-in oven (43 pages)
Oven Prima PRSO107 User Manual
60cm built-in oven (43 pages)
Oven Prima PRSO105 User Manual
60cm built-in oven (39 pages)
Oven PRIMA PMO26H Operating Instructions Manual
26 litre oven with twin hobs (6 pages)
Oven Prima LPR 9020 Instructions For Use Manual
(14 pages)
Oven Prima LPR 9022 Service Information
(14 pages)
This manual is also suitable for:
Prso105
Print
Rename the bookmark
Delete bookmark?
Delete from my manuals?
Login
Sign In
OR
Sign in with Facebook
Sign in with Google
Upload manual
Upload from disk
Upload from URL


Need help?
Do you have a question about the PRSO101 and is the answer not in the manual?
Questions and answers