Advertisement
Quick Links
AOS-HERO-S2
Replacement Manual | El manual del repuesto
HIGH-EFFICIENCY
REVERSE OSMOSIS
SMARTFLOW™ MEMBRANE REPLACEMENT
REPUESTO DE MEMBRANA DE OSMOSIS
INVERSA DE ALTA EFICIENCIA SMARTFLOW™
IF YOU NEED HELP OR HAVE A QUESTION, WE'VE GOT YOU COVERED.
GIVE US A CALL AT 877.333.7108
PLEASE DO NOT RETURN TO THE STORE.
SI NECESITA AYUDA O TIENE ALGUNA CONSULTA, NOSOTROS NOS
ENCARGAMOS. LLÁMENOS AL 877.333.7108.
NO ES NECESARIO QUE VUELVA A LA TIENDA.
STEP 1
Prepare for Installation
1. Turn off COLD water valve. Release pressure from system
by turning on dedicated faucet until water stops flowing.
Once water stops flowing from the dedicated faucet, turn
the faucet off.
1. Unbox SmartFlow™ Membrane replacement and remove
plastic.
2. Remove the SmartFlow™ Membrane cartridge from
Stage 2 by turning the handle to the left and pulling out.
Discard entire cartridge.
STEP 2
Insert Smartflow™ Membrane
1. Insert SmartFlow™ Membrane cartridge into Stage 2 in
the system manifold by turning to the right. The guides
on each filter will ensure proper alignment within the
system manifold.
2. Once the filter is engaged, push the filter fully in while
rotating 90 degrees to the right.
INSTALLATION GUIDE
STEP 3
Flush and Check for Leaks
Note: Do not drink the flushed
water.
1. Turn on COLD water valve
and confirm dedicated faucet
is off. While tank refills,
carefully inspect for leaks.
Note: It will take 1-3 hours for
the water tank to refill.
2. After the water tank is full,
turn on the dedicated faucet
and empty the tank again.
3. Once the water tank is empty,
turn off the dedicated faucet
and allow tank to refill for the
second time. After the tank
has refilled, your system is
ready to use.
Scan to view the AOS-HERO-S2 installation video.
NEED HELP? GIVE US A CALL 877.333.7108
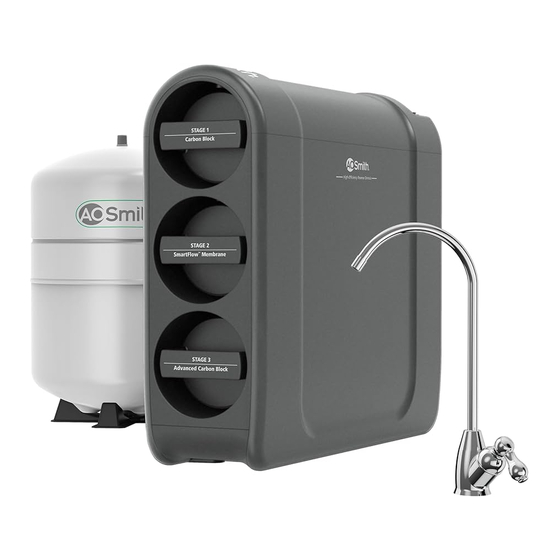
Stage 1
Carbon Block
Stage 2
SmartFlow
™
Membrane
Stage 3
Advanced Carbon Block
Advertisement

Related Manuals for A.O. Smith Smartflow Membrane


Summary of Contents for A.O. Smith Smartflow Membrane
- Page 1 AOS-HERO-S2 INSTALLATION GUIDE Replacement Manual | El manual del repuesto STEP 1 Prepare for Installation STEP 3 Flush and Check for Leaks HIGH-EFFICIENCY Note: Do not drink the flushed 1. Turn off COLD water valve. Release pressure from system REVERSE OSMOSIS water.
- Page 2 GUÍA DE INSTALACIÓN CARE & SAFEGUARDS | CUIDADO Y RESGUARDOS Care PASO 3 Purgue y revise si hay fugas PASO 1 Prepare para la instalación To clean the system manifold and tank, wipe exterior with a damp cloth. Do not use any strong or abrasive cleaning agent or solvent cleaner. Nota: No beba el agua de lavado.
Need help?
Do you have a question about the Smartflow Membrane and is the answer not in the manual?
Questions and answers