
Related Manuals for Oxygen Halcyon


Summary of Contents for Oxygen Halcyon
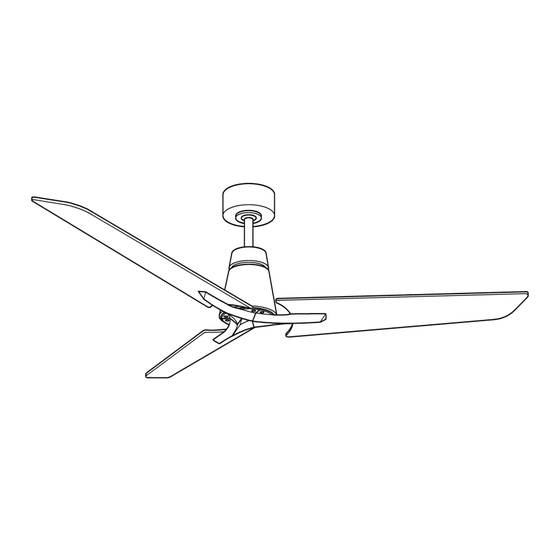
- Page 1 THE HALCYON CEILING FAN INSTALLATION INSTRUCTIONS Please read and save these instructions The Halcyon Ceiling Fan © 2017 oxygen Lighting. All Rights reserved. 201 Raihead Rd Fort Worth, TX 76106 (877) 607-0202 FAX (877) 607-0203 IO358-04/23...
- Page 2 Complete and mail the enclosed (RGA) prior to returning the defective box and packaging. Oxygen will not bear warranty card within 10 days to ensure unit or part. Call (877) 607-0202 - responsibility for any shipping damage.
- Page 3 Blade attachment hardware (Hex wrench, screws/lock washers) Mounting hardware (wood screws, machine screws,lock washers, spring washers, metal washers.) IF YOU FIND THAT PARTS ARE MISSING.CONTACT YOUR DEALER FOR REPLACEMENT, OR CALL OXYGEN DIRECTLY AND WE WILL MALL REPLACEMENTS TO YOU IMMEDLATELY.
- Page 4 3. MOUNTING OPTIONS 1. Disconnect the power by removing fuses WARNING: TO REDUCE THE RISK OF ELECTRIC SHOCK, FIRE, OR PERSONAL INJURY, or turning off circuit breakers. MOUNT THE FAN ONLY TO AN OUTLET MARKED ACCEPTABLE FOR FAN SUPPORT AND USE MOUNTING SCREWS PROVIDED WITH THE OUTLET BOX.
- Page 5 Fig. 5 Fig. 8 1. Remove the set pin and safety lock clip from the yoke on top of the motor assembly (parts illustrated on downrod in Fig.5). Slide the downrod through the canopy and canopy cover. Slide the yoke cover onto the downrod (Fig.
- Page 6 5. ELECTRICAL CONNECTIONS WARNING! SHUT OFF THE POWER WITH FUSE OR CIRCUIT BREAKER. Fig. 10 a 1. SAFETY PRECAUTIONS • Disconnect electric power source by removing fuse or switching OFF circuit breaker. • Do not use with solid state fans. •...
- Page 7 6. COMPLETING THE INSTALLATION Fig. 11 Fig. 13 1. Make sure the wiring is safely inside the outlet box as instructed in Step 5 -Electrical Connections. To install the canopy, remove one of the two screws from the bottom of the mounting bracket and slightly loosen the other screw (Fig.
- Page 8 Fig. 16 INSTALLING THE TRANSMITTER(Fig 16) Pull the wall plate apart from the control cover. Attach wall plate to the outlet box using the two screws provided. screw Attach the control cover to the wall plate. Remote LEARNING PROCESS NOTE: The Hand Held Remote Control System is equipped with a learning Outlet box frequency function which has code combinations to prevent potential Wall plate...
- Page 9 3. Clean you fan periodically using only 1. A ceiling fan is an environmentally Fig.18 a cloth dampened with a mild detergent smart choice to cool as well as to help solution for all hardware - never use warm your home or office. Adjust your solvents.
- Page 10 A full range of genuine replacement 5. Check that the canopy is not touching spare parts are available at reasonable the ceiling. cost directly form Oxygen Lighting. NOISE Please call us at (877) 607-0202, Note: Always allow a day or two "run-in"...
Need help?
Do you have a question about the Halcyon and is the answer not in the manual?
Questions and answers