
Subscribe to Our Youtube Channel
Related Manuals for Abus Wintecto FCA4100S AL0125


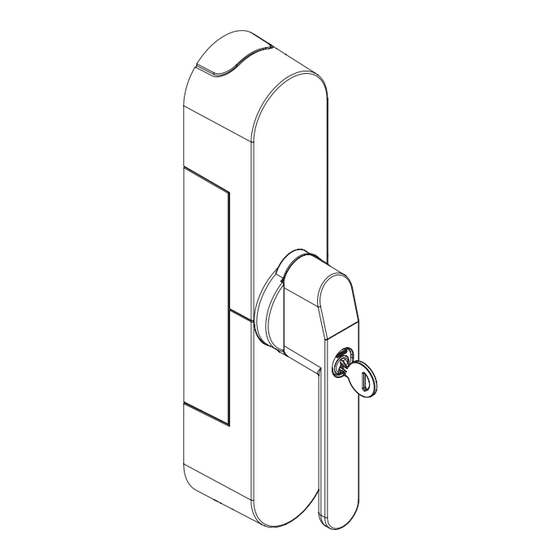
Summary of Contents for Abus Wintecto FCA4100S AL0125
- Page 1 I N S T R U C T I O N M A N U A L W I N T E C T O O N E Fensterantrieb Window actuator Mécanisme de fenêtre Vensteraandrijving Attuatore finestra Accionamiente de ventana www.abus.com...
- Page 2 Vielen Dank, dass Sie sich für dieses ABUS Produkt entschieden haben! Montage- und Bedienungsanleitung ......... 3 - 14 Bitte lesen Sie diese Anleitung vor der Montage und Inbetriebnahme sorgfältig Fitting and operating instructions ........... 15 - 26 durch. Bewahren Sie die Anleitung auf und weisen Sie jeden Nutzer auf die Instructions de montage et d’utilisation ........
- Page 3 Ziehen Sie vor der Verwendung des Antriebs von außen das Fenster heran. 2.1 c 2.1 d Prüfen Sie beim Verlassen des Hauses oder der Wohnung die ordnungsgemä- ße Verriegelung des Fensters. Während der Motorfahrt am Fenster / an der Fenstertür nicht ziehen oder drücken und den Fenstergriff nicht festhalten! Es besteht Gefahr durch bewegte Teile.
- Page 4 Montage der Griffeinheit 2.2 e 2.3 a Beachten Sie die unterschiedliche Stellung bei DIN rechten und DIN lin- ken Fenstern! Grundplatte und Vierkant zueinander spannungsfrei im 90°-Winkel montieren und Schrauben nur von Hand andrehen! 2.3 b Falls die Einstellung „rechts“ und „links“ vertauscht wird, führt 2.2 f dies zum Defekt des Produktes! 2.3 c...
- Page 5 Batterien einsetzen ABUS One App 2.4 a 2.4 b Android • Laden Sie die ABUS One App herunter und aktivieren Sie Bluetooth an Ihrem ® Smartphone. • Starten Sie die App und folgen Sie den Anweisungen in der App. • Achten Sie auf die Zuordnung der verschiedenen Keycards zu den Produkten und scannen Sie immer die zugehörige Keycard.
- Page 6 4.1 b 4.1 e Unterlage(n), Magnethalterbefestigung und Schrauben gemäß Tabelle in 4.1b an der S1 S2 markierten Stelle anschrauben. Magnethalter aufdrücken. x = 0 - 7 mm ----- x = 8 - 12 mm 7 mm 4.1 f 4.1 g x = 13 - 16 mm 14 mm x = 17 - 30 mm...
- Page 7 - Der Antrieb kann nicht eingelernt werden, es erfolgt kein Quittierungston => Mitnehmerscheibe auf Gehäuserückseite nicht korrekt eingestellt (> 2.2f) - Die Nulllage (Griff in Geschlossen-Position) kann nicht angefahren werden => Leichtgängigkeit der Tür einstellen, eventuell zu fest angezogene Befestigungsschrauben etwas lockern, mechanische Montage optimieren - Beim Öffnen des Fensters / der Fenstertür aus der Kippstellung fällt dieses aus der Verankerung =>...
- Page 8 Bluetooth®-enabled smartphone (Bluetooth® 4.0 LE and higher), a currently Sie Pappe und Karton zum Altpapier, Folien und Kunststoffteile in die Wertstoff- supported iOS or Android software version, and the free ABUS One app for iOS Sammlung. Bitte wenden Sie sich bei Rückfragen an die für die Entsorgung or Android.
- Page 9 Before using the actuator, pull the window in from the outside. When leaving 2.1 c 2.1 d the house or flat, check that the window is properly locked. Do not pull or push on the window/patio door or hold the window handle during operation of the motor.
- Page 10 Fitting the handle unit 2.2 e 2.3 a Please note the different position of DIN right and DIN left windows! Fit base plate and square shaft at 90° to one another without tension and 2.3 b tighten by hand only! If the „right“...
- Page 11 • To program the window actuator, start with the button „Add new ABUS lock“. • It is imperative to keep the ABUS Keycard in a secure place even after com- pleting the setup! The Keycard serves as proof of ownership for your window actuator.
- Page 12 4.1 b 4.1 e Screw on the base(s), magnet holder moun- ting and screws according to the table in S1 S2 4.1b at the marked position. Press down on the magnet holder. x = 0 - 7 mm ----- x = 8 - 12 mm 7 mm 4.1 f 4.1 g...
- Page 13 - The drive cannot be programmed, there is no acknowledgement tone => drive plate on back of housing is not set correctly (go to 2.2f) - It is not possible to move to zero position (handle in closed position) => Adjust ease of operation of the door, fixing screws may be too tight loosen slightly, optimise mechanical fitting - When opening the window / patio door from its tilt position, and it falls out of its anchoring...
Need help?
Do you have a question about the Wintecto FCA4100S AL0125 and is the answer not in the manual?
Questions and answers