Advertisement
Quick Links
Thank you for
purchasing a
Birlea product
Are you happy with your purchase?
Yes: That's great, we would love to hear more from you.
Please leave us a review on our Trustpilot link on the QR
code here. Your feedback will be greatly appreciated.
No: If for any reason there is something missing, indifferent or incorrect with
your order, please contact the retailer that you purchased your item from.
Please note that this items build time is around:30mins
Assembly Instructions
www.birlea.com
For a chance to win a Love2Shop voucher
simply post a picture of your new product on
your preferred social channels tagging Birlea
Furniture. One winner will be selected at
random each month.
*Terms & conditions may apply.
Advertisement

Subscribe to Our Youtube Channel
Related Manuals for Birlea AXEL 2 DRAWER FLUTED BEDSIDE TABLE


Summary of Contents for Birlea AXEL 2 DRAWER FLUTED BEDSIDE TABLE
- Page 1 Thank you for For a chance to win a Love2Shop voucher simply post a picture of your new product on purchasing a your preferred social channels tagging Birlea Furniture. One winner will be selected at Birlea product random each month.
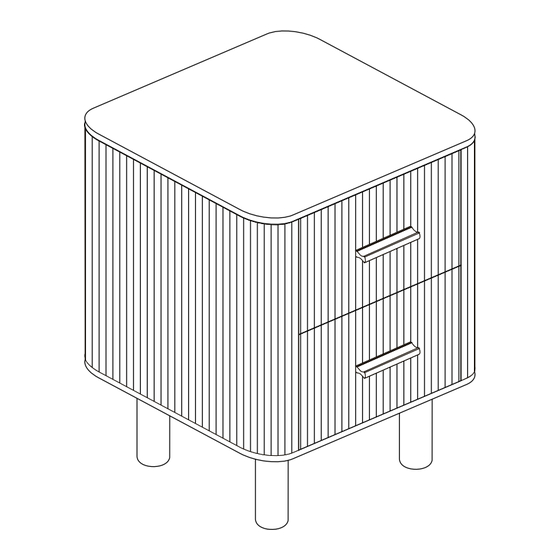
- Page 2 AXEL 2 DRAWER FLUTED BEDSIDE TABLE AXEL 2 DRAWER FLUTED BEDSIDE TABLE. ASSEMBLY: Assembly should be carried out with this item laying flat, not standing upright. Assemble on a soft, clean surface to prevent damages. To erase the numbers printed on the pieces, use the rubber inside the accessories pack.
- Page 3 Page 3 of 9...
- Page 4 Parts List Hardware List Part Description Part Description Side Panel(Left) Side Panel(Right) w(M4X35MM) Connect Panel Wooden leg w(M4X25MM) Side Frame Panel w(M3X12MM) Drawer Side Panel(Left) Drawer Side Panel(Right) c i t Drawer Back Panel Drawer Bottom Panel Drawer Front Panel e l l Back Panel Rail...
- Page 5 STEP 1: Connect panel(5) with bottom panel(4) by hardware (F); Connect panel(5) with top panel(3) by hardware (F); Insert the hardware A on the top panel (3). DO NOT use any power tools as this may damage the frame and will invalidate any claim. STEP 2: Open the expansion track as shown in the diagram below;...
- Page 6 STEP 3:Attach the top panel(3) with the left&right side panel(1),(2)by hardware (B,C). DO NOT use any power tools as this may damage the frame and will invalidate any claim. STEP 4:Insert the back panel (13) before assemble the bottom panel; Attach the bottom panel (4) by hardware (C,J,L).
- Page 7 STEP 5:Insert the legs(6) and then attach the hardware pad(H). Attach the hardware (I) on the back of the item. DO NOT use any power tools as this may damage the frame and will invalidate any claim. STEP 6:Attach drawer back panel(10) to drawer side panel(8),(9) using hardware (D); Insert the bottom panel(11) before assembly the drawer front panel(12);...
- Page 8 STEP 7: Attach the runner(P) onto drawer left&right side panel(8),(9) by hardware (G). DO NOT use any power tools as this may damage the frame and will invalidate any claim. GX12 STEP 8: Attach the side frame panel(7)and then press to make sure the velcro is sticking. DO NOT use any power tools as this may damage the frame and will invalidate any claim.
- Page 9 Ensure the head of any screw used has a diameter greater than the mounting hole and the fixing is safe and secure before use. WARNING! Birlea Furniture advise that the wall straps provided should be used to further enhanc e the safety of this product. ・...
Need help?
Do you have a question about the AXEL 2 DRAWER FLUTED BEDSIDE TABLE and is the answer not in the manual?
Questions and answers