Advertisement
Before you start
This device is intended to charge and store our specific custom hearing instruments with built-in power cells (lithium‑ion rechargeable batteries). Your Hearing Care Professional will advise you on the compatible models.
The charger is only intended for indoor use. Observe and follow the operating conditions in section "Operating conditions".

Read this user guide thoroughly and completely and follow the safety information in this document to avoid damage or injury.
 The device may not look exactly like the guiding illustrations in these instructions. We reserve the right to make any changes we consider necessary.
Components

- Lid
- Charging cups
- Status LEDs
- USB power port
- USB power cable
- Power adapter
Getting the unit ready for use

Risk of electric shock!
- Connect the charger only with a 5V DC USB power supply which complies with IEC 60950-1 and/or IEC 62368-1.
NOTICE
Use of incompatible parts poses a risk of malfunction.
- Use only the power supply and country specific adapter that is provided with the charger.
- Connect the USB‑C side of the USB power cable to the USB port of the charger
![]() .
.

- Connect the other side of the USB power cable to a suitable electrical plug
![]() .
.
![]()
- Connect the charger to the power supply. All LEDs for each charging cup turn on successively indicating that the charger has power and is ready for use.
- Place the right hearing instrument in the charging cup marked with an "R", and the left hearing instrument in the charging cup marked with an "L".

- Close the charger's lid. X You can charge both hearing instruments at the same time.
- The hearing instruments are automatically turned off and start charging. The charging status is indicated; see table "Charging Status" below.
- When you want to use your hearing instruments, take them out of the charger. The hearing instruments will automatically turn on.
 .
.
 .
.

Charging
Correct position of the hearing instruments
- The right hearing instrument can be inserted in the charging cup marked with an "R". The left hearing instrument can be inserted in the charging cup marked with an "L".

- The hearing instruments lie loosely in the charging slots.
- The earpieces of the hearing instruments should always be placed into the recess.
- Make sure the flat part of the hearing instruments are parallel to charging top surface.


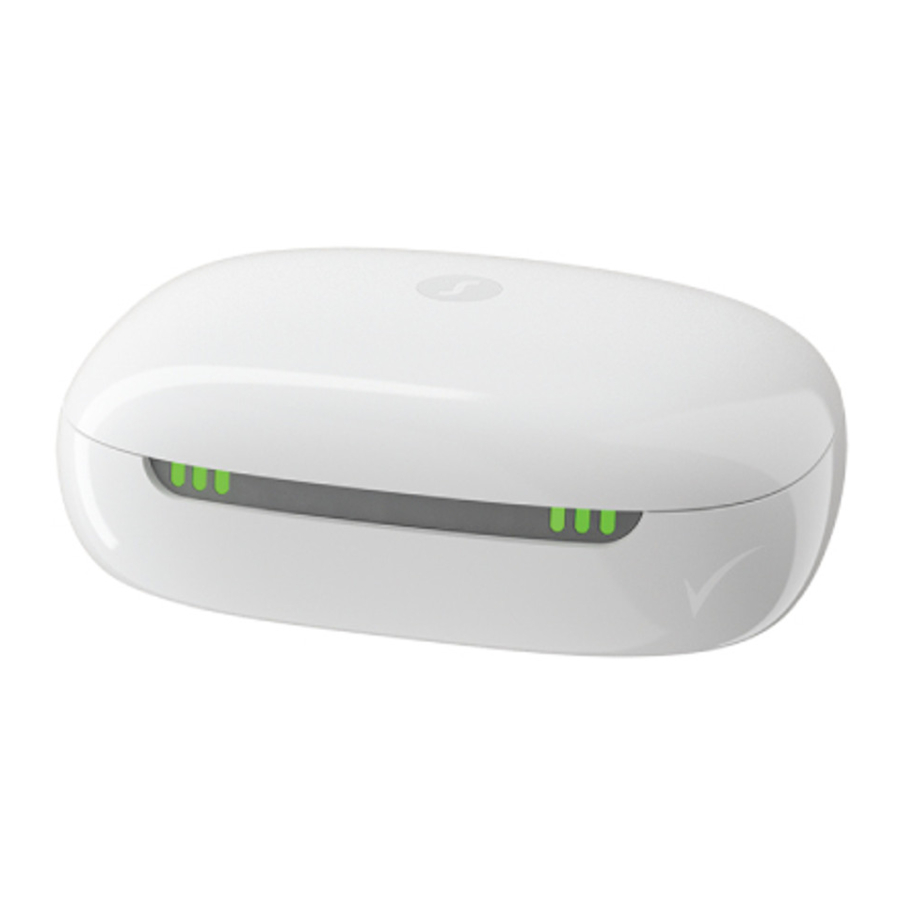
Charging status
| LED | Status description |
 | No LED: Charger is not connected to power supply. |
 | Single green LED turns on successively and turns off: Charger is connected to a power supply and ready to charge. No hearing instrument is inserted in the respective charging slot or the hearing instrument is not inserted correctly. |
 | Single green LED pulsing: Charging status 0-33% |
 | Turn on single green LED and pulsing single green LED: Charging status 34-66 % |
 | Turn on two green LEDs and pulsing single green LED: Charging status 67-99 % |
 | Three green LEDs: Hearing instrument is fully charged. |
 | Single amber LED flashes successively: Cooling phase Charging is resumed after 5 minutes. |
 | Flashing red LEDs: Error Read more in section "Troubleshooting". |
Frequently asked questions
Charging tips
You may have some questions on how to best charge your hearing instruments. Read the questions and answers below. If you have more questions, your Hearing Care Professional will help you.
How often do I need to charge the hearing instruments?
We recommend charging the hearing instruments daily, even if the power cells are not empty. Charge them overnight so you can be sure to start your day with fullycharged hearing instruments.
How long does charging take
A full charging cycle takes approximately 4 hours.
Charging times may vary due to the use of the hearing instruments and the age of the power cell.
Can I leave the hearing instruments in the unit?
Even when fully charged, you can leave the hearing instruments in the charger. They automatically stop charging when they are fully charged.
Why do my hearing instruments not turn on when I take them out of the charger?
Check the following:
- The charger is powered.
- There is LED indication when hearing instruments are placed in the charging cups.
Now take your hearing instruments out of the charger.
What should I pay attention to when charging
The hearing instruments and charger must be clean and dry. Observe the operation conditions in section "Operating conditions". Avoid charging at high temperatures, as this can shorten the life span and capacity of the power cell.
If you use the charger in a very warm environment, note that it will stop charging if the hearing instruments or the charger's temperature exceeds 45°C(113°F). The LEDs will blink amber successively during the cooling phase.
Charging resumes automatically after the device has cooled down. Do not touch the hearing instruments until the LEDs are pulsing green, the hearing instruments may be hot.
What if I intend not to use the hearing instruments for several days or longer?
See the section "Storage" under "Maintenance and care" below.
Maintenance and care
 NOTICE
Risk of injuries caused by electric shock!
- If cleaning is required, disconnect the charger from the power supply.
- Clean the charger with a soft, dry tissue.
- Never use running water or immerse the charger in water.
- Do not sterilize or disinfect the charger.
Troubleshooting
Problem and possible solutions
No LED lights are on
- Check if the power supply is connected correctly.
LED lights are flashing amber successively
Charger has reached the temperature limit and is now in a cooling phase. Charging is resumed after cooling down (about 5 minutes).
- Do not touch the hearing instruments while the LEDs are blinking amber successively. The hearing instruments may be hot.
- In case the charger enters cooling phase multiple times during charging, please make sure to place the charger in an environment that complies with the recommended operating conditions.
LED lights are flashing red alternately
An error in the charger has occured.
- Take the hearing instruments out of the charger and disconnect the charger from the power supply.
- Reconnect the charger to the power supply and re-insert the hearing instruments in the charging cups.
If the LEDs are still blinking red:
- Take the hearing instruments out of the charger and disconnect the charger from the power supply.
- Contact your Hearing Care Professional for support.
Three LEDs are flashing red together
An error in the hearing instrument has occured.
- Take the hearing instrument out of the charger and disconnect the charger from the power supply.
- Contact your Hearing Care Professional for support.
Consult your Hearing Care Professional if you encounter further problems.
Important information
Explanation of symbols
Symbols used in this document
 | Points out a situation that could lead to serious, moderate, or minor injuries. |
| NOTICE | Indicates possible property damage. |
| Advice and tips on how to handle your device better. |
Symbols on the device or packaging
 | Packaging can be recycled |
 | Keep dry during transportation. |
 | Temperature during transportation. Read more in section "Operating, transport and storage conditions". |
 | Relative humidity during transportation. Read more in section "Operating, transport and storage conditions". |
 | Atmospheric pressure during transportation. Read more in section "Operating, transport and storage conditions". |
 | Medical device. |
 | Bluetooth Low Energy technology. |
Operating conditions
| Temperature | 10-30°C 50-86°F |
| Relative humidity | 20-75% |
| Atmospheric pressure | 700-1060 hPa |
Transport and storage conditions
During extended periods of transport and storage, please observe the following conditions:
| Storage | Transport | |
| Temperature | 10-40°C 50-104°F | -20-60°C -4-140°F |
| Relative humidity | 10-80% | 5-90% |
| Atmospheric pressure | 700- 1060 hPa | 700- 1060 hPa |
For other parts, such as hearing instruments, other conditions may apply.
Technical data of the power supply
| Input voltage: | 100-240 V AC |
| Input current: | Max 0.2 A |
| Input frequency: | 50-60 Hz |
| Output voltage: | 5 V DC |
| Output current: | 1 A |
Important safety information
Personal safety
Risk of electrical shock!
- Do not use obviously damaged devices and return them to point of sale.

Note that any unauthorized changes to the product may cause damage to the product or cause injury.
- Use only approved parts and accessories. Ask your Hearing Care Professional for support.
Risk of explosion!
- Do not use your device in explosive atmospheres (e. g. in mining areas).

Risk of burns!
- Do not place anything other than your hearing instruments in the charger.
Charging systems may interfere with measuring devices and electronic equipment.
- In hospitals: The charger complies with CISPR 35 and CISPR 32. Therefore use of the charger in hospitals should be permissible.
Nevertheless the charger may interfere with highly sensitive devices. In those cases appropriate steps shall be taken (increase distance from sensitive devices or disconnect the charger from power supply).
Choking hazard!
Your device contains small parts which can be swallowed.
- Keep hearing instruments, batteries and accessories out of reach of children and mentally disabled persons.
- If parts have been swallowed consult a physician or hospital immediately.
Product safety
NOTICE
- Protect your device from extreme heat. Do not store it in direct sunlight.
NOTICE
- Protect your devices from high humidity.
NOTICE
- Do not dry your devices in the microwave oven.
NOTICE
While connected to power, the charger's magnetic field may cause interference to electrical devices and may delete stored data.
- While connected to power, keep the charger away from credit cards, computers, monitors, television sets, storage media and other electronic equipment.
NOTICE
- Do not drop. Internal components may get damaged.
NOTICE
- Do not use when the status indicators are red.
Documents / ResourcesDownload manual
Here you can download full pdf version of manual, it may contain additional safety instructions, warranty information, FCC rules, etc.
Advertisement


Need help?
Do you have a question about the Insio and is the answer not in the manual?
Questions and answers