Broan 9810WH / 9815WH Series Manual
- Installation instructions manual (12 pages) ,
- Installation instructions (3 pages) ,
- Installation instructions (4 pages)
Advertisement
ELECTRICAL SPECIFICATIONS
NOTE: See wiring label on heater housing. The heater may be wired for either 120V or 240V operation and requires a separate circuit.
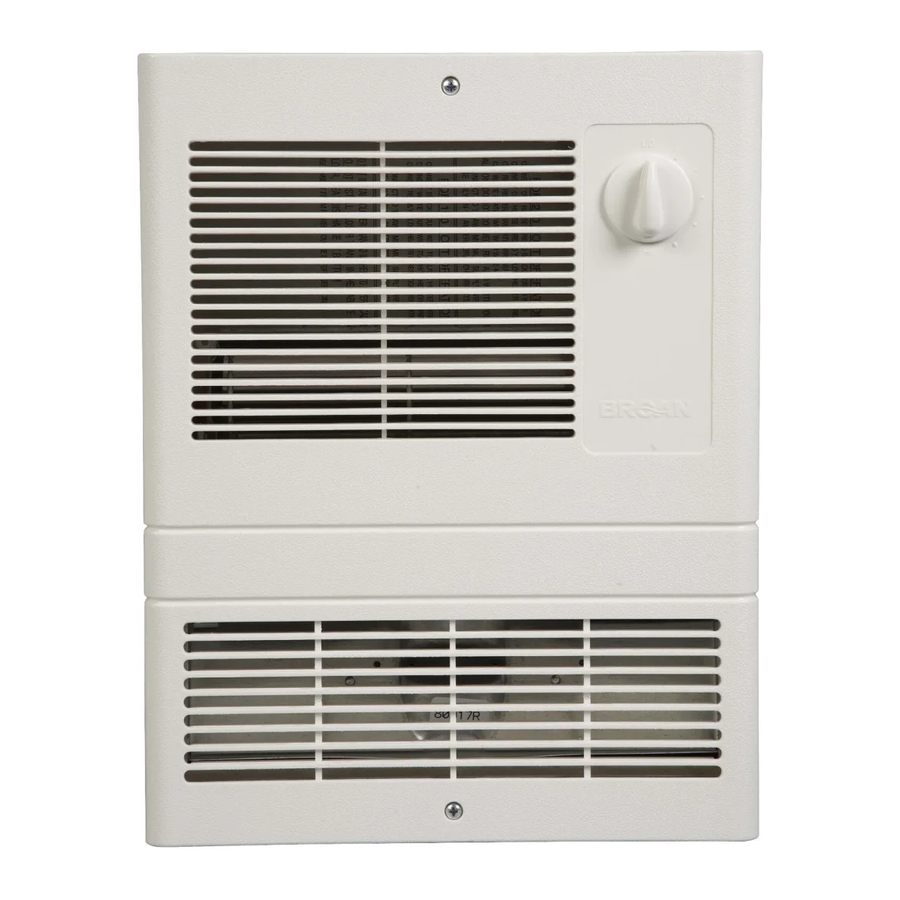
UNIT DIMENSIONS
Housing: 12 1/2" high x 10 1/2" wide x 3 3/8" deep.
Grille: 14 3/4" high x 11" wide x 1" deep.
Wall Cutout: 12 5/8" high x 10 5/8" wide.
MOUNTING THE HOUSING
New Construction

Refer to Figure 1.
- Choose heater location. Make sure the heater will not be mounted closer than 12" from a vertical surface or 6" from the floor.
- Using nails or screws, mount one side of housing to wall stud. The flange must be flush to the stud.
- Run wiring from circuit breaker or fuse box to heater location.
- Install box connector into wiring entrance hole in housing's junction box.
- Pull wiring through entrance hole and secure cable to box connector. Allow 6" of wiring to make connections.
- Finished wall opening should be 12 5/8" high x 10 5/8" wide.
Existing Construction
- Choose heater location. Make sure the heater will not be mounted closer than 12" from a vertical surface or 6" from the floor.
- Refer to Figure 2. Make wall cutout next to a wall stud. Cutout size: 12 5/8" high x 10 5/8" wide.with frame.)

- Run wiring from circuit breaker or fuse box to heater location.
- Install box connector into wiring entrance hole in housing's junction box.
- Pull wiring through cutout and secure cable to box connector. Allow 6" of wiring to make connections.
- Refer to Figure 3. Insert TOP of housing into cutout first so that box connector clears the wall. Then, insert bottom of housing into cutout. The flange must be flush with the wall.
![]()
- Use nails or screws to mount one side of housing to wall stud.


WIRING CONNECTIONS
All wiring must comply with local codes and unit must be properly grounded.
- While making wiring connections, support the heater assembly on the bottom of the rough-in frame.
- For 120 Volt operation, make wiring connections as shown in Figure 4.

- For 240 Volt operation, make wiring connections as shown in Figure 5.

- Use wire nuts to make connections. Insulate all connections with electrical tape.


SECURING THE DEVICE
- Dress all wiring back to into junction box.
- Locate center holes in housing flange and align with mounting holes in grille.
- Use two provided screws to attach grille to housing.
OPERATION
Turn thermostat fully clockwise to HIGH position. Allow heater to run until room is at desired temperature. Adjust thermostat as required to maintain desired temperature. Turn the thermostat to FULL COUNTERCLOCKWISE position when operation is no longer desired.
Thermal protector: If for any reason temperatures increase beyond normal limits, a safety thermal fuse will shut heater off. The heater will require servicing by a qualified electrician.
Check entire installation to determine cause of overheating.
SERVICE PARTS

| Key No. | Part No. | Description |
| 1 | 99111432 | Grille |
| 2 | 99360253 | Knob |
| 3 | 52872039 | Grille Screw |
| 4 | 44953000 | Heater Assembly (9810WH) |
| 44954000 | Heater Assembly (9815WH) | |
| 5 | 57271000 | Thermostat, with Mounting Nut |
| 6 | 33384000 | Thermostat Cover |
| 7 | 33178000 | Blower & Motor |
| 8 | 0936B000 | Thermal Protector |
| 9 | 61962000 | Heat Box |
| 10 | 35841000 | Thermal Fuse (2 required) |
SAFETY INSTRUCTIONS
- Carefully read all instructions and product labels before beginning installation.
- Only mount the heater in a vertical position.
- Mount the heater at least 6" above the finished floor.
- Do not mount the heater over a bathtub or in a shower stall enclosure.
- When mounted, the heater should not be closer than 12" to an adjacent wall.
- Do not block the wall heater — i.e., by mounting under a towel rack, behind a door, etc.
WARRANTY
To qualify for warranty service, you must:
- notify Broan-NuTone at the address or telephone number below,
- give the model number and part identification, and
- describe the nature of any defect in the product or part.
At the time of requesting warranty service, you must present evidence of the original purchase date.
Broan-NuTone LLC Hartford, Wisconsin www.broan.com 800-558-1711
Documents / Resources
References
Download manual
Here you can download full pdf version of manual, it may contain additional safety instructions, warranty information, FCC rules, etc.
Advertisement


Need help?
Do you have a question about the 9810WH Series and is the answer not in the manual?
Questions and answers