Aquasana Claryum 3-Stage Max Flow (AQ-5300+R) Manual
Also See for Claryum 3-Stage Max Flow:
- Owner's manual (9 pages) ,
- Owner's manual (1 page)
Advertisement
Table of Contents
Aquasana Claryum 3-Stage Max Flow (AQ-5300+R) Manual
INSTALLATION STEPS

- Shut off the cold water valve under the sink. Release the pressure from the system by turning on the dedicated faucet. Once there is no longer any water flowing, you can proceed with replacing the filters.
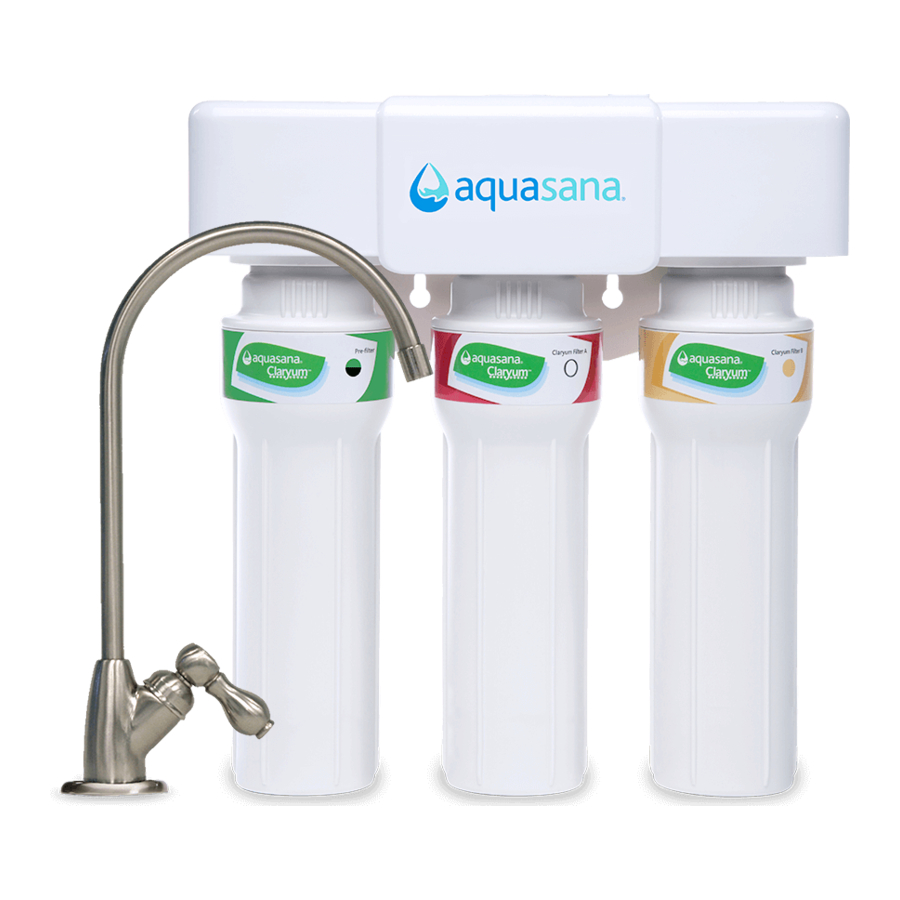
- Unbox filter replacements and remove plastic. Each filter is color coded to match the circle indicator on each filter housing.
- Remove each filter housing from the system manifold by turning the filter housing to the left. Pull down to detach. Ensure the filter housings are not on an angle while removing. This may result in damage to the o-ring.
- Holding the filter housing over the sink, open it by turning the bottom counterclockwise. Pour excess water down sink drain. Pull down on dirty filter to disconnect it from the filter housing. Continue this step for the second and third filter housing. While the housing is open, inspect each o-ring for damage. If damaged, replace immediately. If misaligned, gently move the o-ring into place.


NOTE: If filter housing is too tight to disconnect by hand, please use the plastic wrench included with original system.
NOTE: Must replace housing every 5 years or risk property damage from leaks. Call 866-662-6885 to order.
Do not use with water that is microbiologically unsafe or of unknown water quality without adequate disinfection before or after the system.
- Press new replacement filter to the top of the filter housing using the appropriate color coded filters. Then, reconnect the bottom of the filter housing to the top half. Ensure connection points are correctly aligned, then turn clockwise to tighten. Continue this step for the second and third filter housing.

NOTE: Do not use tools to tighten. Hand tighten only.
![]()
- Reattach filter housings to the bottom of the system manifold. Ensure connection points are correctly aligned, then push the filter housing up while turning clockwise. Turn until you feel a 'click' and the filter housing is locked into place. Continue this step for the second and third filter housing. Ensure all filter housings are locked into place, are not on an angle, and are aligned as pictured. Improper placement may result in damage to the o-ring or leakage.

- Open battery door and remove old battery. Insert new battery. When inserted correctly, system will beep five times and blink red.
NOTE: Do not drink flushed water. - Once all filter housings have been replaced and reattached, slowly turn water valve on. Turn off faucet and inspect for leaks. Then, flush system for 10 minutes before drinking.
Scan to view the Claryum ® 3-Stage Max Flow filter replacement video.
![]()


Protect your investment and save money with our Water for Life program.

CONTACT US TO LEARN MORE 866-275-2319
waterforlife@aquasana.com
www.aquasana.com
Documents / Resources
References
Download manual
Here you can download full pdf version of manual, it may contain additional safety instructions, warranty information, FCC rules, etc.
Download Aquasana Claryum 3-Stage Max Flow (AQ-5300+R) Manual
Advertisement


Need help?
Do you have a question about the Claryum 3-Stage Max Flow and is the answer not in the manual?
Questions and answers