Kicker Hideaway HS8, Hideaway HS10 Manual
- Owner's manual (29 pages) ,
- Manual (5 pages) ,
- Quick start manual (4 pages)
Advertisement
How to connect the subwoofer to your factory or aftermarket radio
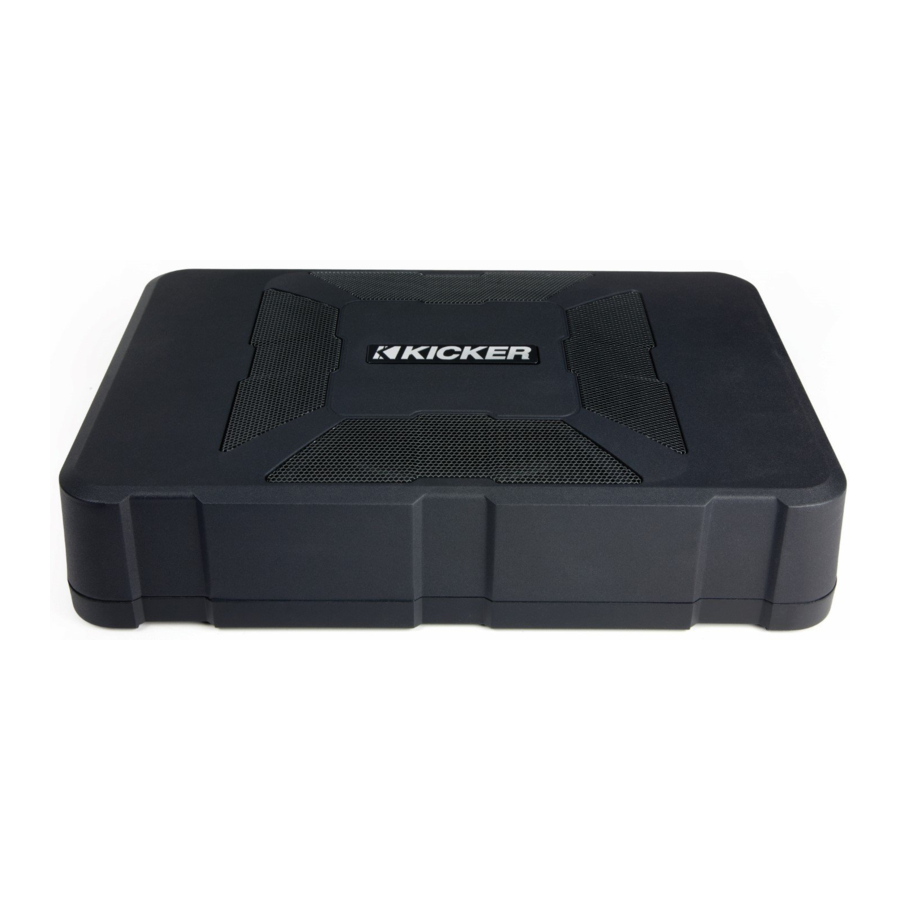
The Hideaway subwoofers are designed to give you lower bass response that a typical audio system. The Hideaways' small size and super low profile, make it very easy to find a suitable location inside your vehicle. In many applications you will be able to mount it under one of the front seats. It will also work very well mounted behind the seat of a regular cab pickup.
Connecting to factory installed or OEM head unit: This will also be the procedure for connecting an aftermarket head unit when using speaker level for input signal to the Hideaway:
- Determine mounting location by test fitting the Hideaway in desired locations. If you plan to mount under a front seat, you will want to set subwoofer in the desired location and adjust seat to full limits to see if it will interfere with seat travel.
- Disconnect the negative side of vehicle's battery.
- Mount subwoofer in desired location with included mounting tabs or tie down straps for secure placement. Securely mounting the Hideaway will maximize sub-bass response.
- Connect harness to subwoofer and begin to connect wires. Be sure all wires are routed safely away from anything that could pinch or cut the wires.
- The red power wire is connected to the positive post of vehicle battery. Make sure the included fuse holder is located as close to the battery as possible. Do not insert the fuse at this time.
- The black wire will be grounded to the vehicle's chassis or body. Make sure to sand off paint to bare metal for good contact. Using a bolt is the best connection for proper operation.
- The input wires, white/white and black stripe and gray/gray with black stripes connect to the factory speaker wiring. You may want to search the internet or contact your local dealer for proper wire colors and possible connecting locations such as in kick panel or behind pillar panel specific to your vehicle. You can connect to either the front or the rear speaker outputs of the radio. You will want to make sure the speaker wires you are connecting to do not have a high pass crossover that restricts bass response to the speaker they are connected to. If they do have a high pass crossover, you will need to select a different speaker source for connection. You will also need to know which stock wires are positive and which wires are negative. The solid white and gray wires will connect to the positive stock speaker wiring. The white with black stripe and gray with black stripe will connect to the stock speaker's negative wiring. The white and white with black are the left speaker input. The gray and gray with black are the right speaker input. (note* if you get polarity backwards, you will not have little to no sub-bass output. You can test this by turning the radio's balance control all the way to the left or right. If bass response improves as you go to one side or the other and decreases as you go back to center, reverse either the white and white with black stripe or reverse the gray and gray with black wires. Do not reverse both!)
- The blue wire (remote turn-on) will not be used when connecting to a factory audio system.
- This step is optional because the remote level control (bass knob) does not need to be connected to the Hideaway. However, if you want to use the remote level control, connect one end of the cable to the subwoofer. Route the cable safely out of the way of moving components in your vehicle such as brake, steering, and seat mechanisms. Once the cable has been routed and the controller has been mounted, plug the cable into the back of the controller.
- Locate the end of the Hideaway with the control panel. Set the switches and dials to the following settings before powering up the system.
- AUTO TURN ON – set to the "DC" position
- INPUT LEVEL– set to the "Hi" position
- PHASE – set to the "0" position
- BASS BOOST – turn fully counterclockwise to the "0" position
- X-OVER FREQ – set arrow to face 12 o'clock position
- GAIN – set to the fully counterclockwise position
- Insert the supplied fuse in the fuse holder by the vehicle's battery.
- Reconnect ground on vehicle's battery.
- Start the vehicle and make sure the radio's volume is turned all the way down and all tone adjustments and equalization settings are set flat or neutral. The goal is to have the musical signal as balanced as possible. Make sure the radio's balance, fader, and listening position settings (if equipped) are in the center.
- If you are using the remote subwoofer level control, turn it clockwise to its maximum position.
- Play the source (Bluetooth, tuner, CD, USB, Aux etc.) that will be used most often and with the musical genre that will be most commonly enjoyed. Now turn up the radio's volume to about 75%. Warning, the audio system will be very loud!
- Adjust the gain on the side of the Hideaway slowly clockwise to increase subwoofer output while listening for distortion from the Hideaway. When you hear the distortion, stop and rotate gain counterclockwise about 1/16th of a turn or until the bass sounds clean and undistorted. Now turn down the volume of the radio to a moderate listening level.
- Adjust the X-OVER FREQ control to obtain desired sound. Turning control clockwise will give more punch and sound louder overall but it may decrease perceived low bass output. It can also sound somewhat "hollow" if the X-OVER frequency is too high. Turning the X-OVER FREQ control counterclockwise will decrease how much of the upper bass the subwoofer will play. Setting it too low will result in very smooth deep bass but you will lose some of the "punch" or "hit" from the subwoofer.
- If some extra low bass is desired, turn up the radio's volume to the same level you used while setting the gain. Next, slowly turn the BASS BOOST clockwise until the point of audible distortion then turn it down until the distortion is no longer audible.
![]()
too much BASS BOOST can damage the subwoofer. - It may be necessary to switch the PHASE switch for the best sound. The PHASE switch will reverse the polarity of the subwoofer relative to the rest of the audio system. Try switching the PHASE and listening to music. Leave switch in the position that sounds best to you.
- Final step.... enjoy the music!

Connections to an aftermarket head unit with RCA output:
- Determine mounting location by test fitting the Hideaway in desired locations. If you plan to mount under a front seat, you will want to set subwoofer in the desired location and adjust seat to full limits to see if it will interfere with seat travel.
- Disconnect negative side of vehicle's battery.
- Mount subwoofer in desired location with included mounting tabs or tie down straps for secure placement. Securely mounting the Hideaway will maximize sub-bass response.
- Connect harness to subwoofer and begin to connect wires. Be sure all wires are routed safely and away from anything that could pinch or cut wires.
- The red power wire will get connected to the positive post of vehicle battery. Make sure the included fuse holder is located as close to the battery as possible. Do not insert fuse at this time.
- The black wire will be grounded to the vehicle's chassis or body. Make sure to sand off paint to bare metal for good contact. Using a bolt is the best connection for proper operation.
- The input wires, white and gray and white with black strip and gray with black stripe will connect to the optional KICKER KISL speaker wire to RCA adapter. The white and white with black stripe are the left input and the gray and gray with black stripe are the right input wires. Connect those accordingly to the KICKER KISL and then connect to the RCA cable. Route the RCA cable safely out of the way of moving components in your vehicle such as brake, steering, and seat mechanisms. DO NOT CONNECT AN LOC OR LINE OUTPUT CONVERTER BETWEEN THE HIDEAWAY AND THE AFTERMARKET HEAD UNIT! Line output converters are designed to convert speaker level to RCA level. They will not convert the RCA output of an aftermarket head unit to the speaker level for the input of the Hideaway.
- The blue wire of the Hideaway will connect to the blue, "remote turn on" or amplifier control wire of the aftermarket head unit.
- This step is optional because the remote level control (bass knob) does not need to be connected to the Hideaway. However, if you want to use the remote level control, connect one end of the cable to the subwoofer. Route the cable safely out of the way of moving components in your vehicle such as brake, steering, and seat mechanisms. Once the cable has been routed and the controller has been mounted, plug the cable into the back of the controller.
- Locate the end of the Hideaway with the control panel. Set the switches and dials to the following settings before powering up the system.
- AUTO TURN ON – set to the "+12V" position
- INPUT LEVEL– set to the "LO" position
- PHASE – set to the "0" position
- BASS BOOST – turn fully counterclockwise to the "0" position
- X-OVER FREQ – set arrow to face 12 o'clock position
- GAIN – set to the fully counterclockwise position
- Insert the supplied fuse in the fuse holder by battery.
- Reconnect ground on vehicle's battery.
- Start the vehicle and make sure the radio's volume is turned all the way down and all tone adjustments and equalization settings are set flat or neutral. The goal is to have the musical signal as balanced as possible. Make sure the radio's balance, fader, and listening position settings (if equipped) are in the center.
- If you are using the remote subwoofer level control, turn it clockwise to its maximum position.
- Play the source (Bluetooth, tuner, CD, USB, Aux etc.) that will be used most often and with the musical genre that will be most commonly enjoyed. Now turn up the radio's volume to about 75%. Warning, the audio system will be very loud!
- Adjust the gain on the side of the Hideaway slowly clockwise to increase subwoofer output while listening for distortion from the Hideaway. When you hear the distortion, stop and rotate gain counterclockwise about 1/16th of a turn or until the bass sounds clean and undistorted. Now turn down the volume of the radio to a moderate listening level.
- Adjust the X-OVER FREQ control to obtain desired sound. Turning control clockwise will give more punch and sound louder overall but it may decrease perceived low bass output. It can also sound somewhat "hollow" if the X-OVER frequency is too high. Turning the X-OVER FREQ control counterclockwise will decrease how much of the upper bass the subwoofer will play. Setting it too low will result in very smooth deep bass but you will lose some of the "punch" or "hit" from the subwoofer.
- If some extra low bass is desired, turn up the radio's volume to the same level you used while setting the gain. Next, slowly turn the BASS BOOST clockwise until the point of audible distortion then turn it down until the distortion is no longer audible. Warning, too much BASS BOOST can damage the subwoofer.
- It may be necessary to switch the PHASE switch for the best sound. The PHASE switch will reverse the polarity of the subwoofer relative to the rest of the audio system. Try switching the PHASE and listening to music. Leave switch in the position that sounds best to you.
- Final step.... enjoy the music!
Documents / Resources
References
Download manual
Here you can download full pdf version of manual, it may contain additional safety instructions, warranty information, FCC rules, etc.
Advertisement


Need help?
Do you have a question about the Hideaway HS8 and is the answer not in the manual?
Questions and answers