Table of Contents
Advertisement
Quick Links
Advertisement
Table of Contents

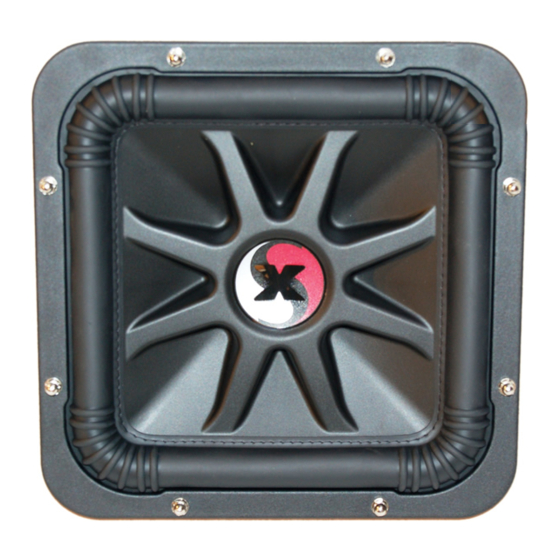
Summary of Contents for Kicker SUBWOOFER SOLOX
- Page 2 If for any reason you require service on this subwoofer during the warranty period, you will need to provide this information and a copy of the receipt to KICKER to vali- date your warranty. Please read the special SoloX warranty page!
- Page 3 SLAM (SPAIR Lockdown Attachment Mechanism) The alu- minum frame attached to the SPAIR which properly secures the removable speaker assembly (SPAIR) to the BAM (Basket And Motor assembly). SPLAT (Speaker Precise Location Alignment Tool) Locates and anchors the BAM to the baffle of your enclosure.
-
Page 4: Wiring
Due to the nature of this subwoofer care must be taken when con- necting the wires to the proper terminals! Amplifer Speaker Connection Coil 1 Coil 2 Amplifer... - Page 5 For more advice on box building, see the Choosing and Building Enclosures page in the Tech Tips & FAQs section of the Support area on the Kicker website, www.kicker.com Or call Technical Services at 1- 405-624-8583. A note on power handling capability SoloX subwoofers will handle massive amounts of power in any of the recommended enclosures.
- Page 6 Recommended Enclosures Model Tuner: SUV: For more enclosure choices check out our website www.kicker.com or call our Technical service line at 1-405-624-8583. SoloX Subwoofer S18X 6 cu.ft., Fb= 51.3Hz F3= 24.6Hz, Pmax= 2800W 12 cu.ft., Fb= 48.8Hz...
-
Page 7: Vented Design
V ented Design SoloX Series Vented Enclosure Applications The Kicker SoloX is truly awesome in a vented enclosure as this is what it was designed for. Throw out every experience you have ever had with a vented speaker and prepare to be blown away! Our engi- neers have designed several boxes that will truly irritate everyone within a 3 mile radius. - Page 8 Mounting Now that you have opened the box and read “The Adventures of Sam Stikman” and decided on which enclosure design to use, you may now remove the SoloX from it’s box. Please follow the instructions lined out here to insure proper installation.
- Page 9 6. Once the holes are marked remove template. Using a jigsaw cutout the woofer hole and use a 3/8” drillbit for the mounting holes WARNING! You will need assistance for the following steps! Baffle 7. Insert the SPLAT into the cutout and move into position.
- Page 10 12. Insert the SPAIR back into the BAM. Be careful not to dam- age the voice coil. The double threaded studs and the ARCTIC Cap will help to center SPAIR as you lower it into the BAM. When properly aligned these assemblies slide together easily.
-
Page 11: Specifications
Specifications Model: S18X1 Nominal Impedance (Impedance per coil) SPL 1W/1M 90.27 Displacement, cc 3930 Displacement, CuIn 239.8 Mounting Depth 11-3/8 Revc 2.05 VC Inductance, mH 3.247 Sd, SqM 0.1426 31.45 Vas, Liters 185.64 Vas, CuFt 6.55 Mms, gms 859.8 21.4 8.838 0.240 0.233... - Page 12 SoloX Limited Warranty KICKER warrants this product to be free from defects in material and workmanship under normal use for a period of THREE (3) MONTHS from date of original purchase. When purchased from an Authorized KICKER Dealer this product is warranted for ONE (1) YEAR from date of purchase. If the product is labeled “B Stock” it is warranted for THREE (3) MONTHS from date of purchase.
- Page 13 KICKER. Refer to SHOULD YOU NEED SERVICE on the previous page for the details. Special Note: OK that all sounds pretty black and white but we are KICKER and we know stuff happens. If your Solo X stops working and after pulling the SPAIR...


Need help?
Do you have a question about the SUBWOOFER SOLOX and is the answer not in the manual?
Questions and answers