Retrospec LENOX 2, LENOX 3, LENOX 4, LENOX 5 - Bike Hitch Rack Manual
- Owner's manual (3 pages)
Advertisement
Assembly instructions
* please read instructions entirely before beginning assembly *
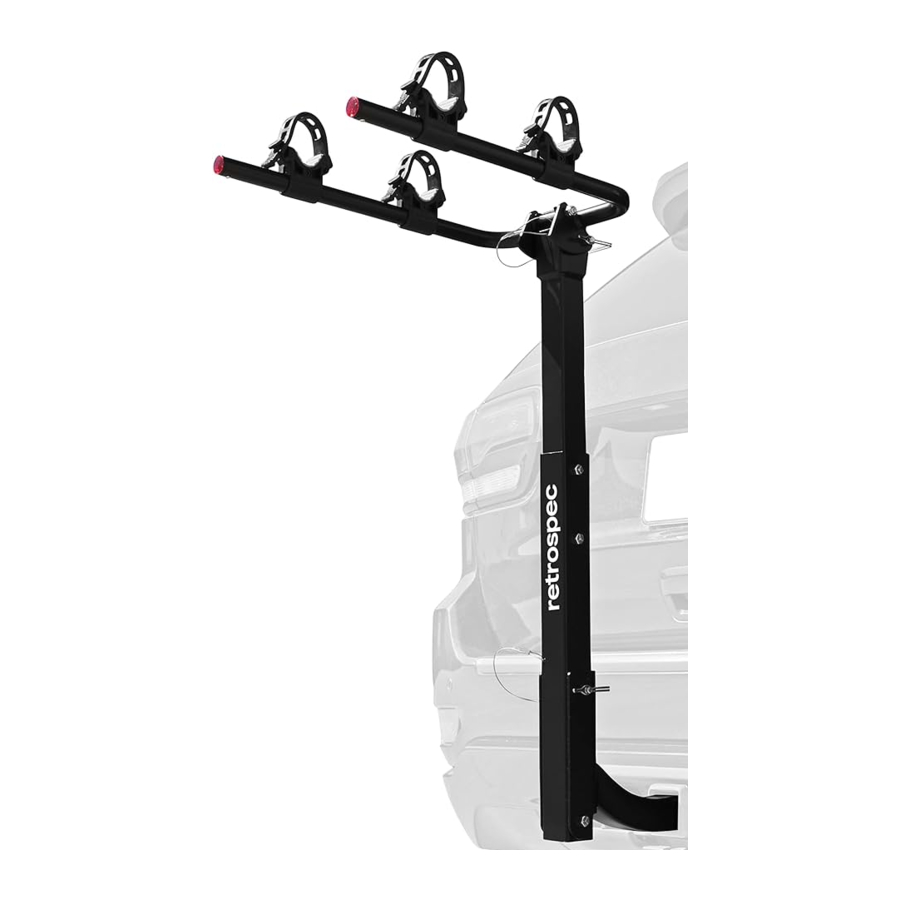
Main Parts:

Hardware:

Contents Hardware:
2 - 2 1/2" bolts with nuts (14mm)
1-3" bolt with nut (14mm)
1-3 1/4" half-thread Anti-Rattle Bolt with lock washer & Hairpin Cotter Pin (19mm)
1 -AntiRattle Adapter (minimizes wobble)
2 - 14mm/19mm wrenches
1- 5mm hex wrench
Assembling rack
- Slide the Hitch Insert ("L"-shaped) over the Lower Mast and line up the holes on both tubes. Face the Retrospec sticker away from the Hitch Insert tube.
![]()
- Insert 3" bolt through the hole at the bottom of the Hitch Insert and Lower Mast. Thread the nut onto the bolt and tighten fully leaving just enough room for the mast to pivot away from the hitch connector.
- Insert Clevis Pin (attached by a small cable) into the middle of the Lower Mast and insert through the upper hole in the Hitch Insert. Rotate the locking clip to the end of the pin and press onto the pin until the clip snaps into the groove at the end of the pin.
![]()
Clevis Pin should always be completely inserted and closed when rack is in upright position to keep rack from falling over during use.


- Insert the Upper Mast/Carrier Assembly into the Lower Mast. Line up the two sets of holes and insert a 2 1/2" bolt through each hole. Thread the nuts onto each bolt and tighten.
![]()

Install assembled rack on vehicle
- Insert AntiRattle Adapter into Hitch Insert, slide in up to the Limit Tab. Install the now assembled rack into your vehicle's 2" hitch receiver. Line up the holes in the Hitch Insert and AntiRattle Adapter with the hole in the receiver, then insert and thread the large 3 1/4"bolt through the holes. Tighten securely using wrenches. Thread-in 3 1/4" bolt from same side as Limit Tab.
When tight, insert Hairpin Cotter Pin into the hole in the end of Anti-Rattle Bolt.
![]()
Never use the rack without the hitch bolt in place, securely tightened, and Hairpin Cotter Pin in place. Failure to install and properly tighten the hitch bolt will allow the rack to separate from the vehicle and fall onto the roadway, potentially causing a serious accident.


Folding & tilting features
- FOLDING: To fold down the rack arms when not in use, remove the upper clevis pin, fold the rack arms down, rein stall the clevis pin and secure with the safety clip making sure the clip fits into the groove on the pin. To raise the arms for use, reverse the procedure.
![]()
- TILTING: Removing the lower pin when the rack is not loaded with bikes will allow the rack to rotate away from the back of the car, allowing the tailgate to be opened. Upon first use, open the tailgate slowly checking to make sure there is enough clearance between the tailgate and the rack before fully opening the tailgate.
![]()
![]()
Do not use this feature with bikes loaded on the rack, it may be too heavy to safely lift back up into position.


- Before loading bikes onto the rack, rotate the Tie-Down Cradles to their upright position, if necessary tighten them using the supplied 5mm hex wrench. Do not overtighten! The cradles should be able to rotate and slide back and forth with minimal effort to allow optimum positioning of the bikes on the rack.
- Remove all loose items from bicycles: bags, pumps, etc.
- Load first bicycle with drivetrain side facing away from rack, the heaviest bicycle first.
- Load additional bicycles in alternating direction.
- For women's style or certain step-thru style frames: position one carrier arm under the front top tube, the opposite carrier arm behind the seat tube and below rear seat-stay - (re)position tie-down cradles to secure bike.
![]()

WARNING & CAUTION
Improperly installed rack or bikes can fall onto roadway potentially causing a serious accident resulting in bodily injury. Do not use rack on any vehicle where the rack cannot be properly and safely installed.
- Only install rack on vehicles with a 2" receiver hitch (no hitch adapters).
- Never use on trailers, RV's, hitch adapters, or front of vehicle.
- Bikes must be secured to the rack using the supplied tie-downs and additional straps if necessary (not supplied).
- Check regularly during use that all bicycles remain secured and all bolts and pins are tight.
- Bicycle tires should not be placed directly in front of an exhaust pipe. Tires can melt.
- Not safe for Tandem Bikes, Recumbent Bikes, Motorized Bikes, or other non-standard bikes.
- Max weight (evenly distributed): 5 Bike rack = 1701bs/77kgs, 4 Bike rack = 1401bs/63kgs, 3 Bike rack = 1101bs/50kgs, 2 Bike rack = 801bs/36kgs
- Do not block tail-lights or other car lights with bikes.
- Drive carefully. Drive slowly over bumps. Do not drive off-road.
- Do not use the rack if any parts are missing. Contact Retrospec for replacement
- Bikes should never extend beyond the side of a vehicle.
- Fold carry arms or remove rack when not in use
Documents / ResourcesDownload manual
Here you can download full pdf version of manual, it may contain additional safety instructions, warranty information, FCC rules, etc.
Download Retrospec LENOX 2, LENOX 3, LENOX 4, LENOX 5 - Bike Hitch Rack Manual
Advertisement


Need help?
Do you have a question about the LENOX 2 and is the answer not in the manual?
Questions and answers