Advertisement
Product Introduction
It is o kind of high-performance intelligent multiple frequency scanning display, which adopts active matrix thin film transistor LED-backlit LCD. The display is controlled through the microcomputer MCU digital technology. It is compact and lightweight, which is suitable for narrow working spaces.
Before installation, please check whether the following articles are complete in the packing box:
- LCD x1
- Base x1
- Power Cord x1
- Power Adopter x1
- Warranty Card x1
- Signal Cable x1
- Screwdriver x1
- User Guide x1
If any of above product is missing, please contact with product distributor immediately.
Notice: Specific accessories in order to prevail in kind. Please keep pocking materials for future movement.
Keys And Interfaces

| Initial Shortcut Keys | Enter the Function Menu | |
 | Signal Source Input | Move Up |
 | Luminance | Move Down |
 | Shortcut Key for | Exit and Return Previous Menu |
 | Gaming Assistance ShortcutKeys | Open Sub-menu and Select on Option |
 | Turn on the display by short-pressing. Turn off the display by pressing and holding for 3 seconds, | Turn off the display by pressing and holding for 3 seconds |
Signal Cable Connection
Connect the signal cable to the HDMI or DP signal output port on the PC, then connect the other end of the signal cable to the corresponding signal input port on the LCD.
Headset Connection
After connecting the headset, there will be audio output, and it also supports external loudspeakers.
Power Indicator
The blue indicator represents the proper functioning of the display; the red flash indicator represents no signal state. Under the energy conservation state, the display will normally work if the signal is provided again. The display is still powered on in the standby state. Thus, unplug the power cord when you do not use the display for safety.
Base And Wall Mount
- Installing the Base:

- Install the base onto the stand and fasten it with the two M4x16 screws;
- Tilt the base in the direction of the second arrow and install it into the backshell hole, Then press and lock the whole base in the direction of the third arrow.

- If you want to remove the whole base, do the following:

- Push upward the slider near the VESA cap on base;
- Lift and take out the base along the arrow direction.


Use M4 screws 100x100mm
Recommended screw length is 8mm (If you need wall mounting bracket, you need to buy it separately)
Mounting Location

Installation Guide
- The display should be installed near an AC power socket that can be easily pluggable.
- It is recommended to use suitable wall mount brackets or a base for safety purpose.
- To prevent injury, the display should be placed on a smooth horizontal plane, or fixed on a firm wall.
- If you need to install it on a wall, it should be done by professional technicians. The improper display installation may cause instability.
- Do not place the display where it may be suffered from mechanical vibration.
- Do not place the display where insects may enter.
- Do not place the display directly facing an air conditioner, or the internal panel may condense, leading to faults.
- Do not place the display where there is a strong electromagnetic field, or it will be interfered with and damaged by the electromagnetic waves.
Safety Protection
When the PC video signal exceeds the frequency range of the display, the display will disable the line and field synchronizing signals to protect the display. Under this circumstance, you must set the output frequency of the PC to an acceptable range for the display to work properly.
Power Management System
| Mode | Power Consumption |
| Normal Operation |  65W 65W |
| Standby | 0.5W |
Remark: All technical specifications in the User Guide and on the external packing are allowed to change without prior notice. If there is a subtle difference between the User Guide and the actual operation, the latter shall prevail.
Product Technical Specifications
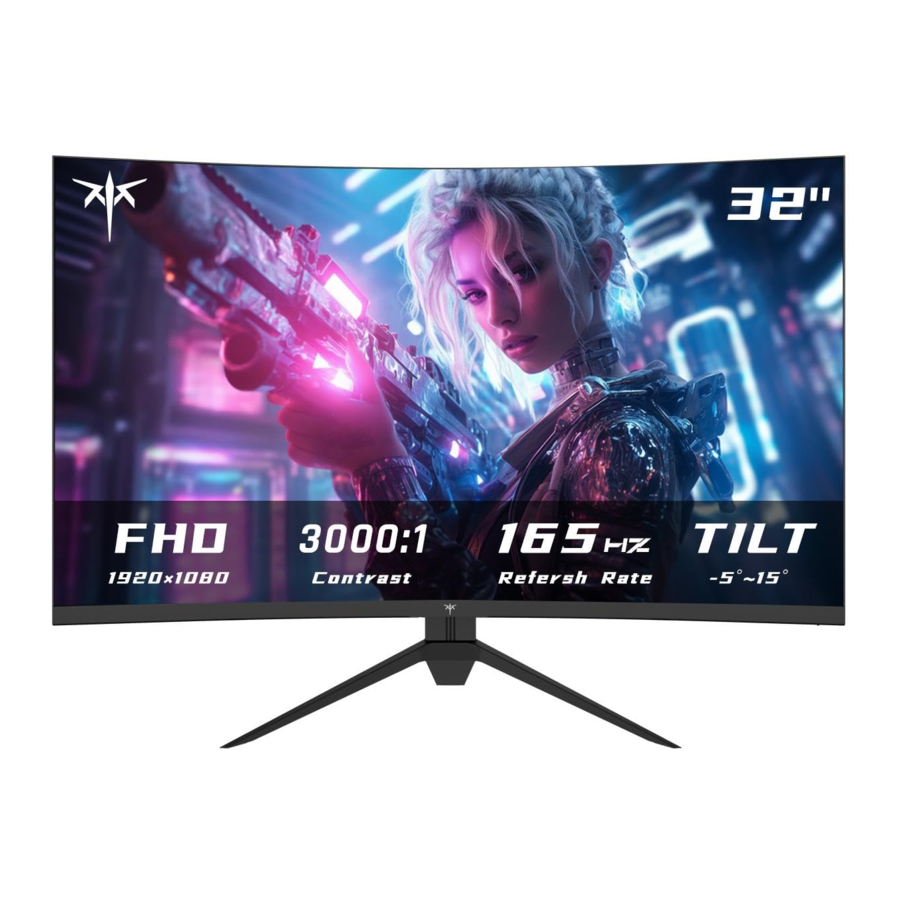
| Panel Dimension | 32" |
| Best Operating Resolution Ratio | 1920x1080 @ 165hz |
| Input Voltage | DC 19V / 3.42A |
| Contrast | 3000: 1 (TYP) |
| Visible Area | 698.4 (H)x392.85 (V) |
| Pitch size for wall mount | 100mmx100mm |
| Working Environment Requirements Maximum altitude Atmospheric pressure Operating temperature and humidity Storage temperature and humidity | 5000m 86kPa - 106kPa 0ºC - 40ºC 30% - 90% (Non-condensing) -20º- 55ºC 20% - 93% (Non-condensing) |
| Packing Dimension and Weight Display Dimension (excluding base) Packing Dimension Net Weight of Display (including base) Packing weight | 711mmx422.7mmx106mm 790x170x535mm 6.0Kg 8.2Kg |
Simple Problems Disposal
| Symptoms | Disposal Methods |
Blank screen /Power indicator does not work | Check whether the power supply is in good contact with the display and the power socket; and check whether the display is turned off. |
Blurred, too large or too small images | Go to the "Image Settings" category menu and select "Image Auto Adjust" to make the monitor adjust automatically to correct. (Only available for monitors with VGA) |
Dark screen | Enter the "Brightness & contrast" menu to regulate the contrast and the brightness of the display. |
Display overheating | Leave at least 10cm of ventilated space around the display. Do not place articles on the display. |
Dark/light spots when powered on | It is normal. Because of the temperature difference in the environment, the backlit tube emits uneven light at the initial stage after the display turns on. However, the backlit tube will emit normal light after 20 minutes, and the dark/light spots will be eliminated at that time. |
Image distortion, flashing, shaking | Check your computer configuration, choose the correct resolution, and reset your refresh rote. |
Noisy signal when powered off | During the power-off of the display, there may be some noisy signals on the screen caused by the normal discharge. |
Important Safety Precautions
- Please read all the instructions carefully before using the product.
- When cleaning the display, please unplug the power cord. Please wipe the display with a soft wet cloth instead of liquid or spray cleaner. Please use LCD screen cleaner in case of a stubborn stain.
- Do not use accessories that are not recommended by the manufacturer, or there may be dangerous.
- When unplugging the power cord of the display or the power adapter, please hold the power plug with your hand rather than directly pull the power cord to unplug it.
- Do not place the display near water, such as bathtub, washbasin, kitchen sink, or washing machine. DO not place the display on the wet ground, or near the swimming pool. Do not use fingers or hard objects to press the surface of the LCD screen.
- The grooves and holes on the shell or at the back and bottom of the display are designed for the ventilation and heat dissipation of the components to ensure reliable operation. So, do not put the display on the bed, sofa, carpet, or other similar surfaces to prevent the heat dissipation holes from blocking and do not place the display near or above the radiator or heater. In addition, do not place the display in an embedded device unless adequate ventilation is provided.
- Only the power supply type shown on the nameplate can be used for the display. Please feel free to consult the display dealer or the local power supply administration, if you have any doubts about your power supply type.
- For safety, the display or the power adopter uses a power cord with a three-prong plug, whose third prong can only be properly grounded when used with a properly grounded socket. If your socket cannot match with the plug, please contact on electrician to replace your original socket so that the plug can give full play to ensuring safety.
- As you may face high voltage or other dangers after removing the shell, do not repair the display by yourself. You can hove it repaired by qualified maintenance personnel.
- Please unplug the power cord of the display or the power adopter from the socket, and contact qualified maintenance personnel for repairing the display, when following cases occur:
- The power cord or the plug is damaged or worn out.
- The display has been dropped from high or the shell is damaged.
- Any obvious abnormality indicates a necessary repair.
- Please place the display in a well-ventilated environment, which is away from strong light, high temperature, or humidity.
- The room temperature for the display store is -20ºC - 55ºC,or it may be permanently damaged.
- The monitor screen is fragile, so please be careful when moving or handling it!
More Information
Please scan QR code or visit www.ktcplay.com
Documents / Resources
References
Download manual
Here you can download full pdf version of manual, it may contain additional safety instructions, warranty information, FCC rules, etc.
Advertisement


Need help?
Do you have a question about the H32S17C and is the answer not in the manual?
Questions and answers