Mackie DLZ Creator XS - DIGITAL MIXER Manual
Also See for DLZ Creator XS:
- Quick start manual (21 pages)
Advertisement
Table of Contents
Contents
Mackie DLZ Creator XS - DIGITAL MIXER Manual
HOOKUP DIAGRAMS

Podcasting
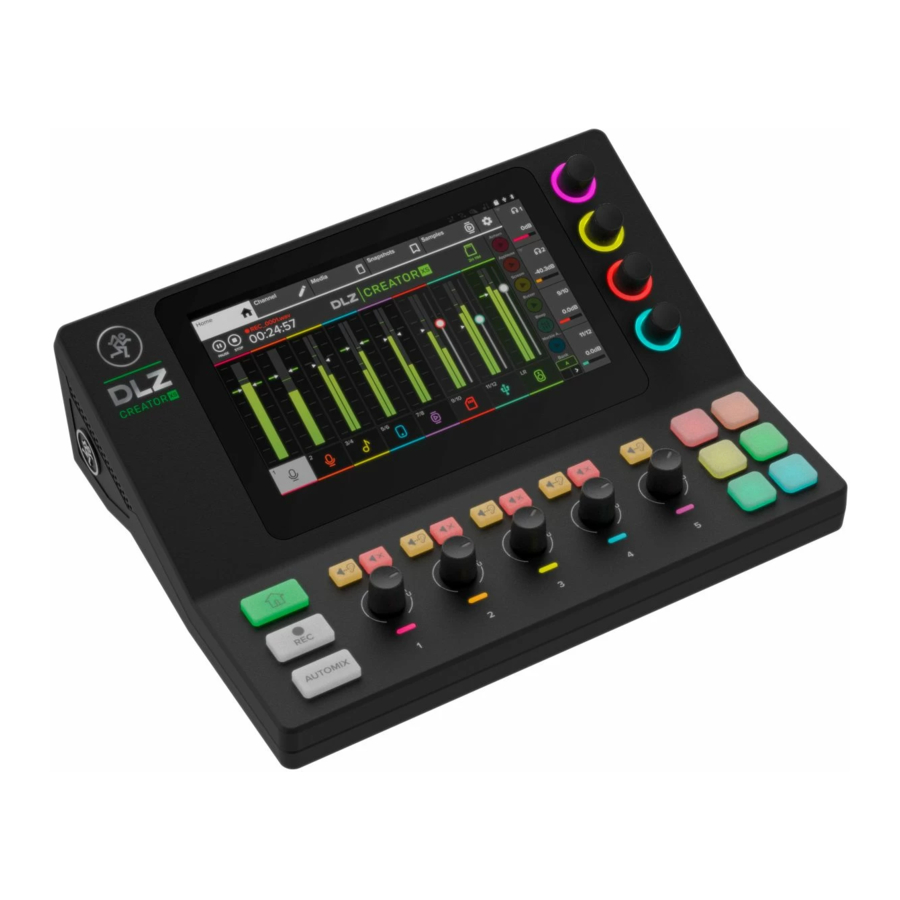
DLZ CREATOR XS COMPACT ADAPTIVE DIGITAL MIXER FOR PODCASTING AND STREAMING, FEATURING MIX AGENT TECHNOLOGY

Live Streaming
FRONT & REAR PANEL DESCRIPTIONS

- Power Connector Connect the supplied power adapter to this jack and turn the outer ring clockwise to lock.
- Power Switch Turns the DLZ Creator XS on and off.
- Combo Inputs Connect a mic, instrument or balanced or unbalanced line-level signal using an XLR or 1/4" connector.
- Stereo Line Inputs Connect stereo balanced line-level signals using 1/4" connectors.
- 1/8" Stereo Input Connect an 1/8" line-level signal from a smartphone, MP3 player, or other signal source.
- USB I/O An interface allowing you to stream audio to and from the DLZ Creator XS via computer. Connect the USB-C side of a USB cable to the DLZ Creator XS and the USB-A side to the computer's USB port.
- Speaker Out L/R Connect to the inputs of speakers.
- Phones Jacks Connect stereo headphones here.
- SD Card Slot Insert an SD card to allow recording / playback.
- USB A Connect a flash drive and record direct.
- Network Connector Connect to a router via shielded network cable that is Cat5 or better for streaming audio over Ethernet.
- Solo Switch Allows you to listen to individual channels singly or in combination with other soloed signals.
The button illuminates if the solo switch is engaged. - Mute Mutes the channel signal.
The button illuminates if the mute switch is engaged. - Channel Knob Adjusts the level to the main mix.
- Sample Pads Channel Knob Adjusts the level of the sample pads to the main mix.
- Sample Pads Press a pad to play the saved sample. The pad illuminates during playback.
- Quick Control Knobs Rotate these encoders to change the currently selected parameters.
- Home Press the HOME button to return to the main mixer view.
- Record Press the REC button to begin the recording process.
- Auto-Mix Press the AUTO-MIX button to quiet unused channels and select the priority of ones that are in use.
- Display Where you will view everything from levels and meters to effects and settings.
GETTING STARTED
- Read and understand the Important Safety Instructions.
- Turn all the knobs fully down.
- Connect the locking barrel connector of the Power Block to the mixer and rotate the outer ring clockwise to lock. Push the line cord securely into the Power Block and plug the other end into a grounded AC outlet.
- Turn the DLZ Creator XS on.
- Please be patient as the system and its parameters load up.
- Choose a work mode. We recommend starting with 'Easy'.
- Ensure that the Setup Assistant is toggled on and click 'Next'.
- Follow the on-screen instructions.
- Raise and lower the input and output volumes to a comfortable listening level.
- Switch to Standard or Pro mode for access to additional parameters.
- Add presets, EQ, FX, etc. to taste.
TECHNICAL SPECIFICATIONS
| DLZ Creator XS | |
| Digital Specifications | Sample Rate: 48 kHz • A/D/A Bit Depth: 24-bit • System Latency: ~3 ms |
| Inputs | 2x balanced/unbalanced combo jacks, 1/4" balanced stereo jacks, 1/8" stereo jack |
| Outputs | Balanced/unbalanced 1/4" main out jacks, 2x stereo headphone jacks |
| Bluetooth | 5.0 |
| USB | Format: USB 2.0 HS (480Mb/s) |
| SD | Multitrack (6 chan + main mix) / 24-bit / 48kHz SD speed class 10 or speed class UHS recommended. |
| Power Requirements | 18V  1.5A 1.5A |
| Size (H × W × D) | 3.3 × 10.2 × 8.0 in 83 × 260 × 204 mm |
| Weight | 2.6 lb 1.2 kg |
All specifications subject to change
Important Safety Instructions
- Read these instructions.
- Keep these instructions.
- Heed all warnings.
- Follow all instructions.
- Do not use this apparatus near water.
- Clean only with a dry cloth.
- Do not block any ventilation openings.
Install in accordance with the manufacturer's instructions. - Minimum distance (5 cm) around the apparatus for sufficient ventilation. The ventilation should not be impeded by covering the ventilation openings with items, such as newspapers, table-cloths, curtains, etc.
- Do not install near any heat sources such as radiators, heat registers, stoves, or other apparatus (including amplifiers) that produce heat.
- No naked flame sources, such as lighted candles, should be placed on the apparatus.
- Only use attachments/accessories specified by the manufacturer.
- Use only with a cart, stand, tripod, bracket, or table specified by the manufacturer, or sold with the apparatus. When a cart is used, use caution when moving the cart/apparatus combination to avoid injury from tip-over.
- Unplug this apparatus during lightning storms or when unused for long periods of time.
- The MAINS plug or an appliance coupler is used as the disconnect device, so the disconnect device shall remain readily operable.
- Refer all servicing to qualified service personnel. Servicing is required when the apparatus has been damaged in any way, such as power-supply cord or plug is damaged, liquid has been spilled or objects have fallen into the apparatus, the apparatus has been exposed to rain or moisture, does not operate normally, or has been dropped.
- This apparatus shall not be exposed to dripping or splashing, and no object filled with liquids, such as vases or beer glasses, shall be placed on the apparatus.
- Operating Temperature: 0˚–40˚ C // 32–104˚ F
- RF Power: ≤20dBm (EIRP)
Bluetooth: V5.0
Bluetooth frequency range: 2400MHz-2483.5MHz


To reduce the risk of fire or electric shock, do not expose this apparatus to rain or moisture.
- Exposure to extremely high noise levels may cause permanent hearing loss. Individuals vary considerably in susceptibility to noiseinduced hearing loss, but nearly everyone will lose some hearing if exposed to sufficiently intense noise for a period of time. The U.S. Government's Occupational Safety and Health Administration (OSHA) has specified the permissible noise level exposures shown in the following chart.
According to OSHA, any exposure in excess of these permissible limits could result in some hearing loss. To ensure against potentially dangerous exposure to high sound pressure levels, it is recommended that all persons exposed to equipment capable of producing high sound pressure levels use hearing protectors while the equipment is in operation. Ear plugs or protectors in the ear canals or over the ears must be worn when operating the equipment in order to prevent permanent hearing loss if exposure is in excess of the limits set forth here:
| Duration, per day in hours | Sound Level dBA, Slow Response | Typical Example |
| 8 | 90 | Duo in small club |
| 6 | 92 | |
| 4 | 95 | Subway Train |
| 3 | 97 | |
| 2 | 100 | Very loud classical music |
| 1.5 | 102 | |
| 1 | 105 | Chaz screaming at Troy about deadlines |
| 0.5 | 110 | |
| 0.25 or less | 115 | Loudest parts at a rock concert |
WARRANTY AND SUPPORT
Visit WWW.MACKIE.COM to:
- Identify WARRANTY coverage provided in your local market. Please keep your sales receipt in a safe place.
- Retrieve a full-version, printable OWNER'S MANUAL for your product.
- DOWNLOAD software, firmware and drivers for your product (if applicable).
- REGISTER your product.
- CONTACT Technical Support.
19820 NORTH CREEK PARKWAY #201 • BOTHELL, WA 98011 • USA
Phone: 425.487.4333 • Toll-free: 800.898.3211 • Fax: 425.487.4337

Documents / Resources
References
Download manual
Here you can download full pdf version of manual, it may contain additional safety instructions, warranty information, FCC rules, etc.
Advertisement


Need help?
Do you have a question about the DLZ Creator XS and is the answer not in the manual?
Questions and answers