Advertisement
Quick Links
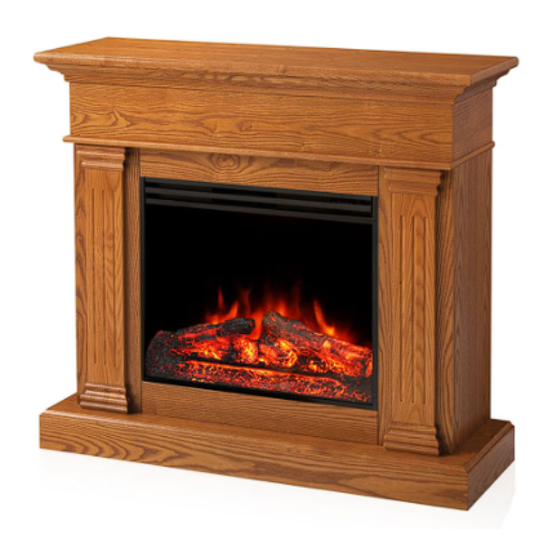
Electric Fireplace
Electric Fireplace Mantel
with 28" widescreen firebox
Foyer Électrique
Manteau de foyer électrique avec
foyer électrique de 28 po
Chimenea Eléctrica
Repisa de chimenea eléctrica con
caja de fuego de pantalla ancha de 28"
SAVE THESE INSTRUCTIONS
CONSERVER CES INSTRUCTIONS
GUARDE ESTAS INSTRUCCIONES
MEF287OK
1 1
YEAR
AN
AÑO
REV07-20
Assembly Instructions
Instructions d'assemblage
Instrucciones de montaje
Advertisement

Related Manuals for Muskoka Noble


Summary of Contents for Muskoka Noble
- Page 1 Electric Fireplace Electric Fireplace Mantel with 28” widescreen firebox Foyer Électrique Manteau de foyer électrique avec foyer électrique de 28 po Chimenea Eléctrica Repisa de chimenea eléctrica con caja de fuego de pantalla ancha de 28” YEAR AÑO SAVE THESE INSTRUCTIONS CONSERVER CES INSTRUCTIONS GUARDE ESTAS INSTRUCCIONES REV07-20...
- Page 2 1143 1143 1015 TIPS FOR THE ASSEMBLY OF YOUR NEW MANTEL RIGHT SIDE PANEL 1P BASE 1PC Before you begin assembly, locate the instructions and hardware. Take out all the parts and compare 1143 RIGHT FRONT RIGHT SIDE PANEL 1PC LEFT SIDE PANEL 1PC BASE 1PC them to the diagrams below.
- Page 3 RIGHT FRONT PANEL LEFT FRONT PANEL GET READY TO START 1015 UPPER FACING LOWER FACING Before assembly, use scissors to unwrap the parts from the packaging. DO NOT use a box cutter or exacto-knife as you may cut into the FIRE BOX SHELF MODEL MEF257OK-1...
- Page 4 1143 Step 5 Step 5 Locate the finished oak upper facing panel that will be attached to the left and right legs and will sit above the firebox. Position this panel with the finished oak side facing the front of the mantel. Line up the 4PCS WING NUT(5*28) 20PCS 2PCS...
- Page 5 Step 8 Step 8 Take your electric firebox out of its packaging and position it between the 2 legs of the mantel. Once you are close to the wall, plug the firebox into the nearest outlet. The firebox comes with 3 metal brackets and 16 black screws (15 required plus 1 spare).
-
Page 6: Warranty
WARRANTY Greenway Home Products is pleased to offer in-home warranty repairs. Please refer to your Firebox Use and Care Guide for warranty information on your Firebox. DO NOT RETURN THIS PRODUCT TO THE STORE: Please contact Customer Service at: 1-866-253-0447 Monday to Thursday from 8:30AM to 5:00PM (EST), Friday from 8:30AM to 4:00PM (EST) Web: www.greenwayhp.com Email: support@greenwayhp.com...
Need help?
Do you have a question about the Noble and is the answer not in the manual?
Questions and answers