Advertisement
Quick Links
Phone: (860) 526-9504
Internet: www.flyWAT.com
Sales/Service e-mail: info@flyWAT.com
WARNING: This product can expose you to chemicals including Methylene Chloride which is known to the State of California to cause cancer, and
Bisphenol A, which is known to the State of California to cause birth defects or other reproductive harm. For more information go to
www.P65Warnings.ca.gov.
Model List
Model
Part #
P36G3L
01-0772102-10
P36G3T
01-0772102-15
P46G3L
01-0790906-00
* Nominal
SAFETY PRECAUTIONS: To reduce eye strain use an
optical filter such as dark glasses or a blue covering dome
during LED inspection.
INSTALLATION PROCEDURES: The following information
provides guidelines for the installation of the WAT LED PAR
Lights listed above. Please refer to the OEM manual for
your aircraft for specific removal and installation
instructions.
1.
Choose the appropriate replacement light assembly.
Note: It is not required to change all PAR lights to the
new LED PAR lights.
2.
Place the lighting switch in the OFF position.
3.
Inspect the housing, attachment points and retainer for
any signs of abnormal wear or damage.
4.
Loosen or remove the hardware holding the light in
place. Take steps to ensure the retainer doesn't fall
from the light assembly before it is ready to be
removed.
5.
Place retainer screws in a safe place.
6.
Remove the light from the holder.
7.
Note there are two wires connected to the (existing)
light. Using a multi-meter, identify the negative wire by
measuring continuity to ground. Place a piece of black
electrical tape around the wire identified as ground.
This is your negative lead.
8.
Identify the positive wire as the remaining wire lead.
The LED light assembly is polarity sensitive, however
you will not damage the unit by reversing the polarity.
9.
While holding the light, loosen the screws holding the
attached wires. Remove each wire from the light.
10. Secure the LED Light, note the terminal markings for
positive and negative, attach the negative marked wire
to the negative side terminal post of the LED Light.
11. Attach the positive wire to the positive side terminal
post. Remove tape or temporary placard which
identified the polarity of the wiring inside the housing.
Note: Ensure exposed aircraft wiring or terminal does
©2023 Whelen Aerospace Technologies
Form No. 14E25B (100623)
Style
Application
PAR 36
Landing
Taxi
PAR 36
Landing
PAR 46
Page 1
Model P36G3( ) & P46G3L
P/N: 01-0772102-10, -15 & 01-0790906-00
Weight*
VDC*
0.8 lbs
14/28 VDC
0.8 lbs
14/28 VDC
1.5 lbs
14/28 VDC
not touch light housing. If necessary, for added
clearance, a split washer may be placed between wire
and terminal post.
12. If required, install the rubber gasket included with your
new LED Light around the LED Light assembly. A light
application of a common hand soap on the rubber may
aid in its fit into the light housing. When installing the
gasket on PAR36, the smaller of the lips should be on
the lens side of the light. The back side of the gasket
should be tight to the bottom ridge and at a right angle
to the edge, as seen in Fig.1.
When installing the gasket on PAR46, the top and the
bottom of the gasket are symmetrical. Ensure that the
gasket is flush to the light's housing, as seen in Fig. 2.
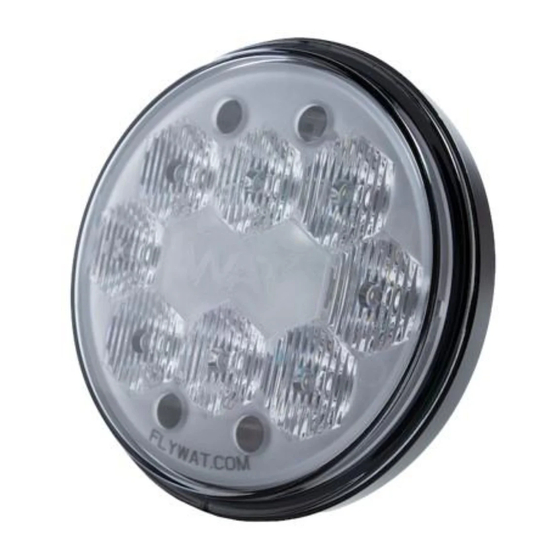
13. Place the LED light into the housing making sure the
FLYWAT.COM is on the bottom. Proper orientation of
the light is necessary for beam orientation to be left and
right of centerline while in operation. For a Taxi light,
the 'lines' of the inner optic should be oriented vertically
to produce a horizontal light beam.
14. Secure the retainer. Care should be taken to tighten the
screw only to the point that the retainer does not turn
with hand pressure. Over-tightening may stress the
polycarbonate lens of the LED Light.
15. Place the light switch in the ON position and verify
proper operation of the WAT LED light.
16. Determine that the Landing or Taxi light characteristics
have not been substantially affected, per 14CFR
23.1383/27.1383.
17. If required, update aircraft records utilizing FAA Field
Approval (Form 337) or equivalent.
Gasket
Fig. 1
Installation Guide/ICA
PAR36/PAR46 Light
Input Current*
3.8/1.9 Amps
3.8/1.9 Amps
6.0/2.8 Amps
Gasket
Fig. 2
Advertisement

Related Manuals for Whelen Engineering Company WAT P36G3L


Summary of Contents for Whelen Engineering Company WAT P36G3L
- Page 1 Installation Guide/ICA Model P36G3( ) & P46G3L Phone: (860) 526-9504 P/N: 01-0772102-10, -15 & 01-0790906-00 Internet: www.flyWAT.com PAR36/PAR46 Light Sales/Service e-mail: info@flyWAT.com WARNING: This product can expose you to chemicals including Methylene Chloride which is known to the State of California to cause cancer, and Bisphenol A, which is known to the State of California to cause birth defects or other reproductive harm.
- Page 2 Typical PAR36/PAR46 LED Light Vent membrane (light should be mounted so that the vent is on the top) +VDC (-) GROUND Note: The ground terminal is electrically isolated from the case. PAR36/PAR46 (Reference Only) Periodic Inspection: INTERVAL DESCRIPTION ACTIONS NOTES Annually •Perform function •Replace light if any...
- Page 3 Troubleshooting Procedure: The following information is to provide guidelines for troubleshooting the LED light Models listed on page 1. Wire Diagram Existing Existing Aircraft Ground (+) VDC Wire Existing Existing Landing/Taxi light Fuse or Switch Circuit Breaker In the case of no light output: 1.
Need help?
Do you have a question about the WAT P36G3L and is the answer not in the manual?
Questions and answers