Advertisement
Quick Links
Advertisement

Subscribe to Our Youtube Channel
Related Manuals for Contacta RF-PORTABLEKIT

Summary of Contents for Contacta RF-PORTABLEKIT
- Page 1 RF-PORTABLEKIT Portable Radio Frequency System...
-
Page 2: Quick Start
September 2024 Contents: Product Overview Components Quickstart Safety Contacta has a policy of continuous product development, therefore small specification changes may not be reflected in this manual. Images, labels, packaging, accessories and product colour are subject to change without notice. -
Page 3: Product Overview
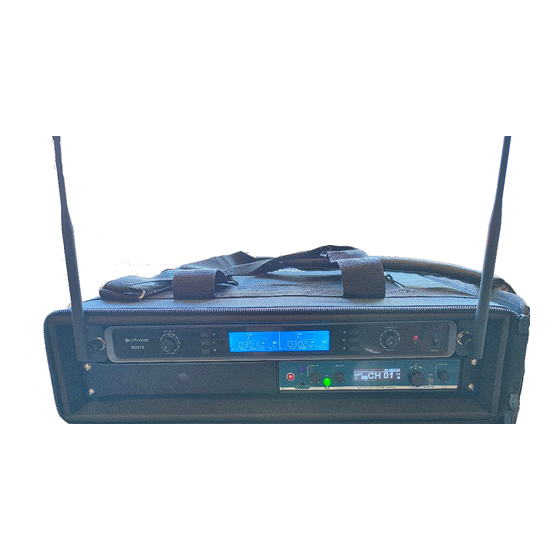
Product Overview: Contacta’s Portable Radio Frequency System is an assistive listening solution. It is designed for use by people with hearing devices which are equipped with a telecoil function, along with people who have hearing loss who do not use hearing devices. - Page 4 Components 1. Travel Case 2. Boundary Microphone (STS-M91) 3. Stationary Radio Frequency Transmitter (RF-TXRM 865/915) 4. Transmitter and Receiver Aerials 5. Handheld Microphone 6. Multi-Frequency Beltpack Microphone 7. 2 Channel Microphone Receiver (IL-AC-WM-2C) 8. 3 x Inductive Neck Hearing Loop (RF-1NL1) 9.
- Page 5 Quickstart 1. Place the Portable Radio Frequency System case on a flat surface near a power socket. 2. Unzip the rear of the case and pull out the mains power cord. Plug it into a suitable wall power socket. 3. Open the included accessories bag and retrieve the required accessories (Neck loops, headphones) 4.
- Page 6 6. Switch on the Radio Frequency Transmitter and 2 Channel wireless microphone receiver. Ensure that all necessary switches are ON. Refer to the Contacta RF-TXRM User Guide for further setup information. Refer to IL-AC-WM-2C Wireless Microphone System User Guide for further setup information.
- Page 7 9. Confirm that the channel numbers on the displays of the RF receiver and RF stationary transmitter match. Refer to the Contacta Portable RF Receiver User Guide for more information. 10. Place the Neckloop around the neck of the hearing aid wearer or put on headphones if required.
- Page 8 12. Attach the tie clip lapel microphone to the person presenting a meeting, and either place the transmitter in their pocket or clip it to a suitable place around their waste area. 13. If using the neck loop, switch your hearing device to the ‘T’ setting and adjust the volume to your preferred level.
-
Page 9: Product Manuals
Safety Charging RF Receivers Only use the provided wall plug charger and “USB-A to Micro-USB” charging lead to charge your RF Receivers. Using a different charger or third-party charging equipment may damage your device. Replace Belt-pack Microphone and RF Receiver Batteries with Care The Belt-Pack Microphone requires two AA Batteries.
Need help?
Do you have a question about the RF-PORTABLEKIT and is the answer not in the manual?
Questions and answers