Advertisement
Quick Links
IMPORTANT
Read all instructions before assembling.
WARNING : To avoid damages, assemble the
product on a soft, clean surface.
CAUTION: Keep small parts out of reach of
children.
Before assembly, remove all parts and part
packages from carton. If anything is missing
or damaged, please contact the retailer from
which the product was purchased or contact
customer service, 800-613-3261.
PACKAGE CONTENTS
Parts - Anti-tip kit
A
ANCHOR
B
BRACKET
C
SCREW
D
STRAP
Parts
E
TABLE
NOTES:
Two-person assembly.
Approx. assembly time: 30 minutes
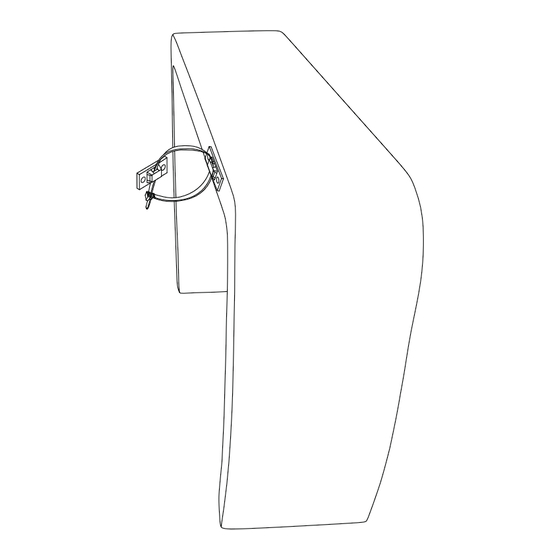
ANTI-TIP STRAP INSTALLATION
1. Place the table (E) in the desired location against
a wall to determine where the legs of the table (E)
align on the wall. Move table (E) aside to install
brackets (B).
2. The anti-tip straps (D) will attach to the brackets on
the back side of the table. Place the other bracket
(B) on the wall where it will align with a table's
bracket.Mark the location of each hole in the
bracket (B) on the wall.
3. Using a drill bit the appropriate size for the
anchor (A), drill a hole in the wall at each marked
location.
4. Using a hammer, carefully tap one anchor (A) into
each hole in wall. NOTE: If installing brackets (B)
into wall studs, anchors (A) are not required.
5. Place one bracket (B) on the wall. Align the holes
in the bracket (B) with the anchors (A).
6. Thread one screw (C) into each hole in the
bracket (B) and into the anchors (A). Tighten the
screws (C) to secure the bracket (B) to the wall.
7.
Repeat steps 5 and 6 to install second bracket (B).
A
Quantity
4
2
4
2
Quantity
1
A
1
ANY QUESTIONS CALL : 800-613-3261
M-F 8:00AM-6:00PM ET
H0895-10849
Clip Console Table
C
B
E
WALL
B
D
C
elkhome.com
Advertisement

Related Manuals for Elk H0895-10849


Summary of Contents for Elk H0895-10849
- Page 1 M-F 8:00AM-6:00PM ET Before assembly, remove all parts and part packages from carton. If anything is missing or damaged, please contact the retailer from H0895-10849 which the product was purchased or contact Clip Console Table customer service, 800-613-3261. PACKAGE CONTENTS...
- Page 2 H0895-10849 Clip Console Table 8. Place table (E) against wall. Ensure the table’s bracket align with each bracket (B) on wall. 9. Insert one strap (D) through the hole in the table bracket and then into the hole of the wall bracket WALL (B).
Need help?
Do you have a question about the H0895-10849 and is the answer not in the manual?
Questions and answers