Advertisement
IMPORTANT
Read all instructions before assembling.
WARNING: To avoid damages, assemble the
product on a soft, clean surface.
CAUTION: Keep small parts out of reach of
children.
Before assembly, remove all parts and part
packages from carton. If anything is missing
or damaged, please contact the retailer from
which the product was purchased or contact
customer service, 800-613-3261.
PACKAGE CONTENTS
Parts
A
HEX BOLT - 2.5"
B
HEX BOLT - 2"
C
WASHER
D
HEX WRENCH
E
TABLE TOP
F
TABLE LEG
G
TABLE LEG
NOTES:
One-person assembly.
Approx. assembly time: 25 minutes
Quantity
4
4
8
1
1
1
2
-1-
ANY QUESTIONS CALL: 800-613-3261
B
A
D
F
M-F 8:00AM-6:00PM ET
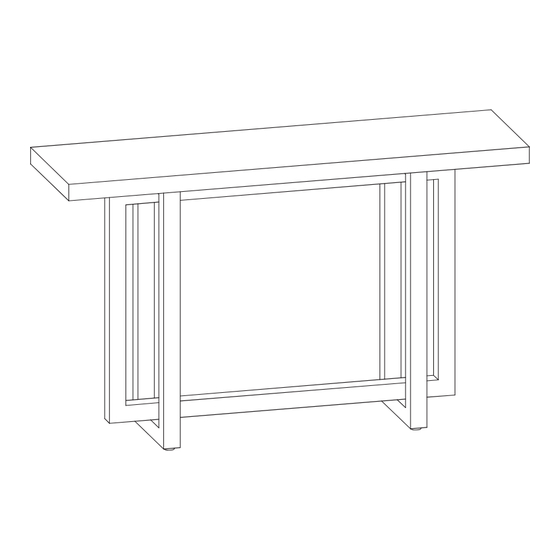
157-087
Paros Console Table
C
E
G
elkhome.com
Advertisement
Table of Contents

Related Manuals for Elk Merrell 157-087


Summary of Contents for Elk Merrell 157-087
- Page 1 IMPORTANT Read all instructions before assembling. WARNING: To avoid damages, assemble the product on a soft, clean surface. CAUTION: Keep small parts out of reach of ANY QUESTIONS CALL: 800-613-3261 children. M-F 8:00AM-6:00PM ET Before assembly, remove all parts and part packages from carton.
- Page 2 157-087 Paros Console Table ASSEMBLY IMPORTANT: It is recommended to place a blanket, cardboard or other cushioning material on the floor to prevent damage to floor and furniture piece. 1. Hold table leg (F) and one table leg (G) upright. 2.
- Page 3 157-087 Paros Console Table ASSEMBLY (CONTINUED) 10. Carefully place table top (E) face down on floor, on top of cushioning material. 11. Legs should be placed inside of supporting bar on underside of top as shown 12. Align holes in leg assembly (F/G) with holes in underside of table top (E).
- Page 4 157-087 Paros Console Table ASSEMBLY (CONTINUED) 15. Turn console table upright and place in permanent location. IMPORTANT: During the life of the product, periodically check all screws and fixings to ensure they are secure. CARE AND CLEANING • Before using, wipe with a clean, dry cloth. •...
Need help?
Do you have a question about the Merrell 157-087 and is the answer not in the manual?
Questions and answers