Advertisement
IMPORTANT
Read all instructions before assembling.
WARNING: To avoid damages, assemble the
product on a soft, clean surface.
CAUTION: Keep small parts out of reach of
children.
Before assembly, remove all parts and part
packages from carton. If anything is missing
or damaged, please contact the retailer from
which the product was purchased or contact
customer service, 800-613-3261.
PACKAGE CONTENTS
Parts
A
Anti-tip strap
B
Wall anchor
C
Anti-tip bracket
D
0.5" screw
E
1.25" screw
ASSEMBLY
1. Place one bracket (C) against the back of
the top edge of the credenza.
2. Thread one screw (D) into each hole in
bracket (C) and into back of credenza.
3. Repeat steps 1 and 2 to install second
bracket (C) on other side of back of
credenza.
4. Place the credenza in the permanent
location.
5. Place one bracket against wall in line with
one bracket (C) on back of credenza. Mark
the location of the holes in the bracket (C) on
the wall. Drill holes at each marked location
using a drill bit the appropriate size to
accommodate the wall anchors (B).
6. Using a hammer, carefully insert one wall
anchor (B) into each hole in wall.
7. Place bracket (C) on wall. Align holes in
bracket (C) with holes in wall anchors (B).
Thread one wall screw (E) into each hole in
bracket (C) and into holes in wall anchors (B).
8. Repeat steps 5-7 to install remaining
bracket (C) on wall.
NOTE: If wall screws (E) will be installed into
wall studs, anchors are not needed.
Quantity
A
2
4
4
4
D
4
-1-
ANY QUESTIONS CALL: 800-613-3261
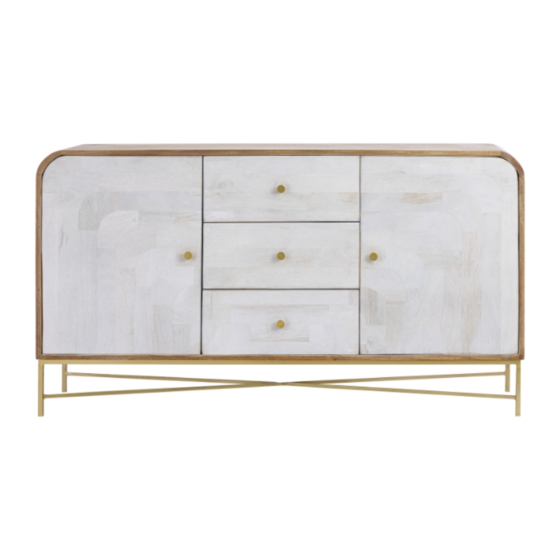
Creative Curve Credenza
E
CREDENZA TOP
C
D
E
C
M-F 8:00AM-6:00PM ET
S0805-9466
Anti-tip strap kit
C
B
WALL
B
elkhome.com
Advertisement
Table of Contents

Related Manuals for Elk S0805-9466


Summary of Contents for Elk S0805-9466
- Page 1 M-F 8:00AM-6:00PM ET Before assembly, remove all parts and part packages from carton. If anything is missing or damaged, please contact the retailer from S0805-9466 which the product was purchased or contact customer service, 800-613-3261. Creative Curve Credenza Anti-tip strap kit...
- Page 2 S0805-9466 Creative Curve Credenza Anti-tip strap kit 9. Ensure that all screws (D and E) in brackets (C) on credenza and in wall are tight. WALL 10. Place credenza against wall aligning brackets (C) on back of credenza with brackets (C) on wall. Slip narrow end of...
- Page 3 S0805-9466 Creative Curve Credenza INSTRUCTIONS FOR LEVELING CABINET BUBBLE LEVEL These steps must be completed to ensure the doors of the cabinet operate properly. TOOLS REQUIRED (NOT INCLUDED): For cabinet with adjustable leveling glides: • Bubble level ADHESIVE PAD For cabinet without adjustable leveling glides: •...
Need help?
Do you have a question about the S0805-9466 and is the answer not in the manual?
Questions and answers