Table of Contents

Related Manuals for RAM DENEB 2.5Q


Summary of Contents for RAM DENEB 2.5Q
- Page 1 Professional Power Amplifiers D E N E B Series 2.5Q, 5Q, 10Q OPERATION MANUAL BEDIENUNGSANLEITUNG MANUAL DE EMPLEO © 2023 by C.E. Studio-2 s.l. - Spain (EEC) P-9521-052 QXPDQXDoc ramaudio.com 6/23 e-mail: support@ramaudio.com...
-
Page 2: Safety Precautions
SAFETY PRECAUTIONS SICHERHEITSHINWEISE ADVERTENCIAS WARNING: ACHTUNG!: PRECAUCIÓN: The lightning and arrowhead symbol Das Blitzzeichen zeigt die Gegenwart El símbolo de la flecha quebrada alerta warns about the presence of uninsula- unisolierter gefährlicher Spannungen acerca de la presencia de partes no ais- ted dangerous voltage. -
Page 3: Table Of Contents
©2023 by C.E. Studio-2 s.l. Pol.Ind. La Figuera C/Rosa Luxemburgo nº34 46970 Alaquas - Valencia - SPAIN Phone: +34 96 127 30 54 ramaudio.com support@ramaudio.com P-9521-052 QXPDQXDoc 6/23 RAM Audio , ICL ™ ™ ® QuantaPulse ™ are registered trade- marks of C.E. -
Page 4: Informaciones Generales
• 100, 70, 50 and 35 V high impedance • Funcionamiento a baja impedancia modes con 8, 4 y 2 Ohm • RAM Audio advanced Power Control • Funcionamiento a alta impedancia con Management (PCM ™ 100, 70, 50 y 35 V •... -
Page 5: Controls: Where And What
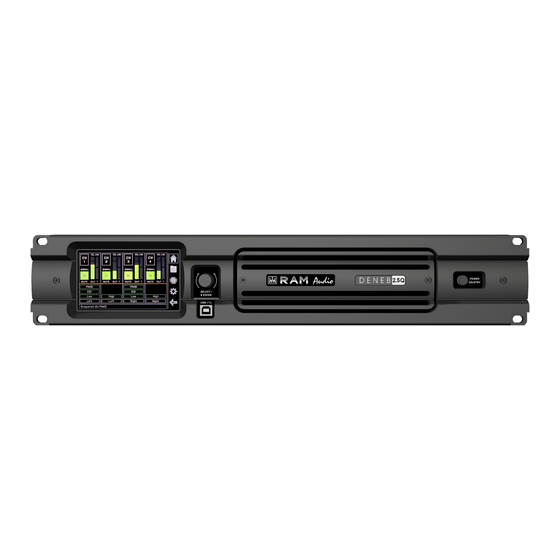
Controls: Lokalisierung der Controles: Where and What? Funktionen ¿Dónde y qué? 2.1 Front Panel 2.1 Frontplatte 2.1 Panel frontal See Figure Siehe Fig. Ver Figura Main Power Switch: Beleuchteter Hauptstromschalter: Interruptor principal: Position I: Connects the amplifier's Position I: Schaltet die Endstufe ein. Posición I: conecta la alimentación current feed. -
Page 6: Ubicación Y Función De Los Controles
Controls: Lokalisierung der Ubicación y función Where and What? Funktionen de los Controles 2.2 Rear Panel 2.2 Rückplatte 2.2 Panel Trasero See Figure Siehe Fig. Ver Figura Signal Input: Phoenix type 3.5mm- Eingangssignal: Phoenix-typ Entrada de señal: conectores tipo pitch connectors for the amplifier’s 3.5mm Buchsen für den Phoenix de paso 3.5mm para la signal input. -
Page 7: Installation And Operation
Installation and Anschluss und Instalación y Operation Inbetriebnahme operación 3.1 Connections 3.1 Anschlüsse 3.1 Conexionado Plug the amp to a properly earthed Schließen Sie den Verstärker an eine Conecte siempre el cable de alimenta- mains socket (90-265V AC). ordnungsgemäß geerdete cion principal (90-265V AC) a una base Netzsteckdose (90-265 V provista de toma de tierra. -
Page 8: Dual Channel Mode
Installation and Anschluss und Instalación y Operation Inbetriebnahme operación The amplifier can operate on two differ- Es gibt zwei Funktionsmöglichkeiten Existen dos modos de funcionamiento ent configurations: DUAL or BRIDGE. dieser Endstufe: Dual und Bridge. Die posibles del amplificador: Dual o The connections for the two modes are Anschlüsse sind in den zwei Fällen Puente. - Page 9 Dual Channel Bridge Mode...
-
Page 10: Configuration
Installation and Instalación y Operation operación 3.2 Configuration 3.2 Configuración By means of the display, user can con- Desde la pantalla el usuario puede figure amplifier and DSP parameters configurar los parámetros del amplifi- and moritoring them. cador y del DSP y monitorizar estos. There are six different screens as fol- Hay seis pantallas diferentes que son lows:... - Page 11 Installation and Instalación y Operation operación 4. User Input Setting Screen: User ID Input Label: shows the name assigned by the user User EQ Access Button (see 4.1) In: Input Level VUmeter GAIN IN: to change the input gain DELAY: to change the input delay (ms) MUTE: to mute input. Lights up red when it is active.
- Page 12 Installation and Instalación y Operation operación 5.2 AMPLIFER Tab: GAIN: to select amp gain (26dB to 44dB) BRIDGE: to configure a pair of channels in Bridge mode 0dB FS IN (optional): to adjust the input digital reference 5.3 PASSWORD Tab: GENERAL PASSWORD: to enable/disable the general password. When enable you have to introduce a 4-digits password and con- firm it.
-
Page 13: Protection Systems
El PCM ™ (Gestión del Control de Management) is a system which allows Potencia) de RAM Audio es un sistema sharing total power of the amp between que permite compartir entre los 4 canales the 4 channels depending on user needs... -
Page 14: Options
4.2 Options 4.2 Optionen 4.2 Opciones GPIO (Entrada/Salida de Propósito GPIO (General Purpose Input/Output) General) GPI Control: Control GPI: • +V: +15V output. • +V: salida de +15V. • POWER: turn-ON by Contact: joining • ENCENDIDO: por Contacto: +V to POWER, or by Voltage: conectando +V a POWER o por Volta- applying a voltage (3V-24V). -
Page 15: Technical Specifications
Technical Technische Especificaciones Specifications Spezifikationen técnicas 4.3 Data 4.3 Technische Daten 4.3 Datos técnicos Technical Specifications DENEB-2.5Q DENEB-5Q DENEB-10Q Number of channels Total output power 2500 W 5000 W 10000 W Output Power* (All ch driven/single ch) 2 ohm 4x 625 / 1x 625 W 4x 1250 / 1x 1250 W 4x 2500 / 1x 2500 W 2.67 ohm... - Page 16 Manufactured in the EEC by C.E. Studio-2 s.l. Pol. Ind. La Figuera - C/Rosa Luxemburgo, nº 34 46970 Alaquas - Valencia - SPAIN Phone: +34 96 127 30 54 ramaudio.com - support@ramaudio.com...
Need help?
Do you have a question about the DENEB 2.5Q and is the answer not in the manual?
Questions and answers