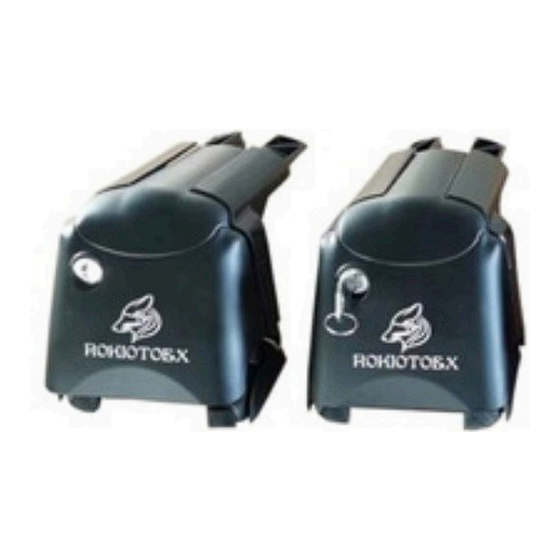
Summary of Contents for ROKIOTOEX COUGAR CROSSBARS
- Page 1 COUGAR CROSSBARS INSTALLATION GUIDE FITS MOST OF THE FLUSH ROOF RAILS WITH SLOT or TOP LIP Inside Edition - 20240604 PLEASE PAY ATTENTION TO THE CONTEXT HIGHLIGHTED IN RED.
-
Page 2: Parts And Accessories
PARTS AND ACCESSORIES PART QUANITY PARTS DESCRIPTION INDEX Aluminum - (FRONT & REAR) The longer is for the front crossbar Some model package has the same length of the bars if the roof rail inside distance is equal Assembled Type-A Brackets (including M6x40mm... -
Page 3: Hardware Checking
LEGEND CAUTION: A process that must be carefully observed in order to reduce the risk of damage to the accessory/vehicle and to ensure a quality Installation. TOOLS & EQUIPMENT: Used in Figures calls out the specific tools and equipment recommended for this process. STOP: Damage to the vehicle may occur. - Page 4 Loosen #1 and #2 bolts until their ends do not protrude from the end of the nuts but DO NOT come off the nuts. If it is hard to turn bolts of #1 and #2, check the bolt thread and fixing nut hole to ensure they are clean without dirt or residuals in threads.
- Page 5 PARTS ASSEMBLING • Allocate the brackets and aluminum bars as the illustration below, Type-A and Type-B brackets could be used either at the driver’s side or passenger’s side. • The side of a bar with a ridgeline at the top stays at the front side •...
- Page 6 ASSEMBLED CROSSBARS • Keep all bolts loose but not disconnected on each bracket now; • Ensure the aluminum bar can move inward or outward in the bracket in an adjusting condition. • Plastic clip tips stay in the holes of the bar ends if the bar is not in an arc shape ADDITIONAL ATTENTION BEFORE INSTALLATION NOTE The package includes two essential keys...
- Page 7 MOUNT CROSSBARS ON ROOF RAILS Place a blanket or protective layer under the bracket or on the rooftop to prevent any scratches or damage to the vehicle’s body. Prepare for Installation: Insert the rubber pad between the clamps. Position the crossbars on the roof rails at the designated mounting positions. Determine the bracket mounting positions on the side rails.
- Page 8 MOUNT CROSSBARS ON ROOF RAILS MOUNT CROSSBARS ON ROOF RAILS Driver-Side Bracket Installation: Begin with the driver-side bracket. After the inside clamp is positioned correctly on the inner lip, slightly tighten bolts #1 and #2. Proceed to tighten bolts #3 and #4 at the top to securely fix the bar end to its bracket.
- Page 9 MOUNT CROSSBARS ON ROOF RAILS Adjust Rubber Pads: Adjust the middle rubber pad on the driver’s side bracket using the same method as described for the passenger side. Balance the Aluminum Bar: Check the scale mark at the top right side of the bracket on both ends.
- Page 10 MOUNT CROSSBARS ON ROOF RAILS Installing Covers Prepare the Cover: Smooth the tip of the plastic peg using sandpaper or a sharp blade to remove any rough edges or burrs. Insert the Cover: Carefully insert the cover into the bracket from the top, ensuring the hole in the cover aligns properly with the plastic peg inside the bracket.
- Page 11 FULL VIEW INSTALLATION DO NOT TAKE OFF BRACKETS FROM THE BAR BY FORCE. REFER TO THE DISASSEMBLY SECTION BELOW TO TAKE OFF THE BRACKET FROM THE BAR. Adjust the bracket position to the front or rear a bit to level the crossbar top surface at a horizontal level if A loud noise yields when driving at 60~80 KMH.
-
Page 12: Safety Notes
Ensure that that crossbar are installed in correct orientation. Ensure that the crossbars are fully installed to the side supports with no gaps CONTACT SUPPORT Contact our service support if you have any problems https://www.rokiotoex.com/spare-or-replacement-request/ Visit https://rokiotoex.com for more info.


Need help?
Do you have a question about the COUGAR CROSSBARS and is the answer not in the manual?
Questions and answers