
Related Manuals for PUMATRONIX ITSCAM FF 450


Summary of Contents for PUMATRONIX ITSCAM FF 450
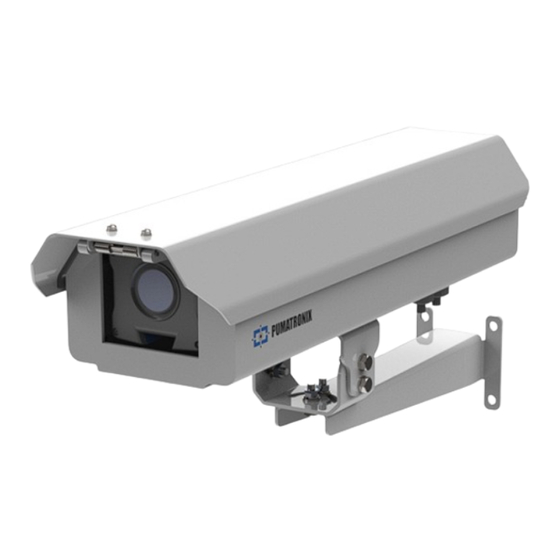
- Page 1 I N S TA L L AT I O N G U I D E / R E V I S I O N 2 . 1 / 2 0 24 H I G H P R O C E S S I N G , C O N N E C T I V I T Y A N D E M B E D D E D S O F T WA R E...
- Page 2 6. Connect the ITSCAM FF 450 to an auxiliary device disconnected from the local network where the equipment will be installed, using an Ethernet cable: The 16-way Microfit connector on the ITSCAM 450 is...
- Page 3 12. Disconnect the ITSCAM FF 450 from the auxiliary device and connect 19. Check that jumpers P9 are closed when connecting to Io1+ of the device to the final installation network.
- Page 4 25. Avoid having parts of the image obscured by objects such as trees or of the ITSCAM FF vehicles in other lanes. 450 side to the track 26. Install the ITSCAM FF 450 at a slight incline, so that the license plate is aligned with the horizontal in the image. 09/25/2023 Revision 2.1...
- Page 5 29. Tilt the equipment on the support until the frame is best adjusted, 33. Use the Autofocus function or adjust Zoom and Focus by accessing the considering the maximum angle limit of 45º for vertical inclination. Higher Image > Profiles menu in the Lens tab, until the characters become clear in angles of vertical inclination generate significant deformations in the images.
- Page 6 Warranty will only be carried out at Pumatronix whether sensitive or not, for its operation. * Keep the ITSCAM FF 450 device always switched ont while the Authorized Technical Assistance or a third party expressly indicated by...
Need help?
Do you have a question about the ITSCAM FF 450 and is the answer not in the manual?
Questions and answers