Advertisement
Quick Links
This equipment can have lenses included, which are
sensitive to mechanical impacts such as falls and extreme
vibrations.
Oxidation Risk: The electrical and signal connections
made for ITSCAM 600 bundle and data network cable
must be protected in a terminal box or similar structure to
avoid oxidation of the connections and unwanted liquids
infiltration into the bundle.
1. Use the Ethernet connector to connect ITSCAM 600 to the local network
and optionally for power:
2. Use cable with RJ-45 connector following T568A standard pinout:
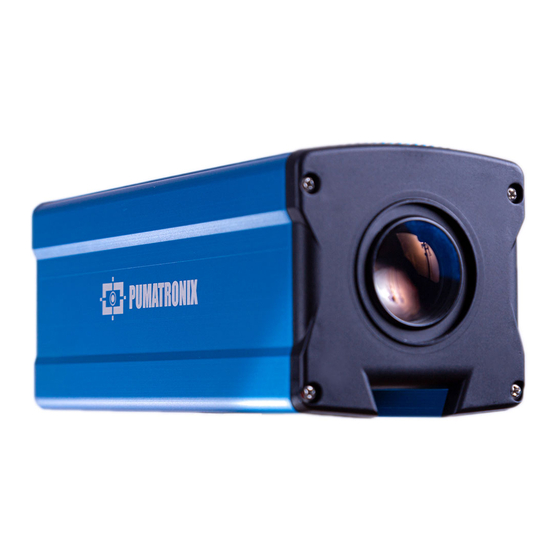
Lens not
included
3. Check the indication of connection operation through the LEDs of the
Ethernet connector used.
4. Check the installation if the LEDs are not indicating that the connection
is in operation.
Acrylic
display
3G/4G Connector
Wi-fi Connector
5. Connect the available antennas to the respective SMA connectors
named 3G/4G, Wi-Fi and GPS .
* Only for ITSCAM 600 CS AD IOT (S06L0W1AJP) and ITSCAM 600 LM AD
IOT (S06L5W1AJP) models.
2 Ethernet
Connectors
TIA-568A standard pinout:
GPS Connector
06/30/2022
Revision 1.0
Advertisement

Related Manuals for PUMATRONIX ITSCAM 600


Summary of Contents for PUMATRONIX ITSCAM 600
- Page 1 * Only for ITSCAM 600 CS AD IOT (S06L0W1AJP) and ITSCAM 600 LM AD infiltration into the bundle. IOT (S06L5W1AJP) models.
- Page 2 MICROFIT CONNECTOR TERMINAL AND SIGNAL 9. Connect the ITSLUX illuminator to the same DC Power source used for powering ITSCAM 600 device and considering the colors of the signals to be COLOR Ethernet used in the connection: 1 Green + White...
- Page 3 Line parallel to the ground 21. Select an existing pole or gantry that allows to position ITSCAM 600 to 23. Move the Fastener on the rail, loosen the screws slightly enough for the capture two-lane images, according to the ideal equipment position in...
- Page 4 35. Disable the Automatic Iris for a better result (if the ITSCAM 600 model 6) Show signs of tampering with safety seals; displays this functionality) in the Image > Profiles menu on the Exposure tab. 7) Show signs of opening and modification made by the customer in places of the product not authorized by Pumatronix;...
Need help?
Do you have a question about the ITSCAM 600 and is the answer not in the manual?
Questions and answers